By John Protasio
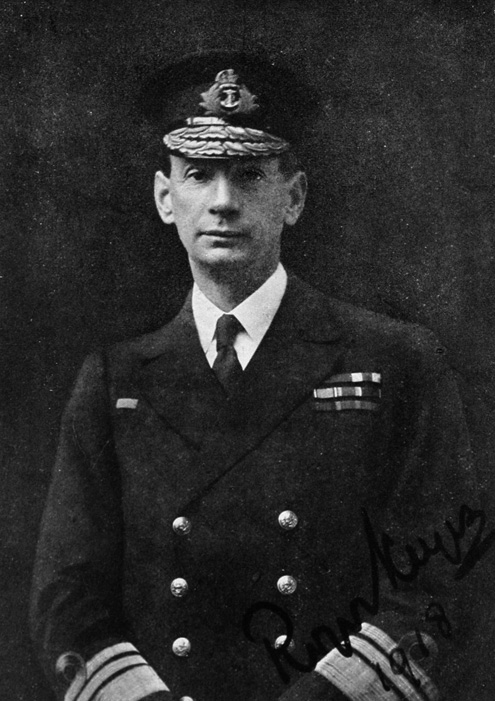
Commodore Reginald Tyrwhitt of the Royal Navy was in a grave predicament on August 28, 1914. His force was near the German base at Heligoland Bight. His flagship, the light cruiser Arethusa, had suffered considerable damage while engaged with the German light cruiser Stettin. The commodore received assistance from the cruiser Fearless and several destroyers.
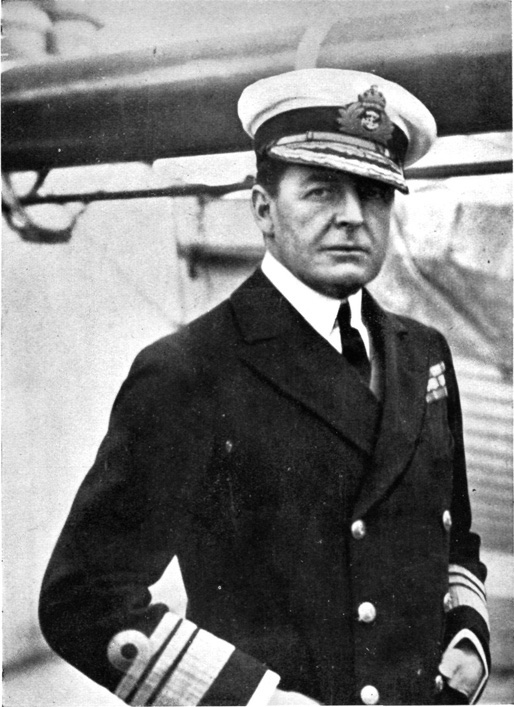
Suddenly, the German cruiser Mainz came out of the mist. The British destroyers swung around to attack her. The enemy warship turned only to come under the guns of Commodore William Goodenough’s cruisers. Tyrwhitt signaled Vice Admiral David Beatty that he needed his help.
The situation took a turn for the worse when the German cruiser Stralsund came within sight. The commodore ordered his destroyers to fire torpedoes at her, all of which missed their target. The Stralsund retreated in the mist.
Then the Mainz reappeared out of the fog. Tyrwhitt ordered his destroyers to attack. During the battle the British destroyer Laurel was hit, putting her after gun out of action; Liberty was hit, killing her captain; and Laertes also took a hit that killed two of her crew.
“Come on Beatty,” Tyrwhitt thought, “Please come.” He needed Beatty’s battle cruisers to remedy the situation. Miles away, Beatty was steaming as fast as he could to help Tyrwhitt. A British victory depended on it.
The British Admiralty had developed a plan to attack German warships operating in the waters off Heligoland Bight earlier that month. Great Britain had just entered World War I, and the first few weeks went badly for the British. The Russians were taking a long time to mobilize their military. In contrast, the Germans had mobilized and invaded Belgium and France. The German plan seemed a brilliant success.
The Allies also suffered a setback at sea during the first few days of the war. The German dreadnought Goeben and cruiser Breslau were at large in the Mediterranean. Despite the Royal Navy’s efforts to locate and destroy them, both enemy warships managed to escape. Britain clearly needed a naval victory.
Thus, on August 23, 1914, Commodore Roger Keyes, the head of the Royal Navy’s submarine service, paid a visit to First Lord of the Admiralty Winston Churchill. Keyes’s submarines had monitored the German warships near Heligoland. It was a risky business. Some of Keyes’s submarines were nearly sunk by vigilant enemy destroyers. In contrast, the Germans had many close calls. A German cruiser of the Roon class came close to being sunk by a British submarine. Keyes’s ships were able to obtain valuable information on enemy ship movement near Heligoland. Keyes proposed a plan for “a well-organized drive commencing before dawn from inshore close to enemy’s coast.”
Heligoland Bight is a shallow bay located in the southeast corner of the North Sea off the coast of Lower Saxony. The Bight stretches from the mouth of the Elbe River to the Heligoland Islands. The British took control of the Heligoland Islands during the Napoleonic Wars but returned them to Germany in 1890. The Germans were delighted to have them back. As one member of the Reichstag said, “We think with gratitude of the German statesman Caprivi, who, by concluding the agreement whereby Heligoland was handed over to us by the British, transformed that island into the most effective protection for the coast of Germany.”
First Lord of the Admiralty Sir John Fisher regarded the transfer as a grave mistake. “The Tories gave up Heligoland, the key to the Baltic,” said Fisher. At the outbreak of the war, Heligoland Bight served as a base for the German High Seas Fleet. When Great Britain entered the war, the British Admiralty feared enemy warships operating out of Heligoland Bight might attack troop transports carrying the British Expedition Force to France. Thus, Tyrwhitt and his destroyers swept the southern area of the North Sea to intercept any German vessels that might interfere with the troop transports. There was a brief action at 7 am on August 18, when the cruiser Fearless fired on the German cruiser Rostock. Tyrwhitt attempted to cut off the fleeing Rostock, but the enemy warship escaped.
According to observation reports from British submarines, the Germans typically sent out a flotilla of destroyers accompanied by two cruisers north of Heligoland during the night and fanned seaward. They were relieved shortly after daylight by a second flotilla of light cruisers on a much less extensive beat about 20 miles northwest of the island. The submariners also observed that German patrols went to sea before dark and returned at dawn. Little could be done during daylight, for a large number of destroyers were on patrol both north and south of Heligoland. The destroyers steamed at high speed to foil mines and submarine attacks.
Originally Keyes envisioned a plan to attack the enemy’s night patrol. After consulting with Tyrwhitt, the plan was altered to conduct the actual drive at 8 am when the night patrol was in port and the day patrol was just starting its duty. The submarines E6, E7, and E8 were to show themselves 40 miles from Heligoland to lure out the German destroyers. Tyrwhitt’s force would attack them, while the submarines E4, E5, and E9 dealt with any German cruisers coming out of the Bight to assault the British destroyers.
The plan was carefully explained to Admiral John Jellicoe, the commander in chief of the Grand Fleet. He believed the attacking force was too weak in the event the enemy’s heavy ships came out. Jellicoe suggested that the entire Grand Fleet cooperate with Tyrwhitt’s force. The British Admiralty rejected this idea, but instead allowed Beatty’s battle cruisers at Scapa Flow, the Lion, Princess Royal, and Queen Mary, to furnish “support if convenient.”
Beatty was ready on the morning of August 28. He was not able to leave harbor until 1 am because of the tide. A squadron of cruisers under the command of Goodenough was to make for the destroyers’ rendezvous. Due to the mismanagement of the British Admiralty’s staff, neither Tyrwhitt nor Keyes was informed that Beatty and Goodenough were coming. As a result, Goodenough’s cruisers were nearly attacked by Tyrwhitt’s force at 3:30 that morning.
Beatty was ignorant of the details of the plan. At 8 am, he signaled the First Battle Cruiser Squadron and the First Light Cruiser Squadron. In addition to informing them of the position at sea where they were to rendezvous at 5 am with Rear Admiral Archibald Moore’s Cruiser Force K, comprising Invincible and New Zealand, to support the British destroyers and submarines, Beatty informed them, “Operation consisting of a sweep of a line north-south true from Horns Reef to Heligoland to westward … know very little, shall hope to learn more as we go along.”
Tyrwhitt left harbor with his ships at midnight on August 26, 1914. The submarines also went out to sea to take up their position. His intent was to attack on August 28. So far everything was going as planned.

Tyrwhitt personally led the Third Flotilla. His flagship, Arethusa, was a 3,500-ton cruiser with a top speed of 28.5 knots and armed with two 6-inch guns and four 4-inch guns. Unfortunately, it was a brand new ship, leaving the builders just three days prior.
The Third Flotilla consisted of four divisions with a total of 16 destroyers. Accompanying the commodore was the First Flotilla, which was led by the 3,400-ton cruiser Fearless with a speed of 25.4 knots and armed with 10 4-inch guns. This flotilla had five divisions of destroyers for a total of 19 destroyers. The Fourth Division with four destroyers was detached to accompany the battle cruisers. Keyes, who was in command of the cruiser Lurcher, had with him the cruiser Fire Drake and a destroyer in close company with the submarines. Goodenough with his six cruisers was also participating in the operation.
Both Tyrwhitt and Keyes were unaware of Goodenough’s participation in the expedition. Unfortunately for the British, the Germans had picked up the wireless traffic of Tyrwhitt’s ships and suspected the British were up to something. They put into effect their own counter plan, which they had devised sometime earlier in the event of a British attack. The Germans sent out a few torpedo boats to draw the British inside Heligoland Bight, intending to cut them off with their cruisers. It was an unusual situation in which both the British and Germans were attempting to trap the other. Since the British were on the offensive, the Germans were the first to score.
All of this was unknown to Tyrwhitt. The commodore was coming close to the Bight for the 8 am rendezvous. Following him were his destroyers five cables apart. Two miles astern was the First Flotilla led by Captain W.I. Blunt. Goodenough in Southampton was following eight miles away. His flotilla included five more cruisers in three divisions, which were two miles apart.
A few minutes before 7 am, one of the German decoy destroyers was sighted by the British lookouts about 31/2 miles to the southeastward. Tyrwhitt dispatched the Fourth Division of destroyers to chase the enemy warship since they were the closest to her. The four destroyers, Laurel, Liberty, Lysander, and Laertes, steamed toward the enemy destroyer, which fled southeastward into the Bight. The commodore continued on course with the balance of his force.
The four British destroyers came upon several German destroyers, and immediately action began. Both sides opened fire. The range, however, was too great to be effective.
At 7:30 am, Tyrwhitt lost visual contact with the Fourth Division. He heard gunfire and knew his ships were engaging the enemy. The commodore sighted other German destroyers to the south-southwest. Tyrwhitt faced a dilemma. He had to decide whether to attack the enemy destroyers he saw to the south or come to the assistance of the Fourth Division.
The commodore decided on the latter course of action, altering course four points to port and increasing his speed. The sea was calm and clear to the seaward. However, visibility was greatly reduced as Tyrwhitt approached land.
At 7:40 am, the commodore caught sight of the Fourth Division engaging the German destroyers. He altered course another two points to port and began a full-speed stern chase of the enemy ships with Fearless and her flotilla following. The range was too great for effective firing, and he was not gaining on the Germans.
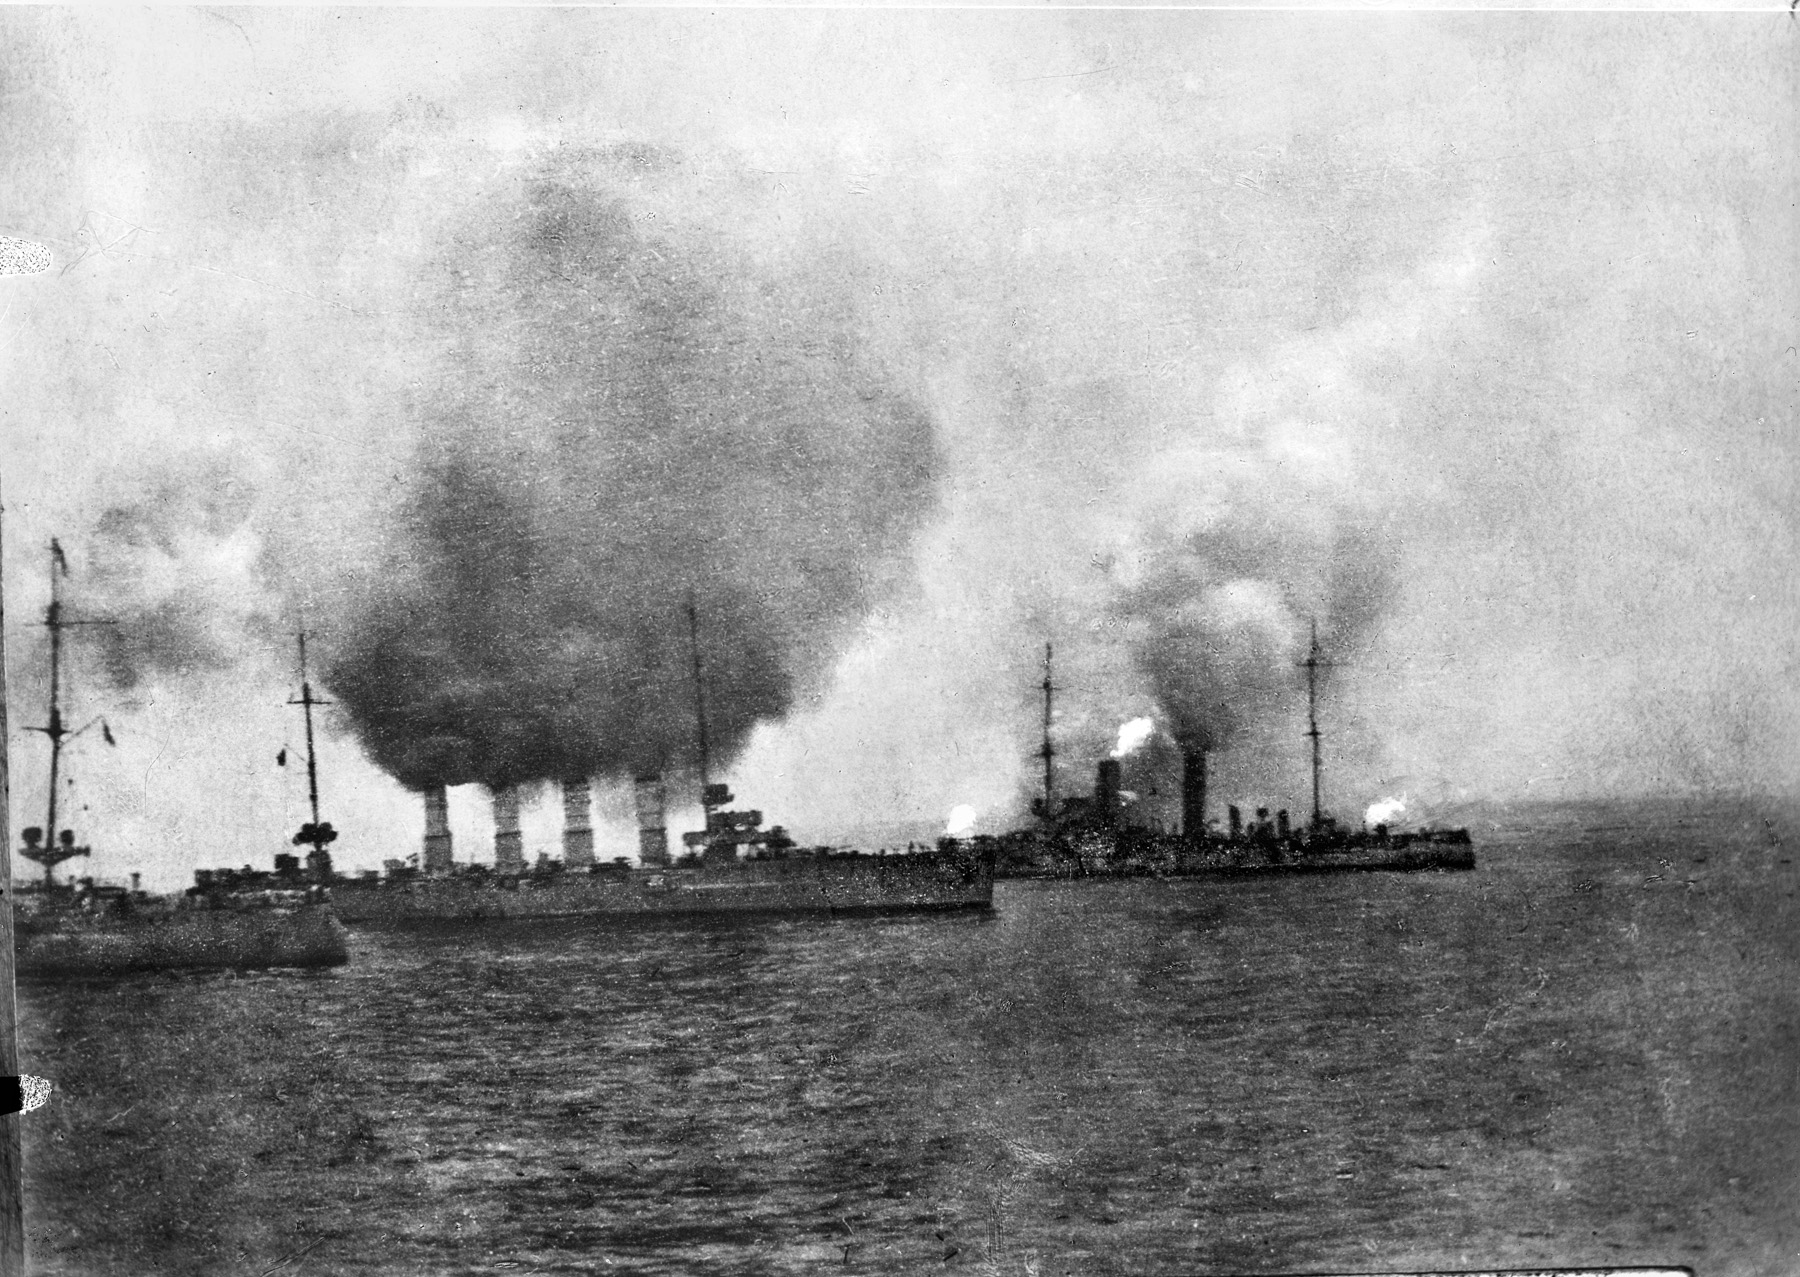
A wireless message was flashed at German headquarters: “In square 142 and 151 enemy cruisers and destroyers are chasing the Fifth Flotilla.” Immediately two light cruisers—the Stettin, a 3,466-ton 24-knot warship armed with 10 4.1-inch guns, and the Franenlob, registered at 2,656 tons with a speed of 21 knots also equipped with 10 4.1 inch guns—were dispatched to help the destroyers under attack.
However, the German battle cruisers were not sent to sea because of the tide. Other ships were able leave harbor to render assistance. The cruiser Mainz was ordered to “put to sea and take the reported English forces in the rear.”
At 8 am, a Stettin-class cruiser believed to be the Stettin herself was seen by Tyrwhitt’s lookouts coming up from the north of Heligoland. The commodore turned four points westward to engage her. As he did so, Franenlob was sighted coming up from the port quarter. Stettin turned 16 points inward, and Tyrwhitt altered to the southeast to fight her on a parallel course.
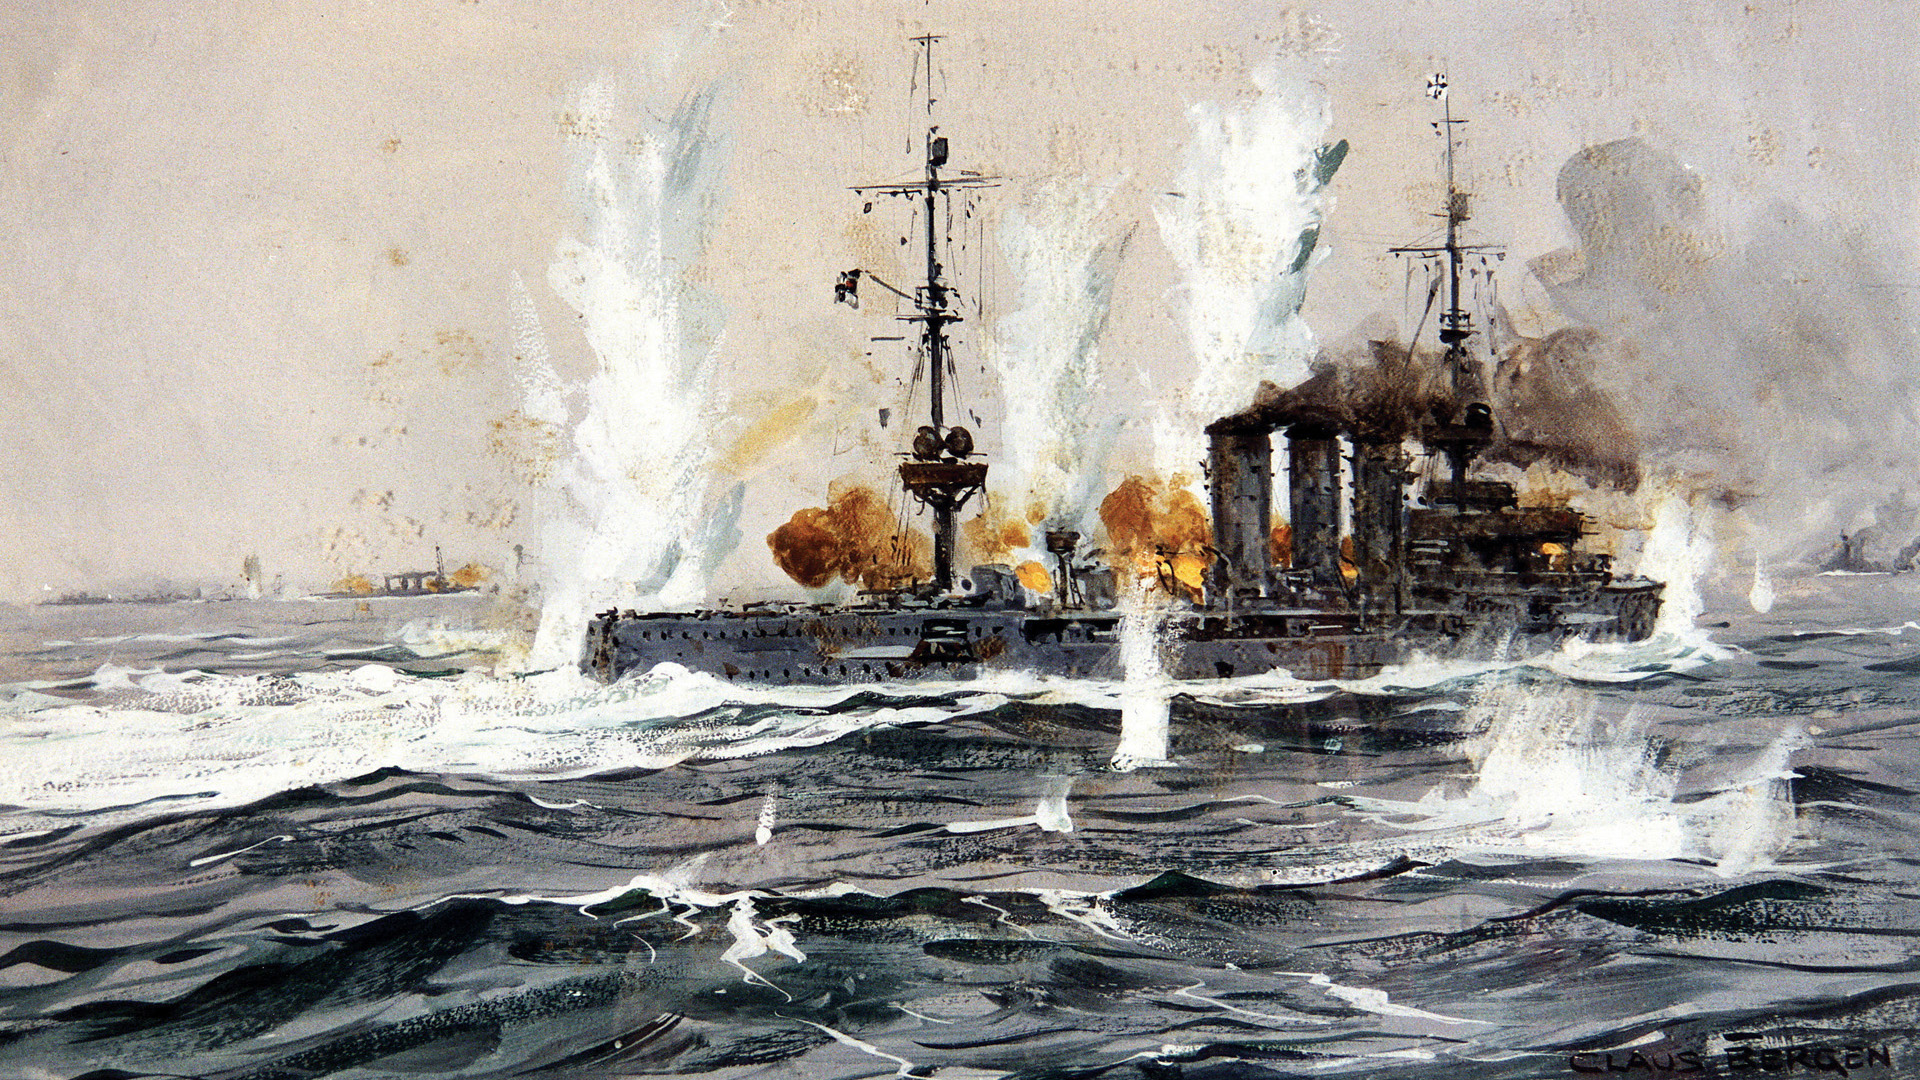
Fighting erupted. Tyrwhitt’s destroyers supported him with torpedoes. However, they all missed their targets. Arethusa scored a few hits but was badly damaged herself in the engagement.
By 8:05 am, Fearless and her destroyers had come on the scene. Stettin turned away 16 points. She appeared to be running back to Heligoland. Fearless and her flotilla gave chase, leaving Arethusa alone to engage Franenlob. At 8:10 am, the German cruiser turned southward down the west side of Heligoland. Tyrwhitt gave chase and opened fire with his guns and torpedoes. At times the range was down to 4,000 yards. The British managed to get a hit under the enemy’s forebridge.
The German cruiser eventually pulled out and made for Heligoland. Tyrwhitt surmised that the enemy warship was so badly damaged that she would founder before she reached port. The commodore was wrong; Franenlob managed to reach the port of Wilhelmshaven by noon with about 50 of her crew killed or wounded.
Tyrwhitt’s flagship was badly damaged as well. All of his guns were out of action except one 6-inch gun. Also, his forces were scattered. Some of the commodore’s destroyers were attending a tramp steamer flying a Norwegian flag that seemed to be laying mines ahead of Arethusa. A few of Tyrwhitt’s destroyers attacked a torpedo boat and mistakenly believed they sank her. Instead, she remained afloat and was taken in by two German destroyers. Still, other ships of the British flotilla were coming up on the forts of Heligoland and were fired on. Tyrwhitt signaled that they should make a drive westward. Fearless followed the order and broke off her chase of the Stettin, which escaped in the mist.
At 8:15 am, Fearless sighted the German destroyer V 187, a destroyer flotilla leader’s ship. V 187 was on patrol that morning about 24 nautical miles northwest of Heligoland when she received a wireless from another destroyer, “Am chased by enemy armored cruiser.” V 187 set course to help when she came within sight of Fearless.
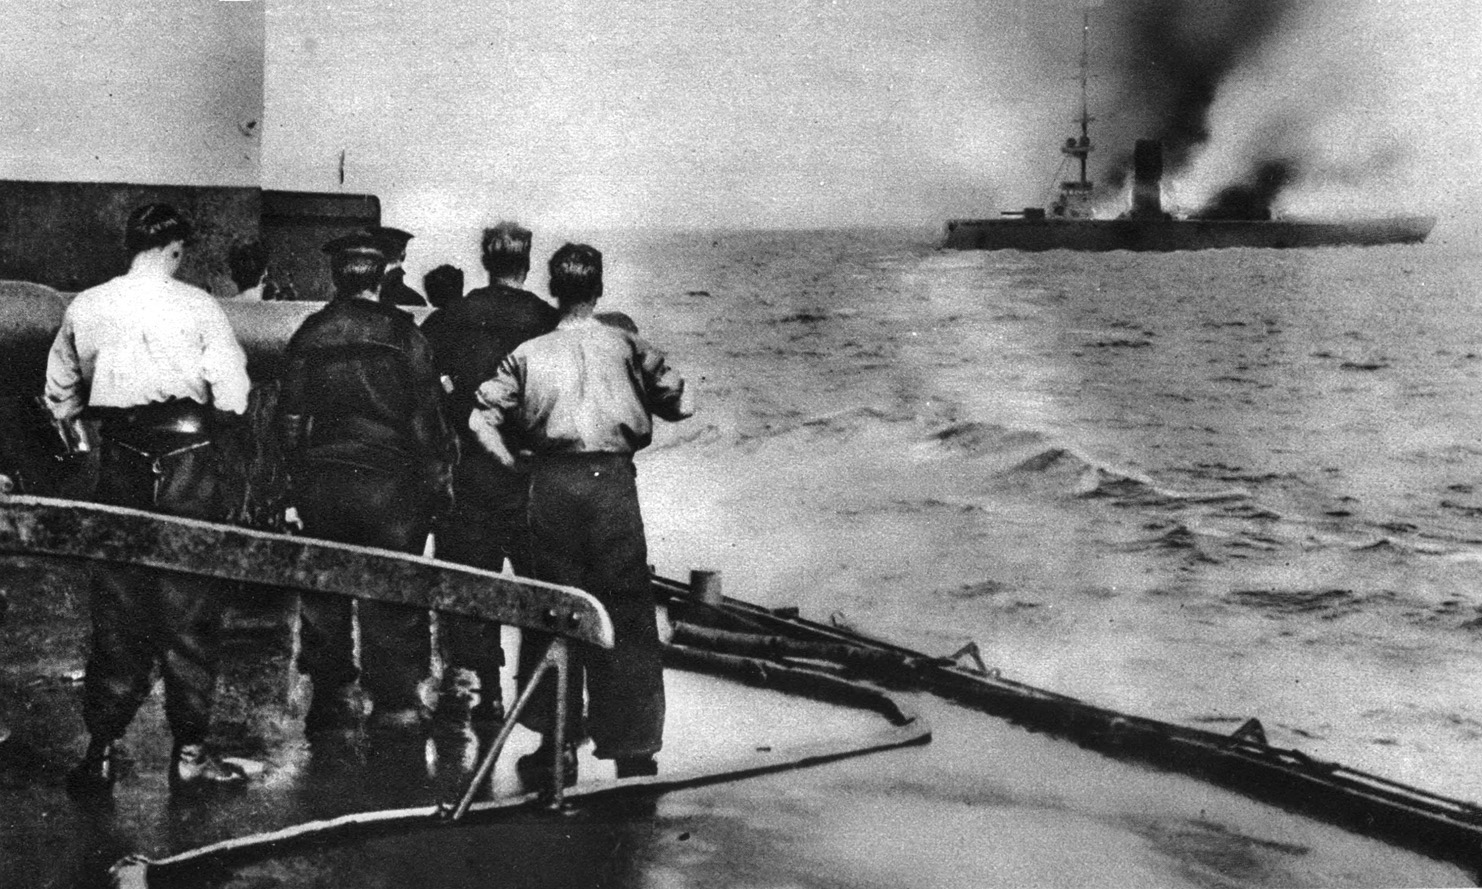
The German destroyer turned to run away and managed to disappear in the fog. At 8:25 am, V 187 was sighted again by the Fifth Division going south. The British destroyers gave chase and opened fire on the enemy warship, nearly to scoring hits. V 187 tried to escape westward, then turned southward where the German ship encountered the Nottingham and Lowestoft of Goodenough’s cruiser squadron. She turned 16 points and came under the guns of the British destroyers of the Third Division. In an effort to escape, V 187 rushed toward the Fifth Division in hopes of getting through the opposite course. This proved futile, and the British warships opened fire on her. At 8:50 am, nothing could be seen of her except a cloud of black smoke.
Captain Blunt left V 187 to his Third and Fifth Divisions and took the balance of his destroyers to rejoin the commodore. He made contact with Tyrwhitt at 9 am, and together they went westward according to plan.
V 187, meanwhile, was in her death throes. The British destroyers were firing on her at a range of 600 yards. The German vessel was down by her bows, and the British ceased fire and sent away boats for survivors. However, the Germans thought this was an attempt to capture their ship. They continued to fire their guns and hit the Goshawk in the wardroom. The British resumed firing on her, and at 9:10 am the gallant V 187 went down.
Rescue work was resumed. The boats had picked up several of V 187’s crew when Stettin suddenly reappeared out of the mist and began firing on the British destroyers. The boats were quickly recalled. They did manage to take the German destroyer’s commodore and 26 other men prisoner.
The commander of the British submarine E4 saw all of this. He fired a torpedo at the Stettin and missed. Stettin attempted to ram the submarine, but E4 managed to dive in time. Stettin then disappeared in the mist. At 9:30 am, the submarine resurfaced and assisted with the survivors of V 187. The submarine commander took one officer and two others “as a sample” and gave water, biscuits, and a compass to other survivors in the boats.
Beatty by this time was able to leave port with his battle cruisers. In the flagship Lion he reached his supporting position 50 miles west-northwest of Heligoland. Beatty’s ships zigzagged making 8-point turns to avoid torpedo attacks from enemy submarines. By this time, Goodenough had reached his final position west-southwest of Heligoland. He had received a report that Tyrwhitt was engaging the enemy and thus sent Nottingham and Lowestoft to his assistance.
The two cruisers sighted a German destroyer and gave chase but lost it in the mist. Later they saw more enemy destroyers and bore down on them. These German warships disappeared in the thick weather as well.
Goodenough decided to join Keyes and at 6:30 am steered westward but could not see Keyes’s ships. At 8:50 am, Goodenough went northward and sighted Lurcher. Through the mist Keyes mistook the British vessels for German cruisers and consequently signaled Invincible that he was chased by four enemy cruisers.
At 9:05 am, Goodenough decided to turn west to join the flotilla. This brought him to the outer line of British submarines. A little before 9:30 am Goodenough saw a submarine he took to be German. The commodore tried to ram her, but the submarine, the British E6, managed to dive in time. Her captain, Lt. Cmdr. C.F. Talbot, refrained from torpedoing the Southampton because he was not certain whether it was friend or foe.
Goodenough continued on his westerly course. The two cruisers he detached from his flotilla, Nottingham and Lowestoft, however, steamed north-northwest toward where their captains believed the battle cruisers were. Actually, Beatty was changing course and signaled this information to Goodenough, Keyes, and Tyrwhitt. Unfortunately for the British, the captains of the Nottingham and Lowestoft did not receive this vital message and were out of touch with the rest of the forces.
By this time, Beatty was becoming concerned for Tyrwhitt’s force. He knew from the reports he was receiving that action had been going on for some time. The Germans by now had time to put out their heavy ships. Although they had not done so, Beatty did not know this for certain. The admiral was in a dilemma. Should he remain where he was or risk his battle cruisers to assist Tyrwhitt?
Beatty said that he received several signals beginning at 11:25 am that were the first real news his squadron had of the battle that had by then been underway for 31/2 hours.
“The situation appeared to me to be extremely critical; the flotillas had advanced on their sweep only 10 miles since 8 am, and thus were only 26 miles from an enemy base in their rear, with another base 25 miles on their flank … there was the possibility of a grave disaster,” Beatty wrote afterward.
At 11:30 am, Beatty decided to go and help Tyrwhitt. Of Beatty’s performance, Churchill wrote, “Admiral Beatty, in spite not only of the risk of mines and submarines, but all he could know of meeting superior forces, had with extraordinary audacity led his squadron far in the Bight.”
Beatty took a calculated risk regarding the threat German U-boats posed to his cruisers. Invincible and New Zealand were attacked by three U-boats shortly after 11 am. “[Beatty] felt himself justified in risking attack from enemy submarines, thanks to his speed, and he calculated that he was powerful enough to take on any force which might come out,” said one newspaper account. “Enemy battleships need not be taken into account, as they would take time to get steam up, locate him, and bring him to action, there again he had the legs off them.”
On the battle cruiser Invincible men sprang to life. Moore signaled Beatty that his ship might do 25 knots. “It was just after noon that action was sounded on the Invincible—the first time any of us had even heard the stirring call blown [on a bugle] in earnest,” said Assistant Paymaster Gordon Franklin.
Meanwhile, the destroyer Fire Drake, attached to Keyes, passed on the signal to Tyrwhitt that she was being chased by enemy cruisers. Tyrwhitt did not know at the time they were actually British cruisers Keyes and his lookouts had seen. Tyrwhitt stopped going westward and set course to the east to help Keyes. It was then that he sighted the Stettin again. The commodore began to chase the German cruiser and once again lost sight of her in the fog.
By this time the Third and Fifth Divisions, which had finished off V 187, rejoined the flotilla. Shortly afterward, Tyrwhitt began to fear that he was coming too close to Heligoland, so he turned back 16 points to the west. Twenty minutes later the commodore signaled the Fearless and the other ships under his command to stop engines. Tyrwhitt wanted to take time to repair his flagship.
While the crew of Arethusa tended to its ship, Tyrwhitt pondered the situation. He hoped that the enemy would not come on the scene until he had Arethusa repaired and ready. It would be a disaster if the Germans attacked his flagship while she was vulnerable. It was obvious by now that it was a mistake to send this cruiser into action just three days after leaving her builders.
Meanwhile, Keyes in Lurcher came upon those mysterious cruisers. He challenged them and learned they were British of Goodenough’s squadron. This brought a sense of relief to Keyes. Although he now knew Goodenough’s cruisers were taking an active part in the operations, the British submarine commanders were still ignorant of this fact. This meant there was a distinct possibility these cruisers might be attacked by their own submarines. Therefore, Goodenough signaled Beatty and requested permission to leave the danger area.
Beatty replied that Goodenough was not to go too far south and instead to keep north of the flotilla. Goodenough ceased his movement southward and headed to the north.
Beatty at this time was making his best effort to join Tyrwhitt. His ships were making good speed. The admiral later wrote to his wife, “At one time I thought we should never do it, [get to Tyrwhitt in time] but by hard steaming, thanks to old Green [engineer Percy Green], the Lion fairly flew 28 knots.” Beatty felt that it was safe enough to come to the assistance of his comrades at arms.
Even so, Beatty felt that he was risking a great deal. The admiral confided to his flag captain Ernle Chatfield, “Am I justified in going into the hornet’s nest with these great ships? If I lose one it will be a great blow to the country.” Nevertheless, Beatty was determined to carry out his decision.
Tensions were high on the bridge of the battle cruiser Lion. Beatty was calm and collected. Chatfield and the other officers present were impressed with Beatty’s leadership. He inspired confidence to everyone on the bridge.
At 10:30 am, the crew of Arethusa managed to get all of its guns working except two 4-inch guns. Still the flagship was badly damaged and could make only 10 knots. Tyrwhitt signaled Fearless to maintain visual contact with him.
Then, a few minutes before 11 am a Breslauclass cruiser, the Stralsund, was seen in the southeast coming up on a northern course. She opened fire on the British ships. Tyrwhitt ordered Blunt to deliver a torpedo attack. Blunt’s destroyers turned on the enemy, but the Stralsund retreated.
Tyrwhitt considered chasing the German cruiser. In the end he decided not to follow the enemy warship. The commodore sensed that there was a trap set for him. Then Stettin appeared once more, and Arethusa and Fearless engaged her. During the exchange of shots, Blunt signaled his destroyers to deliver a torpedo attack on the German cruiser. Commodore Arthur Dutton of the destroyer Lookout, who was in charge of the First Division of the Third Flotilla, turned east-southeast to assist.
Suddenly, the German cruiser Mainz came on the scene. The destroyer Ariel, leading the Second Division of the First Flotilla, swung around to attack her. The Third and Fifth Divisions joined in. Several minutes later the Mainz turned back 16 points, where she came in contact with Goodenough’s cruisers, which opened fire on her.
The situation became critical for the British at 11:30 am when Stralsund came out of the mist. She began to engage Arethusa. Tyrwhitt signaled Beatty that he required immediate assistance, and Beatty responded by ordering Goodenough to help.
Tyrwhitt felt uneasy about engaging Stralsund alone, so he ordered his destroyers to deliver a torpedo attack. The British destroyers moved in for the attack but Stralsund turned northwest to avoid them. Several torpedoes were fired, but they all missed their mark. This, however, saved Arethusa, for the enemy cruiser retreated and disappeared in the thick weather.
With this immediate danger past, Tyrwhitt decided to resume his westward course. Then, a little after noon Mainz was sighted going southward. She was trying to escape from Goodenough’s cruisers. Fearless engaged her, firing a torpedo, but gyroscope trouble caused the torpedo to miss.
The commodore ordered his destroyers to assist Blunt. The First Division of the First Flotilla and the First and Second Divisions of the Third Flotilla moved northward of Arethusa and formed a line ahead to swing to the starboard on an opposite course of the enemy. The other destroyers were southward of the flagship and held on a westward course. Laurel fired two torpedoes, but both missed. Mainz opened fire on the British destroyer. Laurel was hit, and the lyddite in the after ready racks detonated, putting the after gun out of action. The destroyer limped away.
The destroyer Liberty was also hit. The mast tumbled down, killing the captain, Lt. Cmdr. Nigel Bartelot. Laertes suffered a hit that killed two members of her crew and wounded six others.
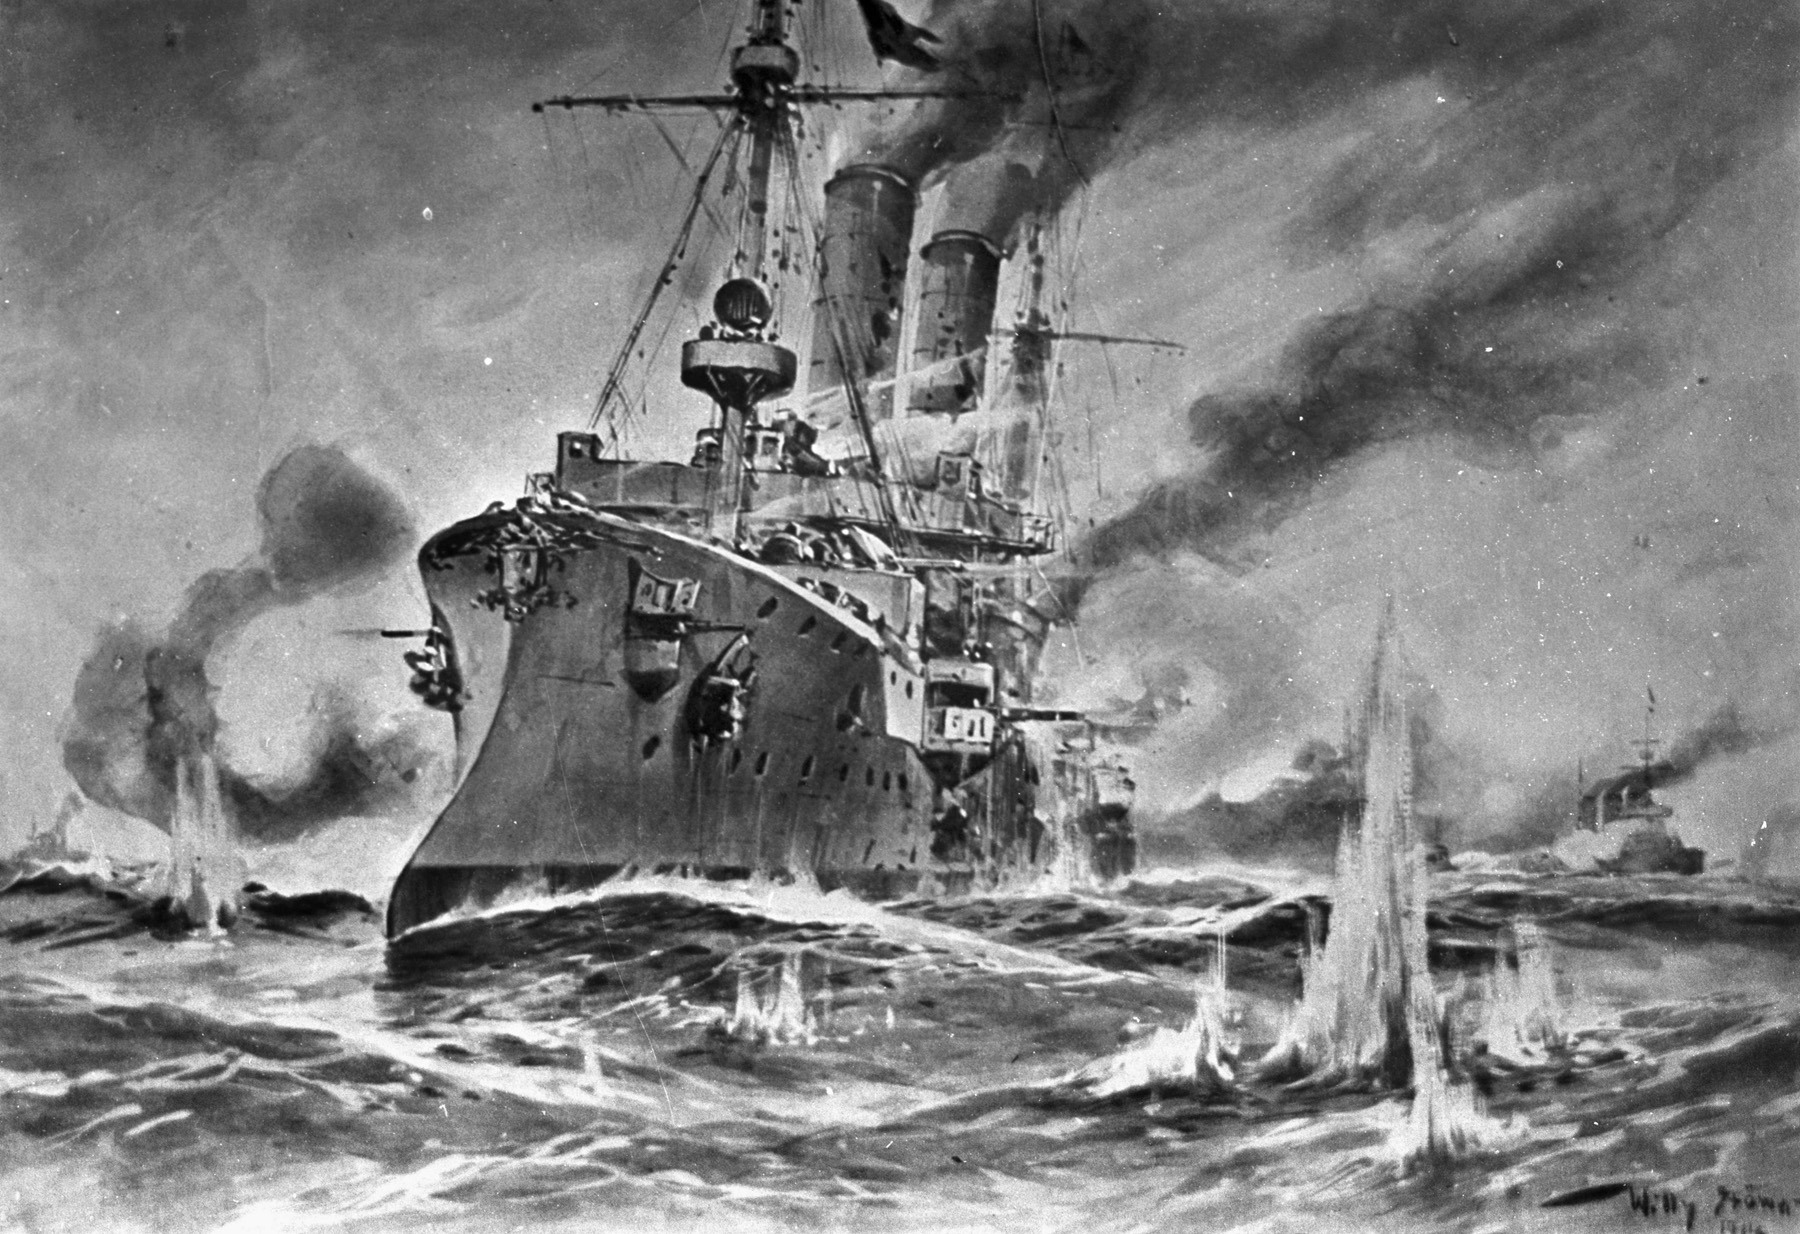
Mainz was also badly damaged. She was ablaze fore and aft, and her helm was jammed, causing the warship to steam in circles. The situation was so critical that the order “steer from wheelhouse” was issued.
The German cruiser received help when Stralsund, Stettin, and the flagship Cöln, bearing the German commander, Rear Admiral Leberecht Maass, came on the scene.
Fearless exchanged gunfire with the last two when suddenly the 2,608-ton, 22.2 knot German cruiser Ariadne with her 10 4.1-inch guns came out of the mist. Fearless steamed on and came within range of Mainz. Fearless opened fire on the enemy cruiser, which drew the Mainz’s attention away from the British destroyers.
During the confusion the destroyers of the Third Division of the Third Flotilla fired torpedoes at the Mainz. One, possibly two, of the torpedoes fired from Lydsard hit the enemy cruiser. Mainz stopped and became silent.
Tyrwhitt sighted Goodenough coming with his cruisers. He was relieved to see friendly cruisers at hand. Tyrwhitt decided to leave Mainz to Goodenough while he reformed his flotilla. As he did so, Goodenough came upon Cöln and Stettin and opened fire on them.
Mainz, meanwhile, was sinking. Her captain called out, “Abandon ship, ship’s company get clear with life belts.” Many of the ship’s crew did not hear this, including the first gunnery officer who ordered torpedoes to be fired. One torpedo was discharged from the port side and two from the starboard tubes. However, all three missed their target.
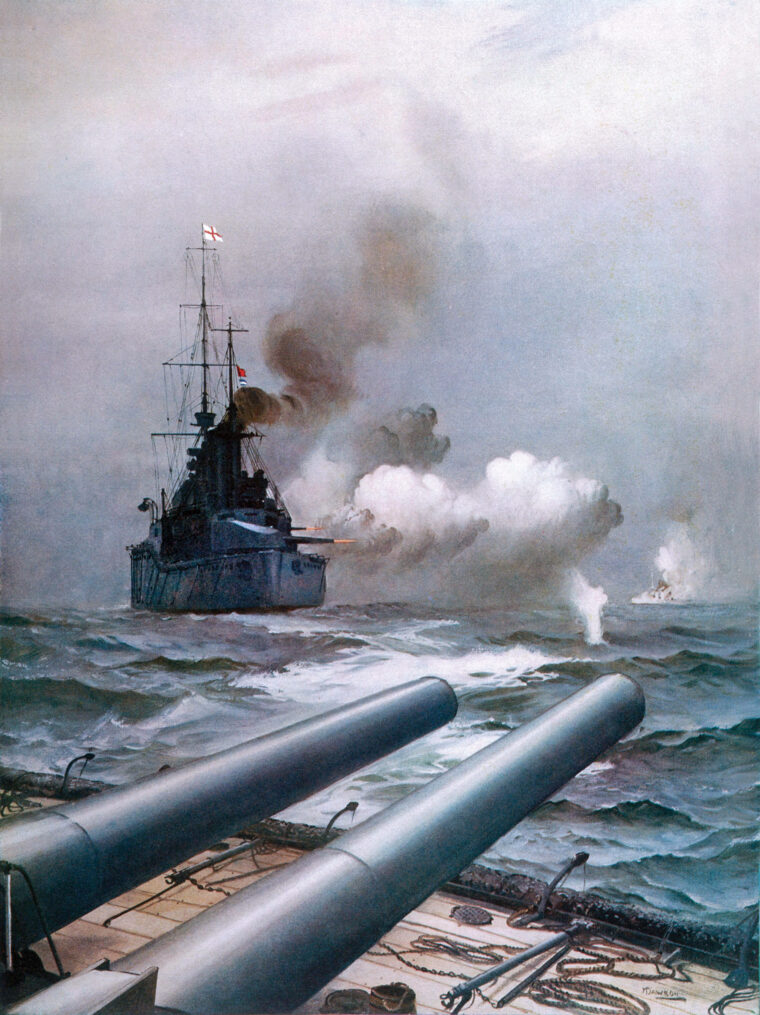
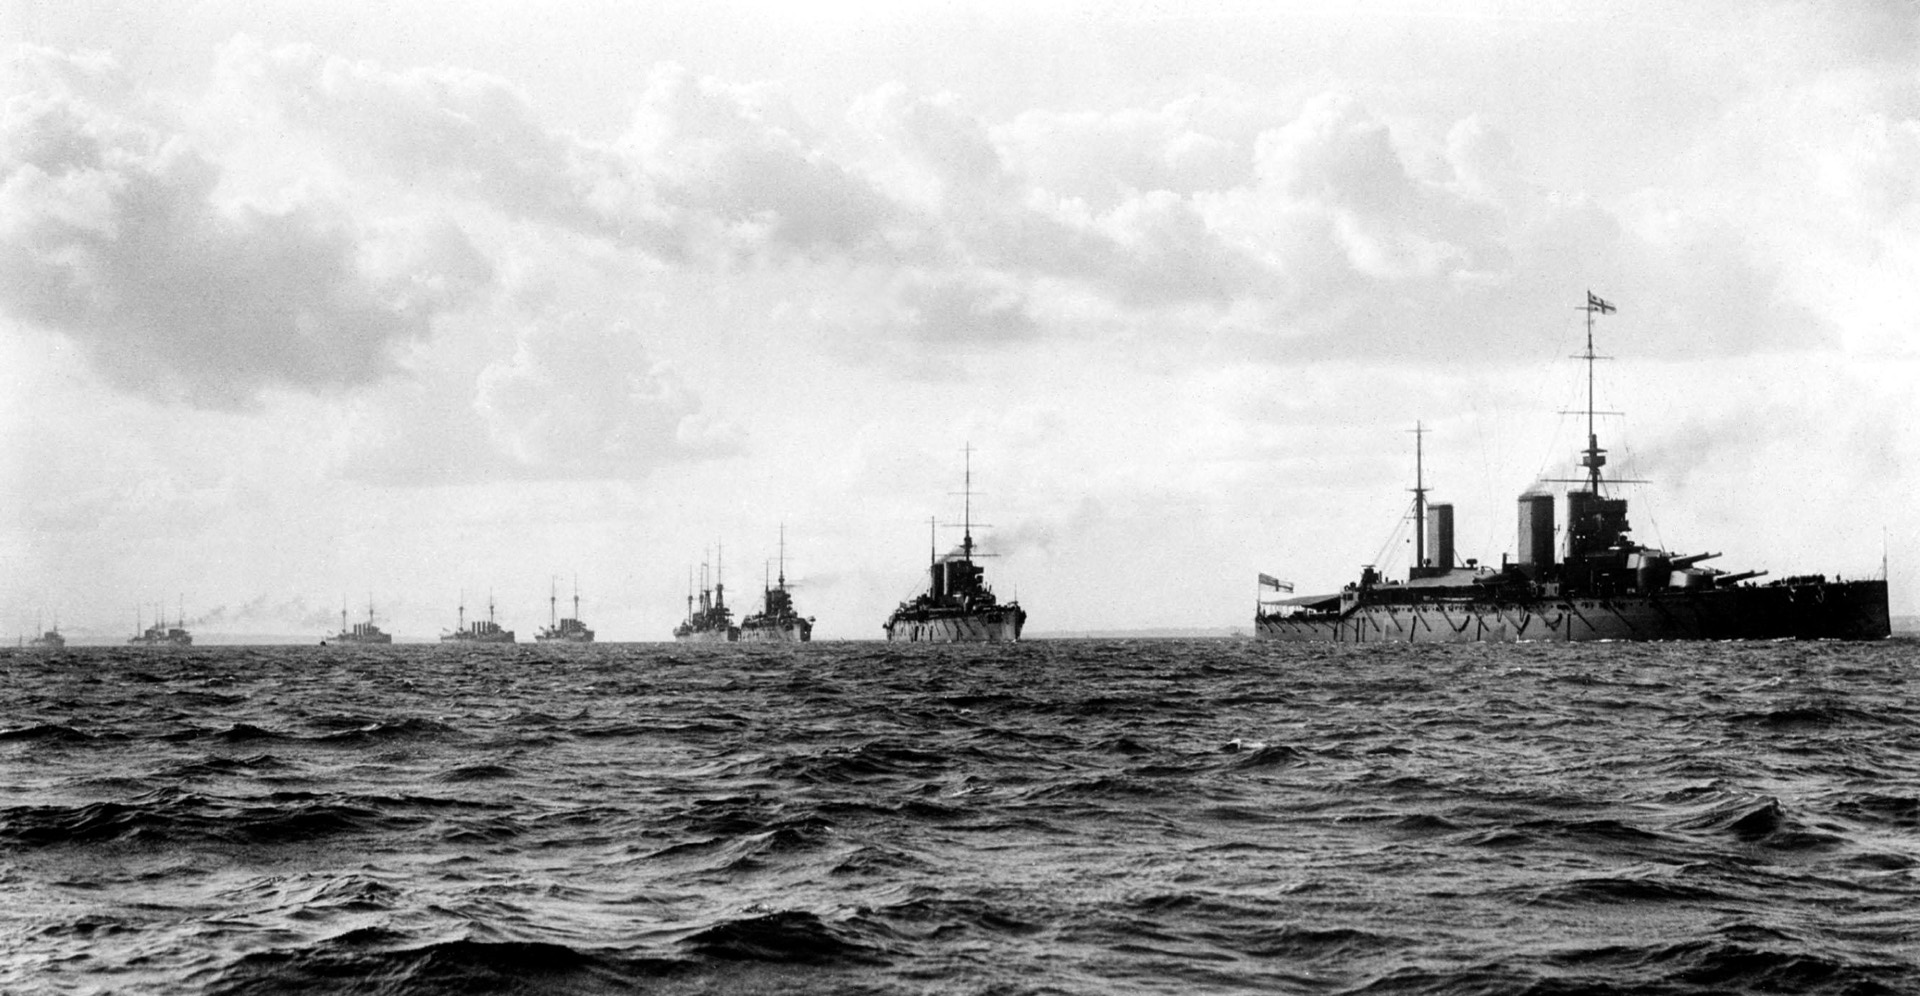
Then at 12:30 pm, Beatty arrived with his battle cruisers. This raised the spirits of the British immensely. As an officer on one of Tyrwhitt’s destroyers described the scene, “There straight ahead of us in lovely procession, like elephants walking through a pack of ‘pi-dogs,’ came the Lion, Queen Mary, Invincible, and New Zealand, our battle cruisers. Great and grim and uncouth as some antediluvian monsters, how solid they looked, how utterly earthquaking!”
Beatty quickly surveyed the scene. The admiral noticed that Mainz was still afloat. Beatty trained his guns on the dying cruiser and finished her off.
Beatty heard the gunfire from Fearless, Cöln, and Stettin. He was steaming in that direction when he came upon Cöln. Beatty altered a little to port and opened fire. After two or three minutes of firing the German cruiser was ablaze and limped off to the northwest.
Cöln was so heavily damaged that her crew set scuttling charges to sink her. The survivors expected the British to pick them up, but the British had already left the area. All but one crew member, including Maass, perished in the frigid waters. The sole survivor was picked up later by the Germans.
At 12:56 pm, Beatty’s lookouts spotted the Ariadne. The admiral ordered his guns to open fire on her. The battle cruisers’ guns roared and within minutes the German cruiser was ablaze and listing badly.
Beatty was now faced with the decision whether or not to go further. After careful thought he decided against going on. The British destroyers to the eastward reported floating mines. The Germans might also have sent out their heavy ships. At 1:10 pm, Beatty signaled for his squadron to retire.
Rescue work was undertaken for the crews of the sinking German ships. As one German officer stated, “The English ships made the greatest effort to pick up the survivors.” Keyes came up and rescued the survivors from the Mainz. The crew of Ariadne was later picked up by a German battleship.
At one point during the rescue, Keyes noticed a young officer standing on the Mainz. The commodore wanted to leave before the German warship capsized. However, the young officer refused to abandon his ship as long as she was afloat. He saluted and said, “Thank you, no.” The cruiser sank, and he was plucked out of the water along with another officer, the son of Admiral Tirpitz.
The Germans lost three cruisers and a destroyer along with more than 1,000 men killed, wounded, or captured. The British by contrast lost not a single ship and suffered 35 men killed. Only two British ships suffered severely, the cruiser Arethusa and the destroyer Laurel, which were taken in tow by Hogue and Amethyst.
The defeat the Germans suffered in August deterred them from venturing far from their bases for some time. As Churchill observed that from August to November 1914, “Except for furtive movements by individual submarines and minelayers, not a dog stirred.” This gave the British time to complete the defenses of their bases and consolidate the position of the Grand Fleet. The kaiser, fearing the loss of more ships, put restrictions on the movement of German warships. Admiral Tirpitz protested against this policy and noted, “There sprang up from that day forth an estrangement between the emperor and myself, which steadily increased.”
The Battle of Heligoland Bight was the first major victory for the Allies during World War I. It raised British morale considerably and installed an inferiority complex in the minds of German naval officers. As Churchill remarked, “Hence forward the weight of British naval prestige lay heavy across all German sea enterprise.”
Join The Conversation
Comments
View All Comments