By William Stroock
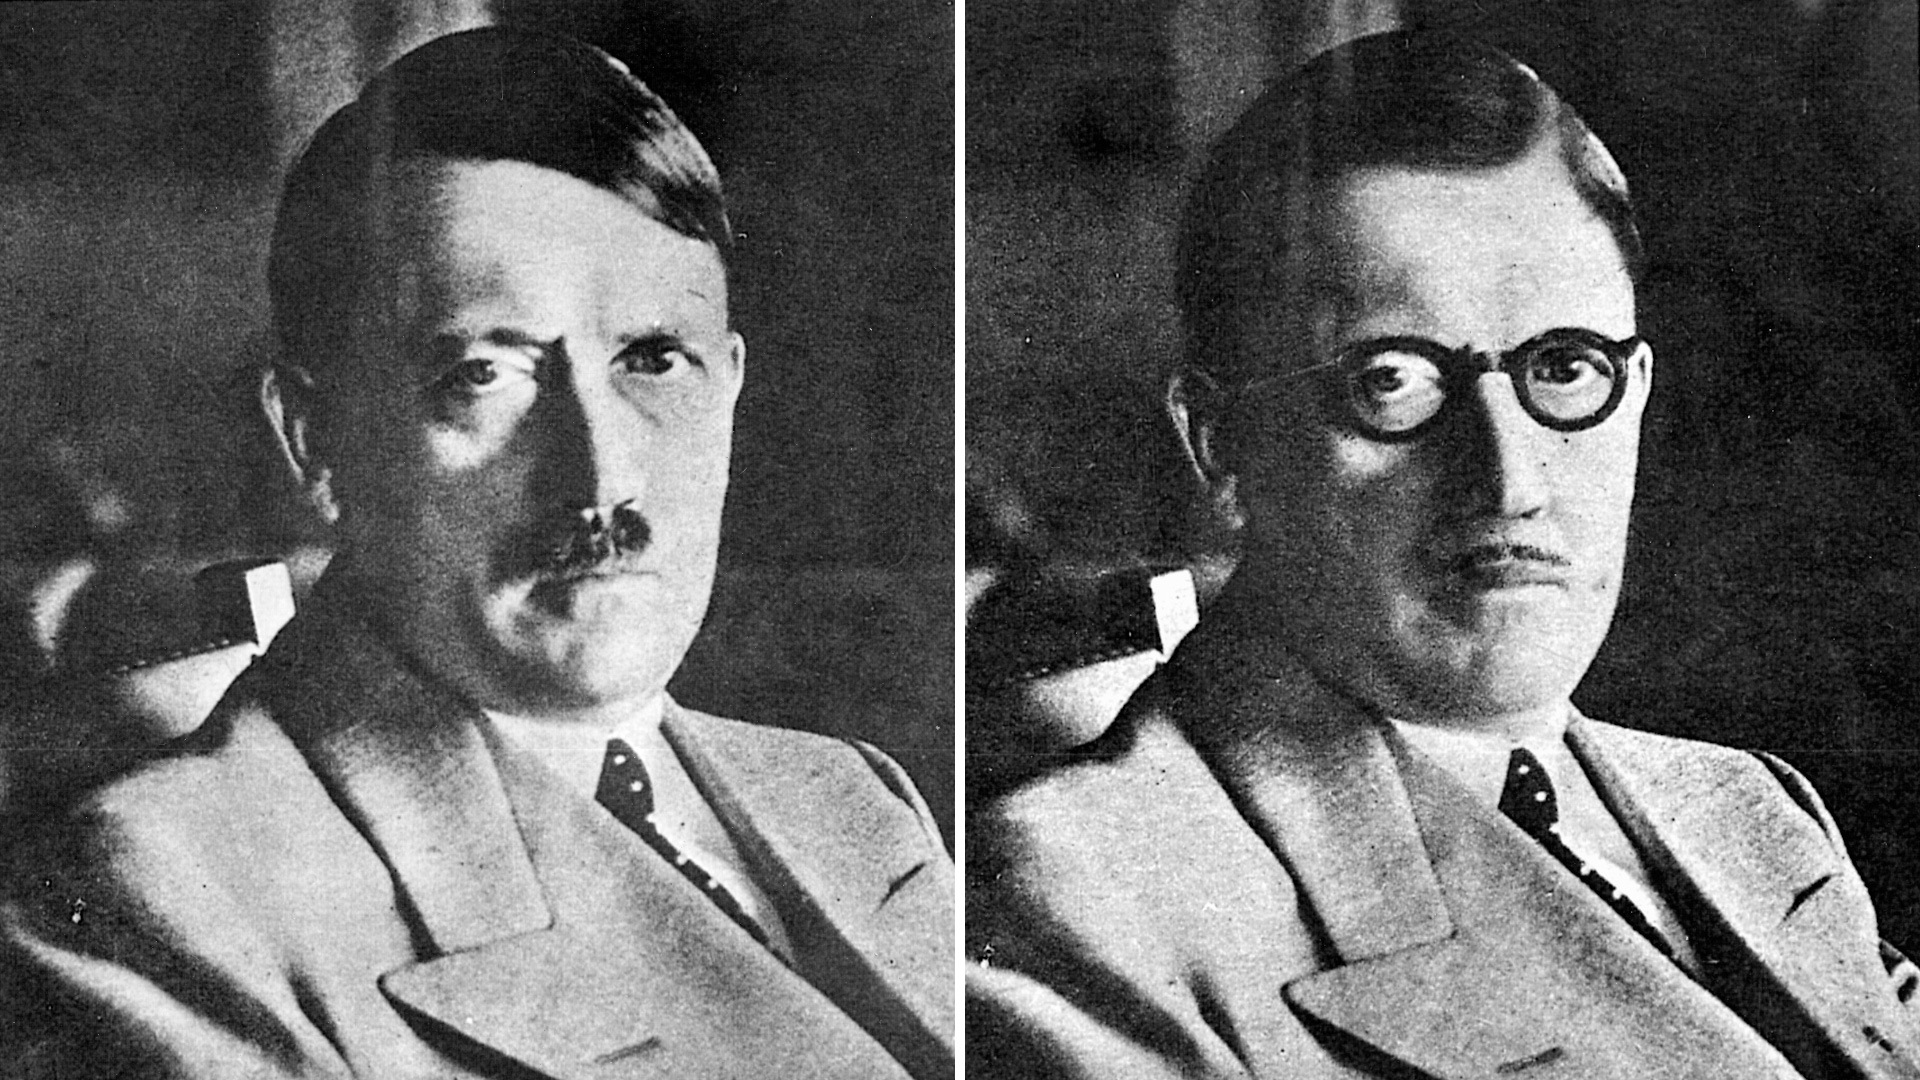
For more than a century the Middle East was the British Empire’s vital link between the Mediterranean and India. In the early years of World War II, the Middle East was vulnerable to Axis intrigue. Working with the Grand Mufti of Jerusalem, in exile since fomenting the Arab Revolt in 1936, Hitler sought to undermine the British position there via the canard of Arab nationalism, stating that the Arab Freedom Movement, as he called it, was “our natural ally against England.”
Therefore, German and Italian agents were active throughout the Middle East. In Iraq, with the aid of the Grand Mufti, they helped to organize a coup against the more or less neutral monarchy.
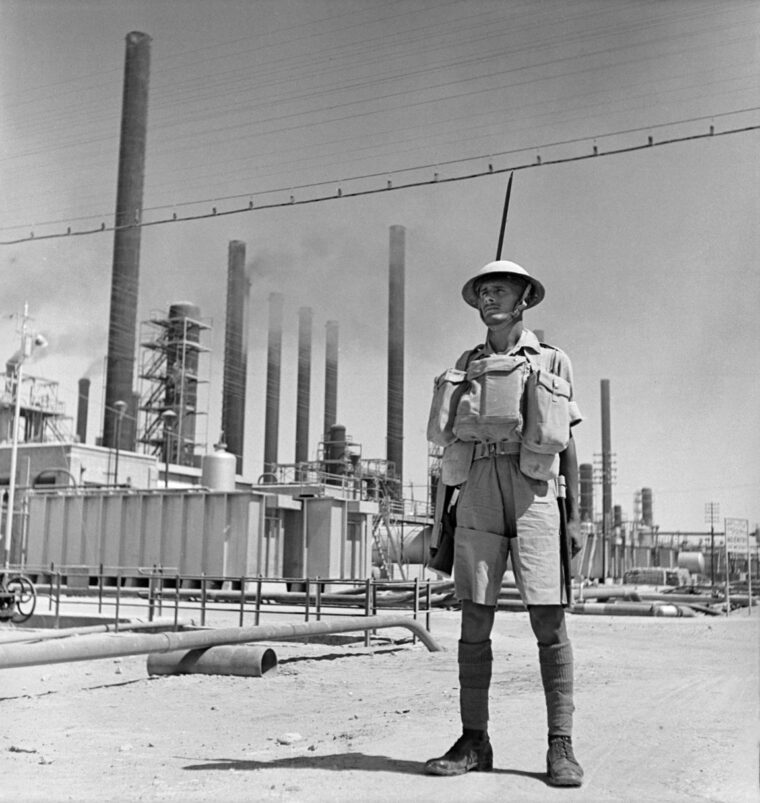
Axis agents were also active in Persia (Iran), whose shah tried to maintain neutrality in an ever-widening war. British planners not only feared for the kingdom’s oil wealth but saw Persia as a potential logistical lifeline to the Soviets.
Lastly, there was Syria. Under Vichy rule, Syria was a dangerous threat to communications between the British Middle East and India—a threat made all the worse by German success in Greece and Crete.

When the war began, Palestine was ripe for subversion. There had been trouble in the British Mandate since mass Jewish immigration began after World War I. The worst incident of violence occurred in 1929, when the Grand Mufti incited local Muslims to riot after Jews began praying at the Western Wall. This was followed by the Hebron massacre of dozens of Jews, also at the hands of the Mufti and his allies.
The Arab Revolt was not a full-scale military uprising but a prolonged series of small-scale actions between British forces and Arab irregulars. When not fighting the British, Arab forces attacked Jewish settlements and British infrastructure, such as the Iraqi oil pipeline, in Palestine. There were also general strikes and acts of civil disobedience. The revolt led to two ironic outcomes: British reinforcements flooded into Palestine, and the Jewish Agency there was forced to expand its militia into what came to be known as the Haganah and the Palmach, the forerunner of the Israeli Defense Force.
The British commander in Palestine, General Archibald Wavell, received help from an unlikely source: Major Orde Wingate, an intelligence staff officer recently arrived from Sudan. Acting on his own, Wingate took several unorthodox actions. He worked closely with the Haganah, delivering to them arms and intelligence. Eventually, he persuaded Wavell to allow him to train Haganah fighters and integrate them with British troops. This force of about 150 men was divided into three units called Special Nights Squads (SNSs). The SNSs fought in small units under the cover of darkness.
Rather than play defense, Wingate sent his squads out into the field where he aggressively sought out Arab guerrillas, tracking their bands, setting ambushes, and assaulting their hideouts. By 1938, the various Arab guerrilla movements avoided Wingate and his SNSs altogether. Thanks in part to concessions granted by the British, including restrictions on Jewish immigration and land purchasing as well as the efforts of Wingate, among others, the revolt gradually petered out. But the Axis/Arab threat to the British position would rise again.
Iraq
After being granted independence in 1930, Iraq remained an important way station between British possessions in the Mediterranean and India. It was a major source of oil for Britain as well, with two pipelines—one running to Haifa, the other to Tripoli. By treaty, the Iraqi government had to grant British forces free access to and through Iraq, allowing Britain to maintain military bases in the country and helping to defend those facilities in the event of war. In 1941, there were two Royal Air Force bases in Iraq—one at Shaibah, north of Basra, and the other at Habbaniya, west of Fallujah.
Unfortunately for Great Britain, Iraq was a hotbed of pro-Axis sentiment. Since 1937, a secret cabal of Iraqi officers, known as the Golden Square, had intrigued against the Iraqi monarchy, which was led by a weak regent in the name of the four-year-old future king. Worse, the government was headed by Prime Minister Rashid Ali el Gailani, an Axis sympathizer who had helped found the anti-Western and anti-Semitic Muslim Brotherhood. As such, Rashid Ali was in close contact with the Golden Square. A third problem was created by the presence in Baghdad of the Grand Mufti of Jerusalem. The Italian consulate was also active, spreading Axis propaganda throughout the country.
With internal tensions rising and the threat of open civil war growing between the Golden Square and the regent, Rashid Ali resigned in January 1941. Although out of office, he continued to intrigue against the regent and the British. Then, on April 3, 1941, the Golden Square seized the government and reinstalled Rashid Ali in the office of prime minster. Rashid Ali quickly warned the British against any intervention and by midmonth asked Germany for military assistance.
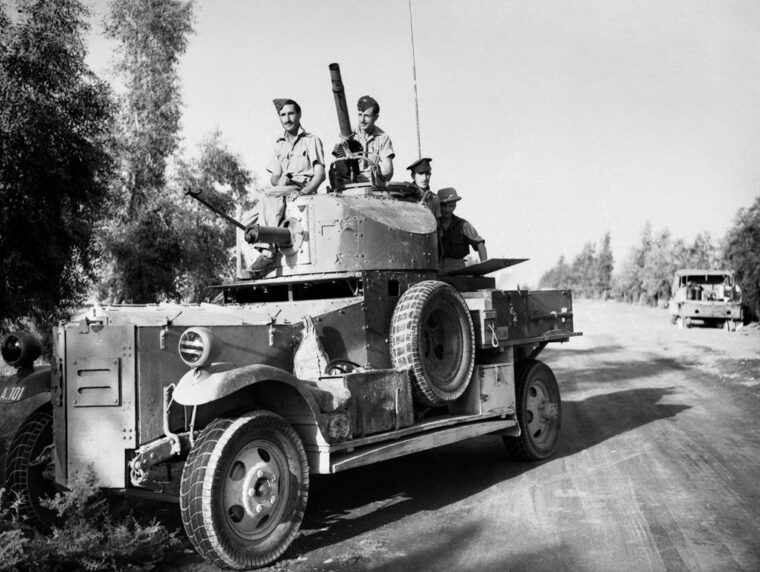
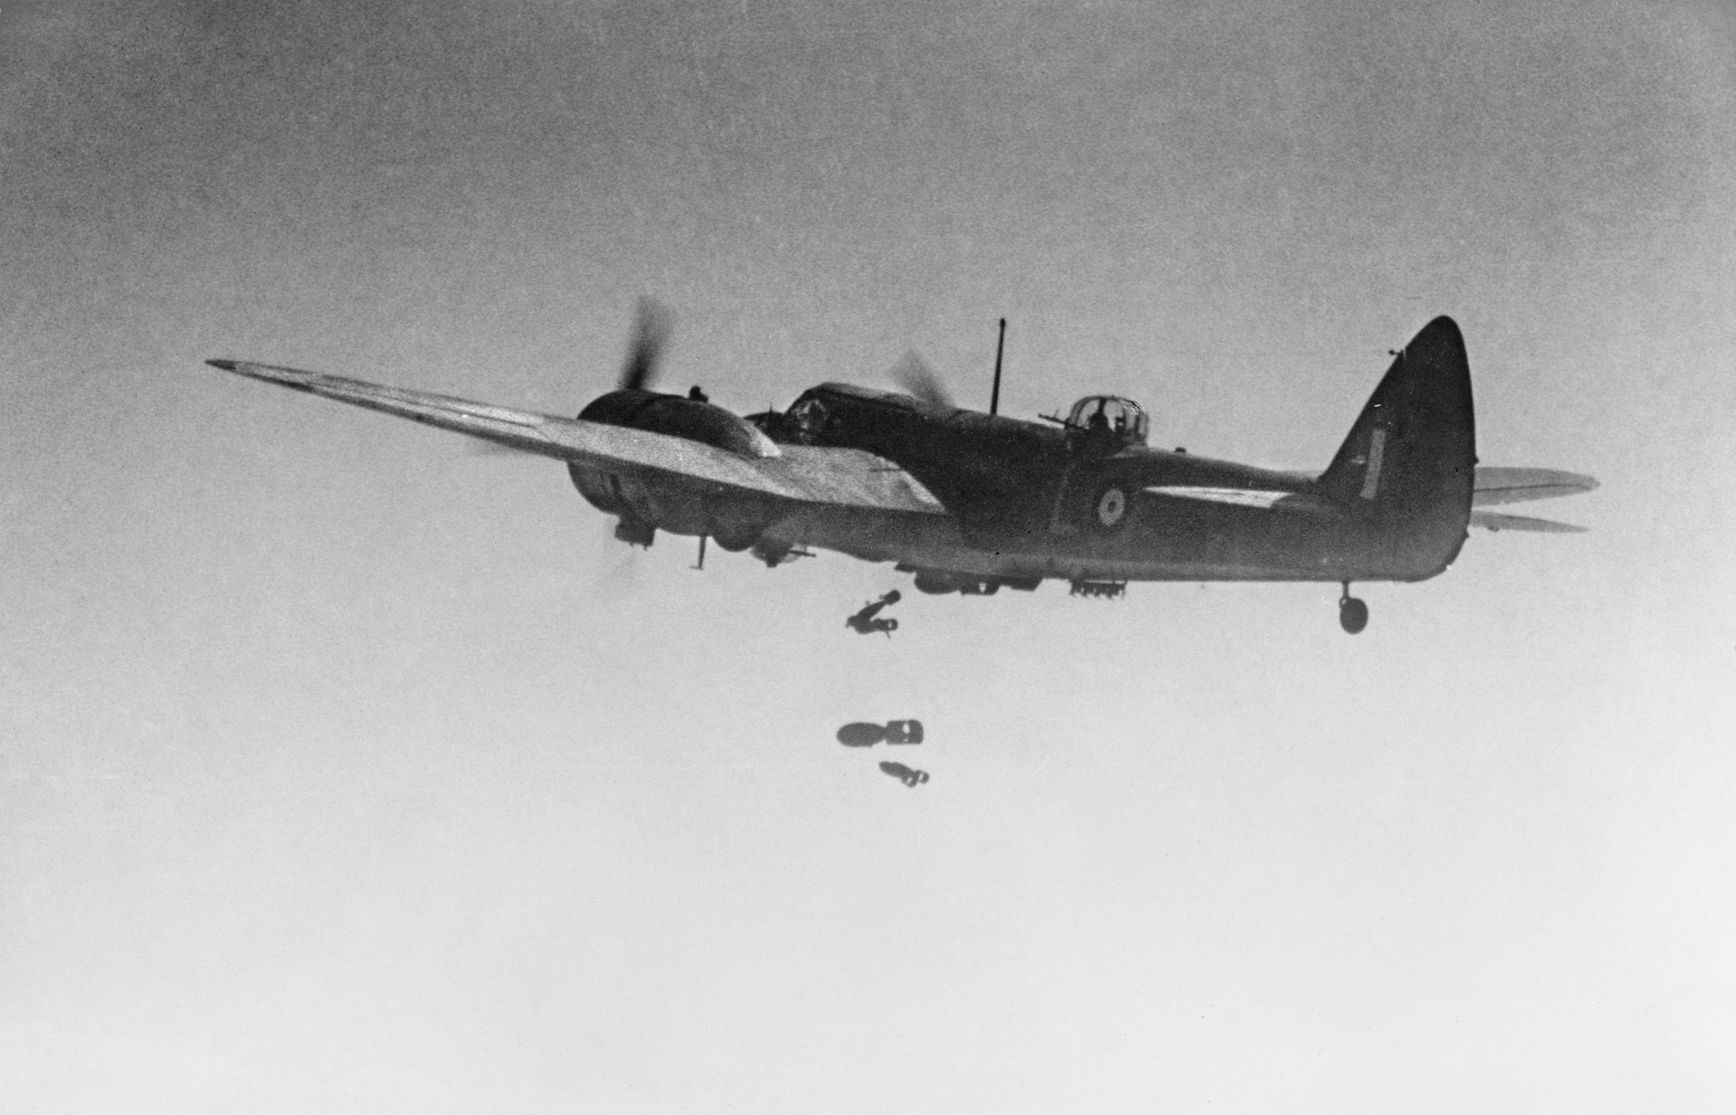
The British government was not idle, and on Churchill’s orders it scrambled to assemble the troops needed to defend their interests in Iraq, namely the air bases, the pipelines, and, of course, Basra. A small expeditionary force was scraped together in Palestine, and a battalion of the King’s Own Royal Regiment (Lancaster) was flown into Habbaniya to support the six companies of Iraqi levies and the No. 1 Armoured Car Company (RAF) already present there. Dozens of aircraft were at the base as well, but these old and outdated models were good only for training purposes. Two squadrons of modern Wellington bombers were flown from Egypt to Shaiba.
Further reinforcements were found in India, with the 10th Indian Infantry Division (commanded by the soon-to-be-famous General William Slim) being dispatched to Basra. When informed by the British ambassador that the troops would be arriving, Rashid Ali refused to allow them into the country. The troops came anyway, with one brigade landing unopposed at Basra on April 30. Upon arriving, the division’s chief of staff, Colonel Ouvry Roberts, was dispatched to Habbaniya to command ground forces there. A battle was brewing.
The Battle for Habbaniya
Instead of confronting the Indian Brigade in Basra, Rashid Ali chose to marshal his forces against the British air base at Habbaniya. This was a wise move, as the Indian troops would most likely have sliced right through Iraqi Army units. Also, taking Habbaniya would prevent Royal Air Force units from interfering with any Axis reinforcements that might be sent to help the Golden Square.
Iraqi troops arrived in the vicinity of Habbaniya in the early-morning hours of April 30 and gradually assembled atop the heights south of the base; most of the Iraqi troops thought that they were on a training exercise. By the morning of May 1, the units included one infantry brigade, one mechanized artillery brigade, a squadron of armored cars, and a mechanized machine-gun company. Additionally, Iraqi troops occupied the village of Dhibban to the east on the Euphrates, another company entered Fallujah, and a brigade took up positions in Ramadi.
Being totally exposed, the base commander, Air Vice Marshal H.G. Smart, acting on orders from the prime minister that read, “If you have to strike, strike hard. Use all necessary force,” attacked first. On the morning of May 2, 18 Audax, nine Oxford, and six Gordon bombers took off from the airfield and bombed the Iraqi positions. The Iraqis responded by bombarding the airfield, revealing their positions to the British aircrews above who swooped in and attacked. Wellingtons out of Shaibah also joined the fray, while Iraqi aircraft flew from their bases and hit Habbaniya, causing minor damage. During the day’s aerial battle, which saw more than 200 sorties, the British lost 22 aircraft.
A pair of ground engagements punctuated the action in the air. The first of these saw a squad from No. 8 Kurdish Company cross the Euphrates River and attack an Iraqi gun emplacement along the road north of the base. The squad came under heavy machine-gun fire and had to retreat, though the emplacement was later destroyed from the air. In the second action, No. 4 Assyrian Company of the Iraqi Levies repelled an attack by several armored cars and light tanks.
There followed several more days of heavy air attacks by the RAF on Iraqi formations south of the base, on convoys along the Fallujah road, and on Iraqi airfields around Mosul and Baghdad as well. One series of raids on May 4 conducted by Wellington bombers destroyed 20 enemy aircraft. In all, these efforts destroyed or disabled at least 50 Iraqi planes. The toll taken on Iraqi troops around Habbaniya mounted while their morale plummeted, until they withdrew on the night of May 6; British morning patrols discovered that the escarpment had been abandoned. The patrols pushed east until they ran into strong resistance at Dhibban. Colonel Roberts reinforced the patrol with C and D Companies from the King’s Own and pressed the attack. By midafternoon they had taken the village and captured more than 500 prisoners. The commander of Iraqi forces in Fallujah dispatched a column to try to retake the village but it was, in the words of AVM Smart, “virtually annihilated” from the air.
The March to Fallujah
Smart and Roberts decided that the next logical step was an attack on Fallujah (and the key Iron Bridge across the Euphrates) as a prelude to a move against Baghdad. To assist, a company of Gurkhas, some artillery personnel, and sappers were flown in from Basra. More important, a reinforced mechanized brigade known as Hab Force was making its way to Habbaniya from Palestine. Commanded by Maj. Gen. George Clark of the 1st Cavalry Division, Hab Force advanced along the pipeline and garrisoned strategic points along the way.
Upon occupying the town of Rutbah, Clark put several units under the command of Brig. Gen. J.J. Kingstone and sent them to reinforce Roberts. Designated “Kingcol,” the column had trouble making its way across the desert and was strafed several times by German aircraft that had arrived in Mosul. German planes also attacked Habbaniya. In the meantime, Iraqi troops breached the dykes or bunds along the Euphrates, flooding the area.
Meanwhile, Roberts’s forces set out from Habbaniya on the night of May 18. Three columns (Iraqi Levies, King’s Own, and 2/4 Gurkha Rifles) crossed the Euphrates at Dhibban, where a makeshift ferry had been built, and moved toward Notch Falls, north of Fallujah, thereby avoiding the flooded main road. A fourth column advanced along the main road leading to the town, while a fifth column (one company of the King’s Own) was airlifted behind Fallujah and took up a position overlooking the road to Baghdad.
At the same time, RAF planes bombed Iraqi positions inside Fallujah. The three columns had arrived on the western outskirts of Fallujah by early afternoon and had the Iron Bridge across the Euphrates in their sights. Because Iraqi troops ignored surrender pamphlets dropped by the RAF, an assault on the bridge commenced at 2:45 pm. After an hourlong artillery barrage, at 5 pm the Iraqi Levies stormed the bridge and took it without suffering a single casualty.
Three days later, as they were consolidating their hold on the town, the British were caught unawares by a counterattack launched by the 6th Iraqi Infantry Brigade. In the early-morning hours, a British patrol sent to investigate reports of enemy movement encountered an Iraqi column on the road to Baghdad. The patrol brought the column under fire but quickly retreated. The Iraqis advanced and unleashed a mortar bombardment on the British defense line north of town, held by C Company of the King’s Own. Under heavy fire, C Company fell back into town.
The Iraqis followed but were stopped by two companies of Iraqi Levies before they could advance on the Iron Bridge. The 6th Brigade then attacked Fallujah’s southeastern defenses but made no progress against A Company of the King’s Own. By then, Kingstone had arrived with A and D Companies of the Essex Regiment and C Company of the Household Cavalry and, in the house-to-house fighting that followed, ejected the remaining Iraqi troops from Fallujah.
On to Baghdad
British forces remained at Fallujah for the next week while the RAF attacked targets of opportunity. These included a raid by a flight of Audax bombers on an Iraqi Army fuel dump that destroyed more than a million gallons of fuel and the dropping of surrender pamphlets on Iraqi troops in Ramadi. Most important, a series of raids were launched against the fields housing German aircraft around Mosul, Kirkuk, and the Rasheed field southeast of Baghdad. Air base facilities were heavily damaged, as were 14 aircraft on the ground.
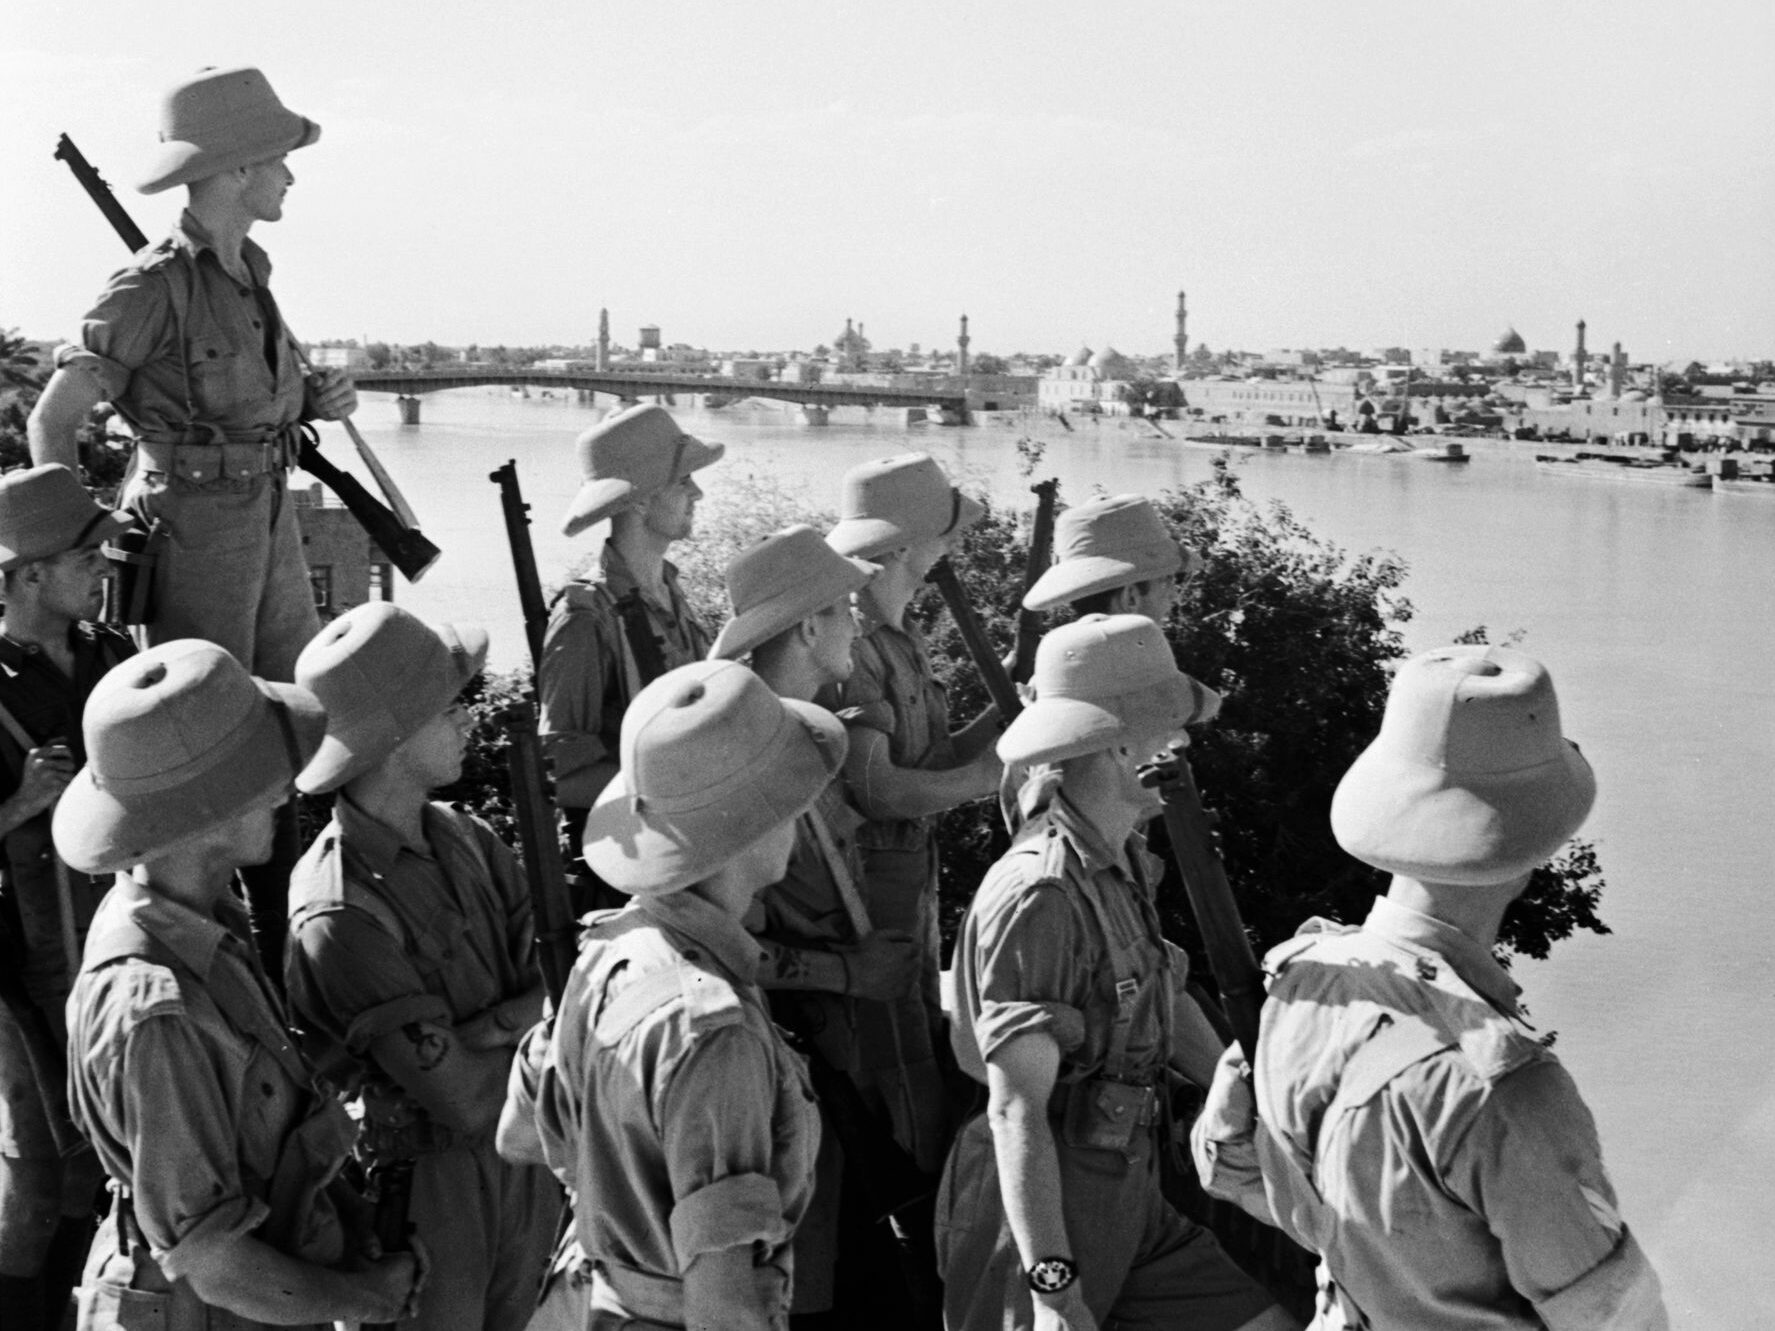
On May 28, the advance resumed, with one column (two companies of the Essex Regiment, the Household Cavalry, and three armored cars) advancing directly along the Fallujah-Baghdad road, with a second squadron from the Household Cavalry, the Arab Legion plus some armored cars on the northern flank, and moving toward Baghdad’s northeastern suburbs. The columns advanced under heavy air cover that bombed Iraqi strongpoints and troop concentrations in and around Baghdad. The north column met determined Iraqi resistance at Kadhimain, on the banks of the Tigris.
An attack led by the Household Cavalry failed to punch through, leaving the column dangerously exposed should the 3rd Iraqi Infantry Brigade stationed at Mosul choose to march south. Therefore, the Arab Legion was pulled off the bank of the Tigris and sent north to protect the flanks.
Restoration
On May 30, with the main column just outside Baghdad on the Whabash Canal and shelling Iraqi Army positions in Baghdad and the 10th Indian Infantry Division advancing from Basra, authorities from the Golden Square contacted the British embassy and requested a cease-fire. It was later learned that Rashid Ali had fled Baghdad. In the early-morning hours of May 31, both Smart and Clark met an Iraqi delegation at the Whabash Canal Bridge. The terms of an armistice were quickly hammered out and the fighting was officially brought to an end. The regent was back in Baghdad on June 1. By the end of the month, the entire 10th Indian Infantry Division was garrisoning key positions in Iraq.
Vichy Syria
On the heels of their success in Iraq, a much harder fight loomed for British and Commonwealth troops in the Middle East, this time in the colony of a former ally. After the fall of France in June 1940, Vichy Syria adopted a policy of neutrality. However, as the war dragged on, the Axis was gradually able to wring concessions from Vichy authorities in the Levant.
At first, these came in the form of landing rights at French airfields. Later, Axis diplomats demanded and received the right to use French ports in Syria. So alarmed were British authorities that they contacted the Vichy high commissioner in Syria, General Henri Dentz, and asked what his response to a German invasion would be. Dentz replied that he would resist any invasion but also added that he would obey any instructions received from Vichy. Churchill ordered General Wavell to prepare British forces in the Middle East for an invasion of Syria.
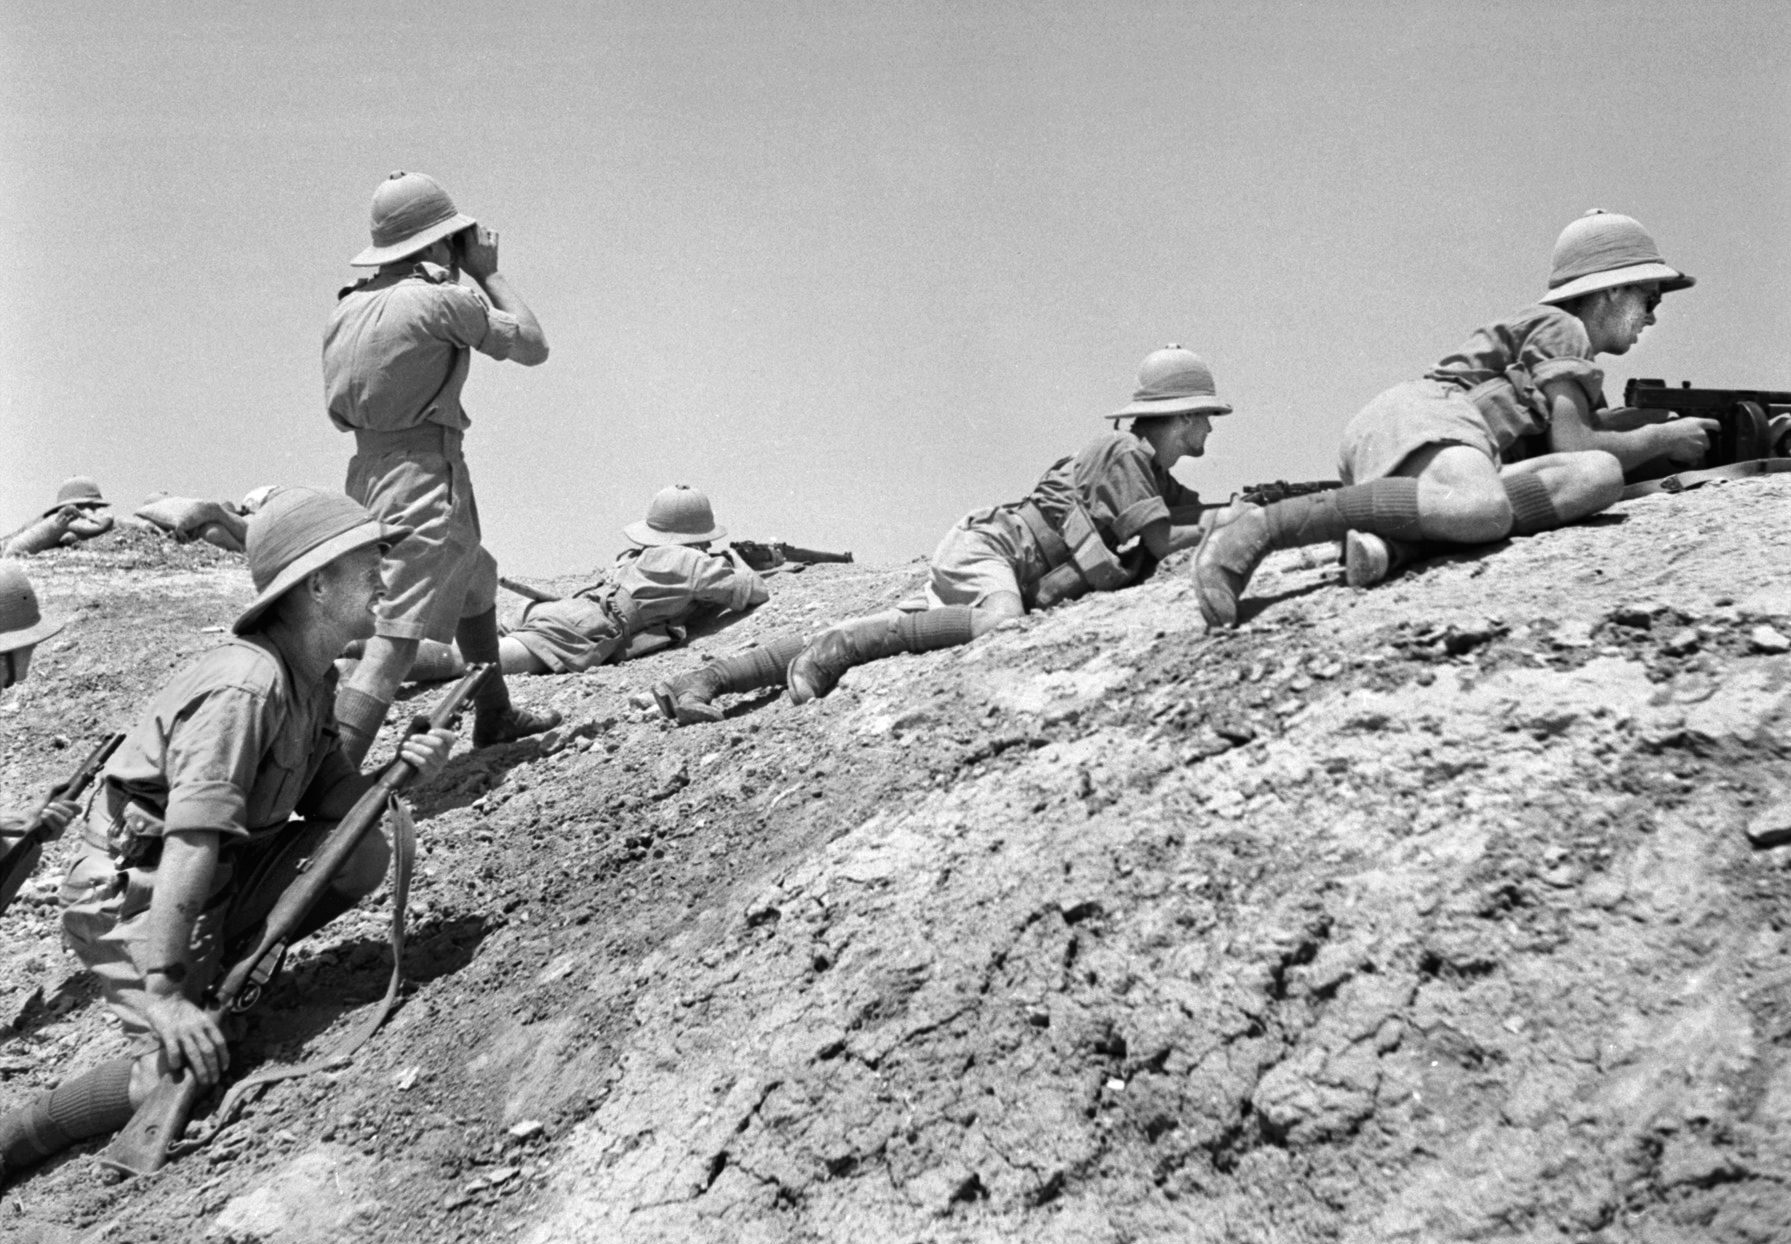
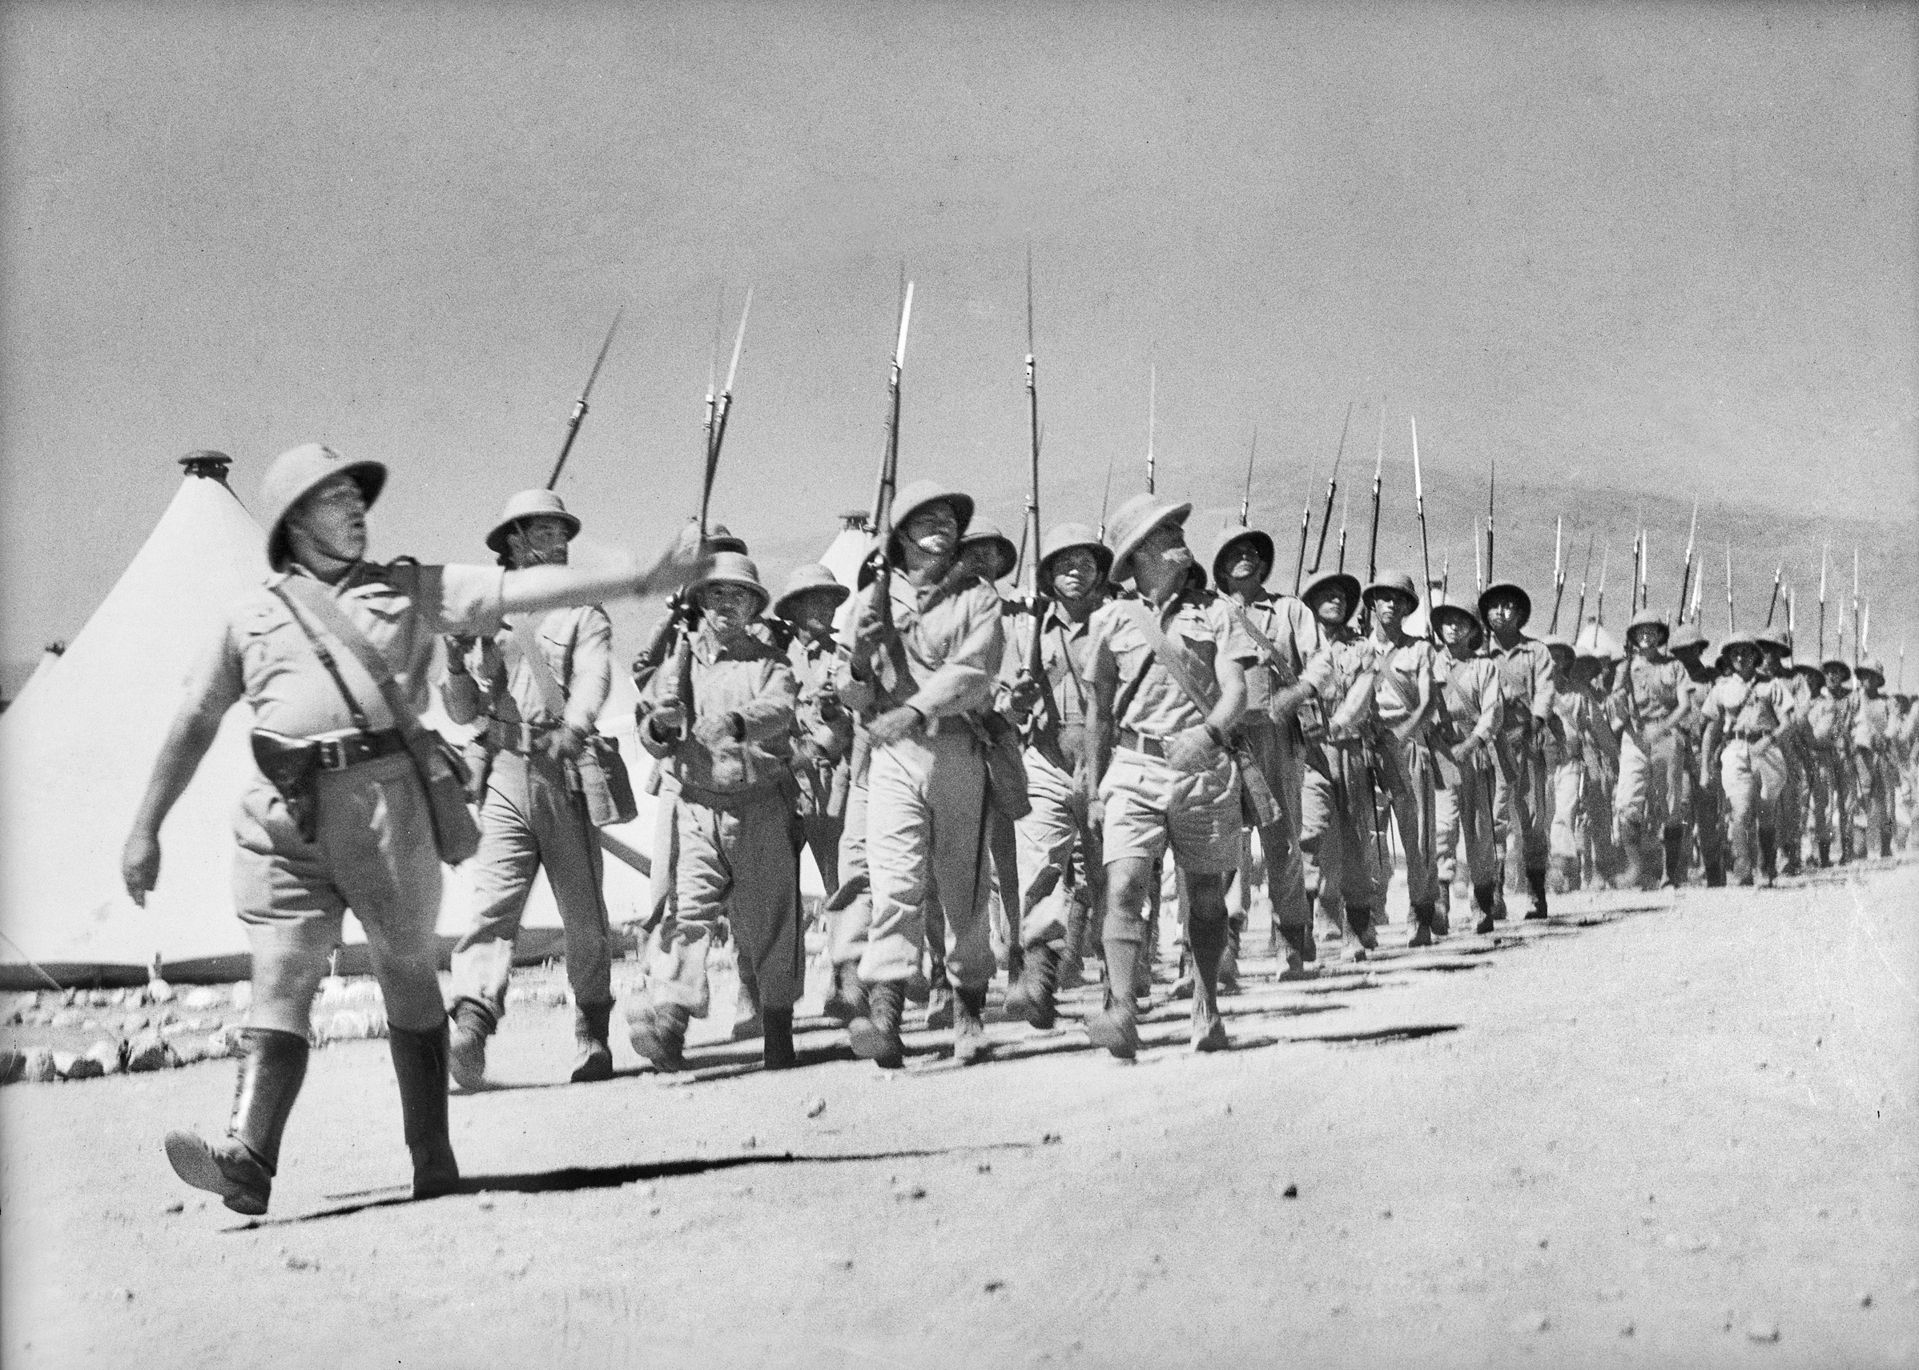
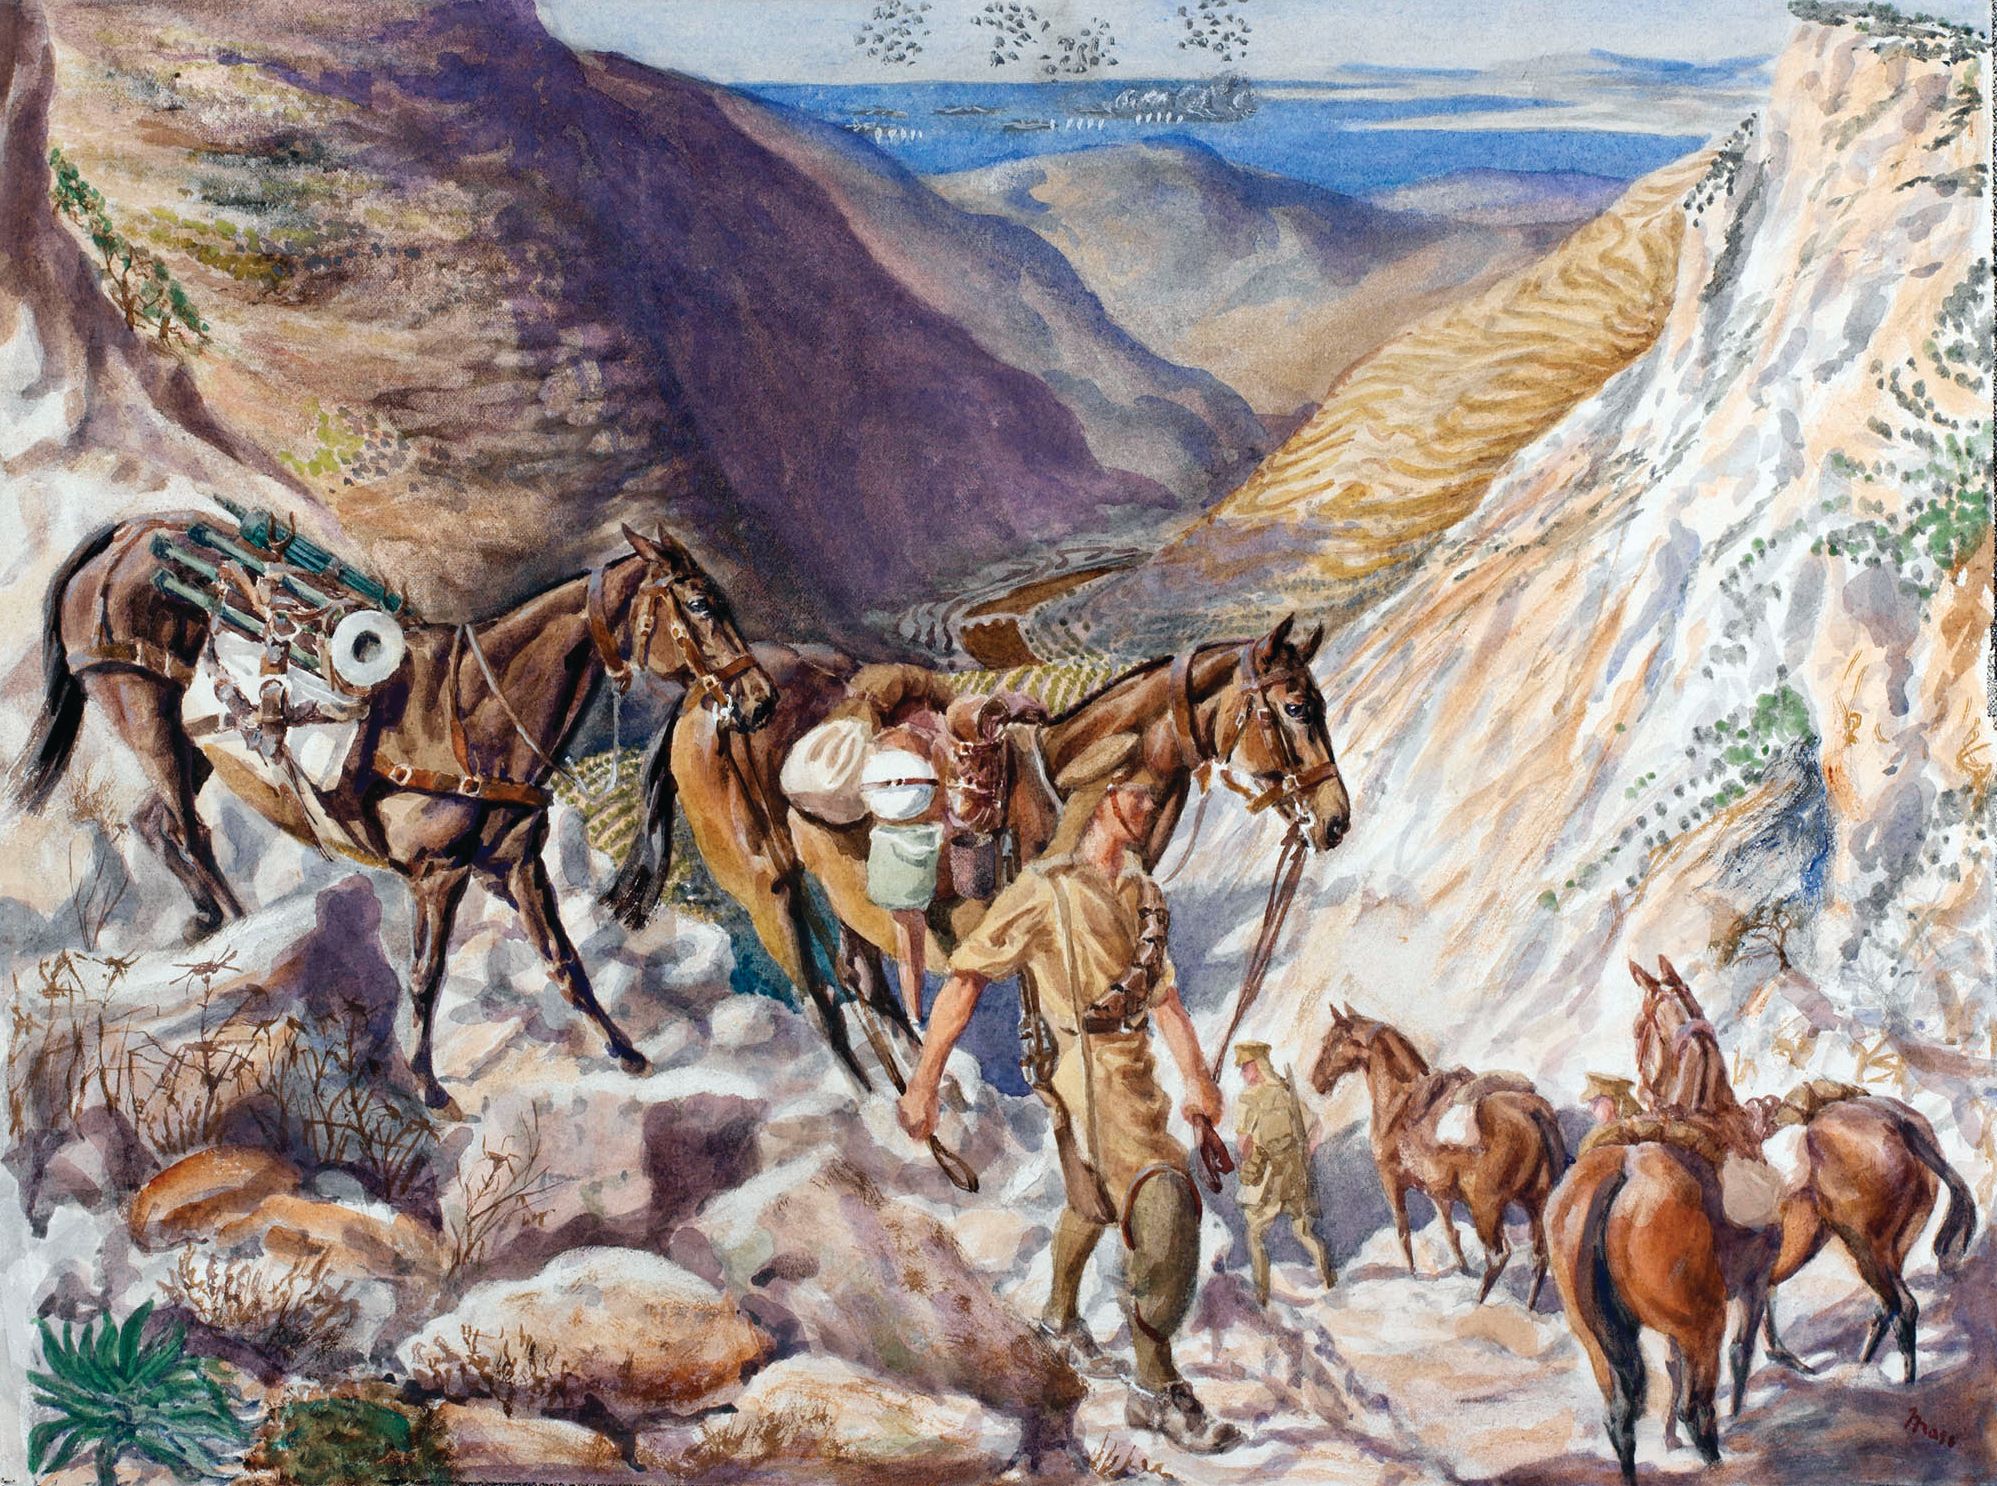
Though stretched thin by the battle for Iraq and the ongoing campaign against Rommel’s Afrika Korps, resources were available for an attack on Syria. In Palestine, these included two brigades of the elite 7th Australian Division, the 5th Brigade of the 4th Indian Infantry Division, and elements of several diverse formations including an armored car squadron, several troops of the 1st Cavalry Division, and two brigades of Free French troops, many recently defected from Vichy Syria.
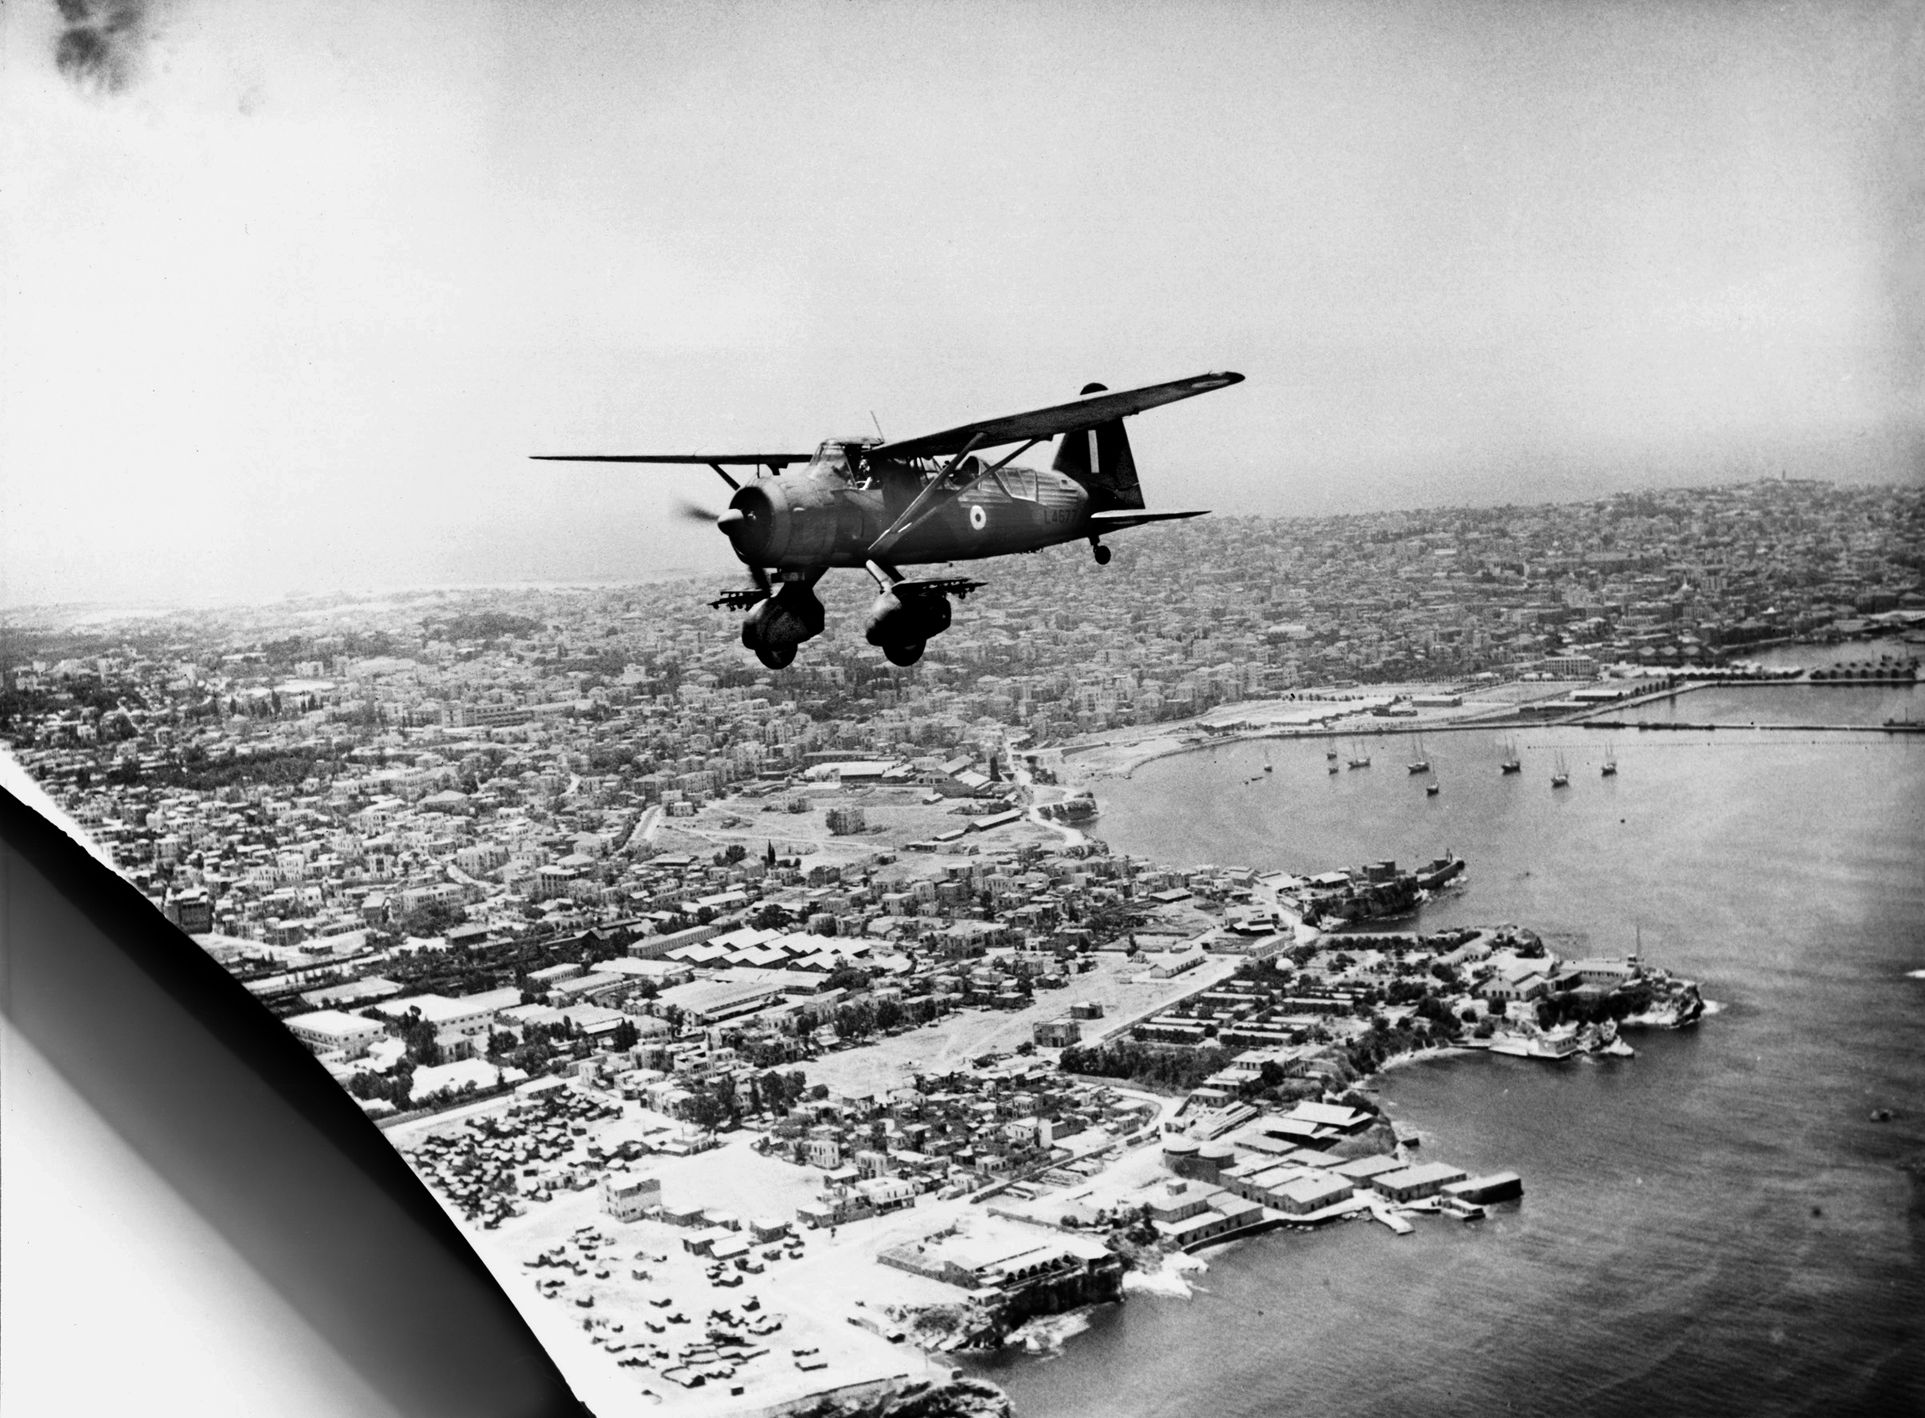
With them, Wavell planned an advance on two fronts, one on the coast, the other inland just east of the Bekaa Valley, with the goal of taking Beirut and Damascus. A third effort would be mounted out of Iraq. General Clark’s Hab Force (now numbering three regiments, an artillery battery, an antitank battery, and the Arab Legion) would attack the city of Palmyra, just over the Syria/Iraq border.
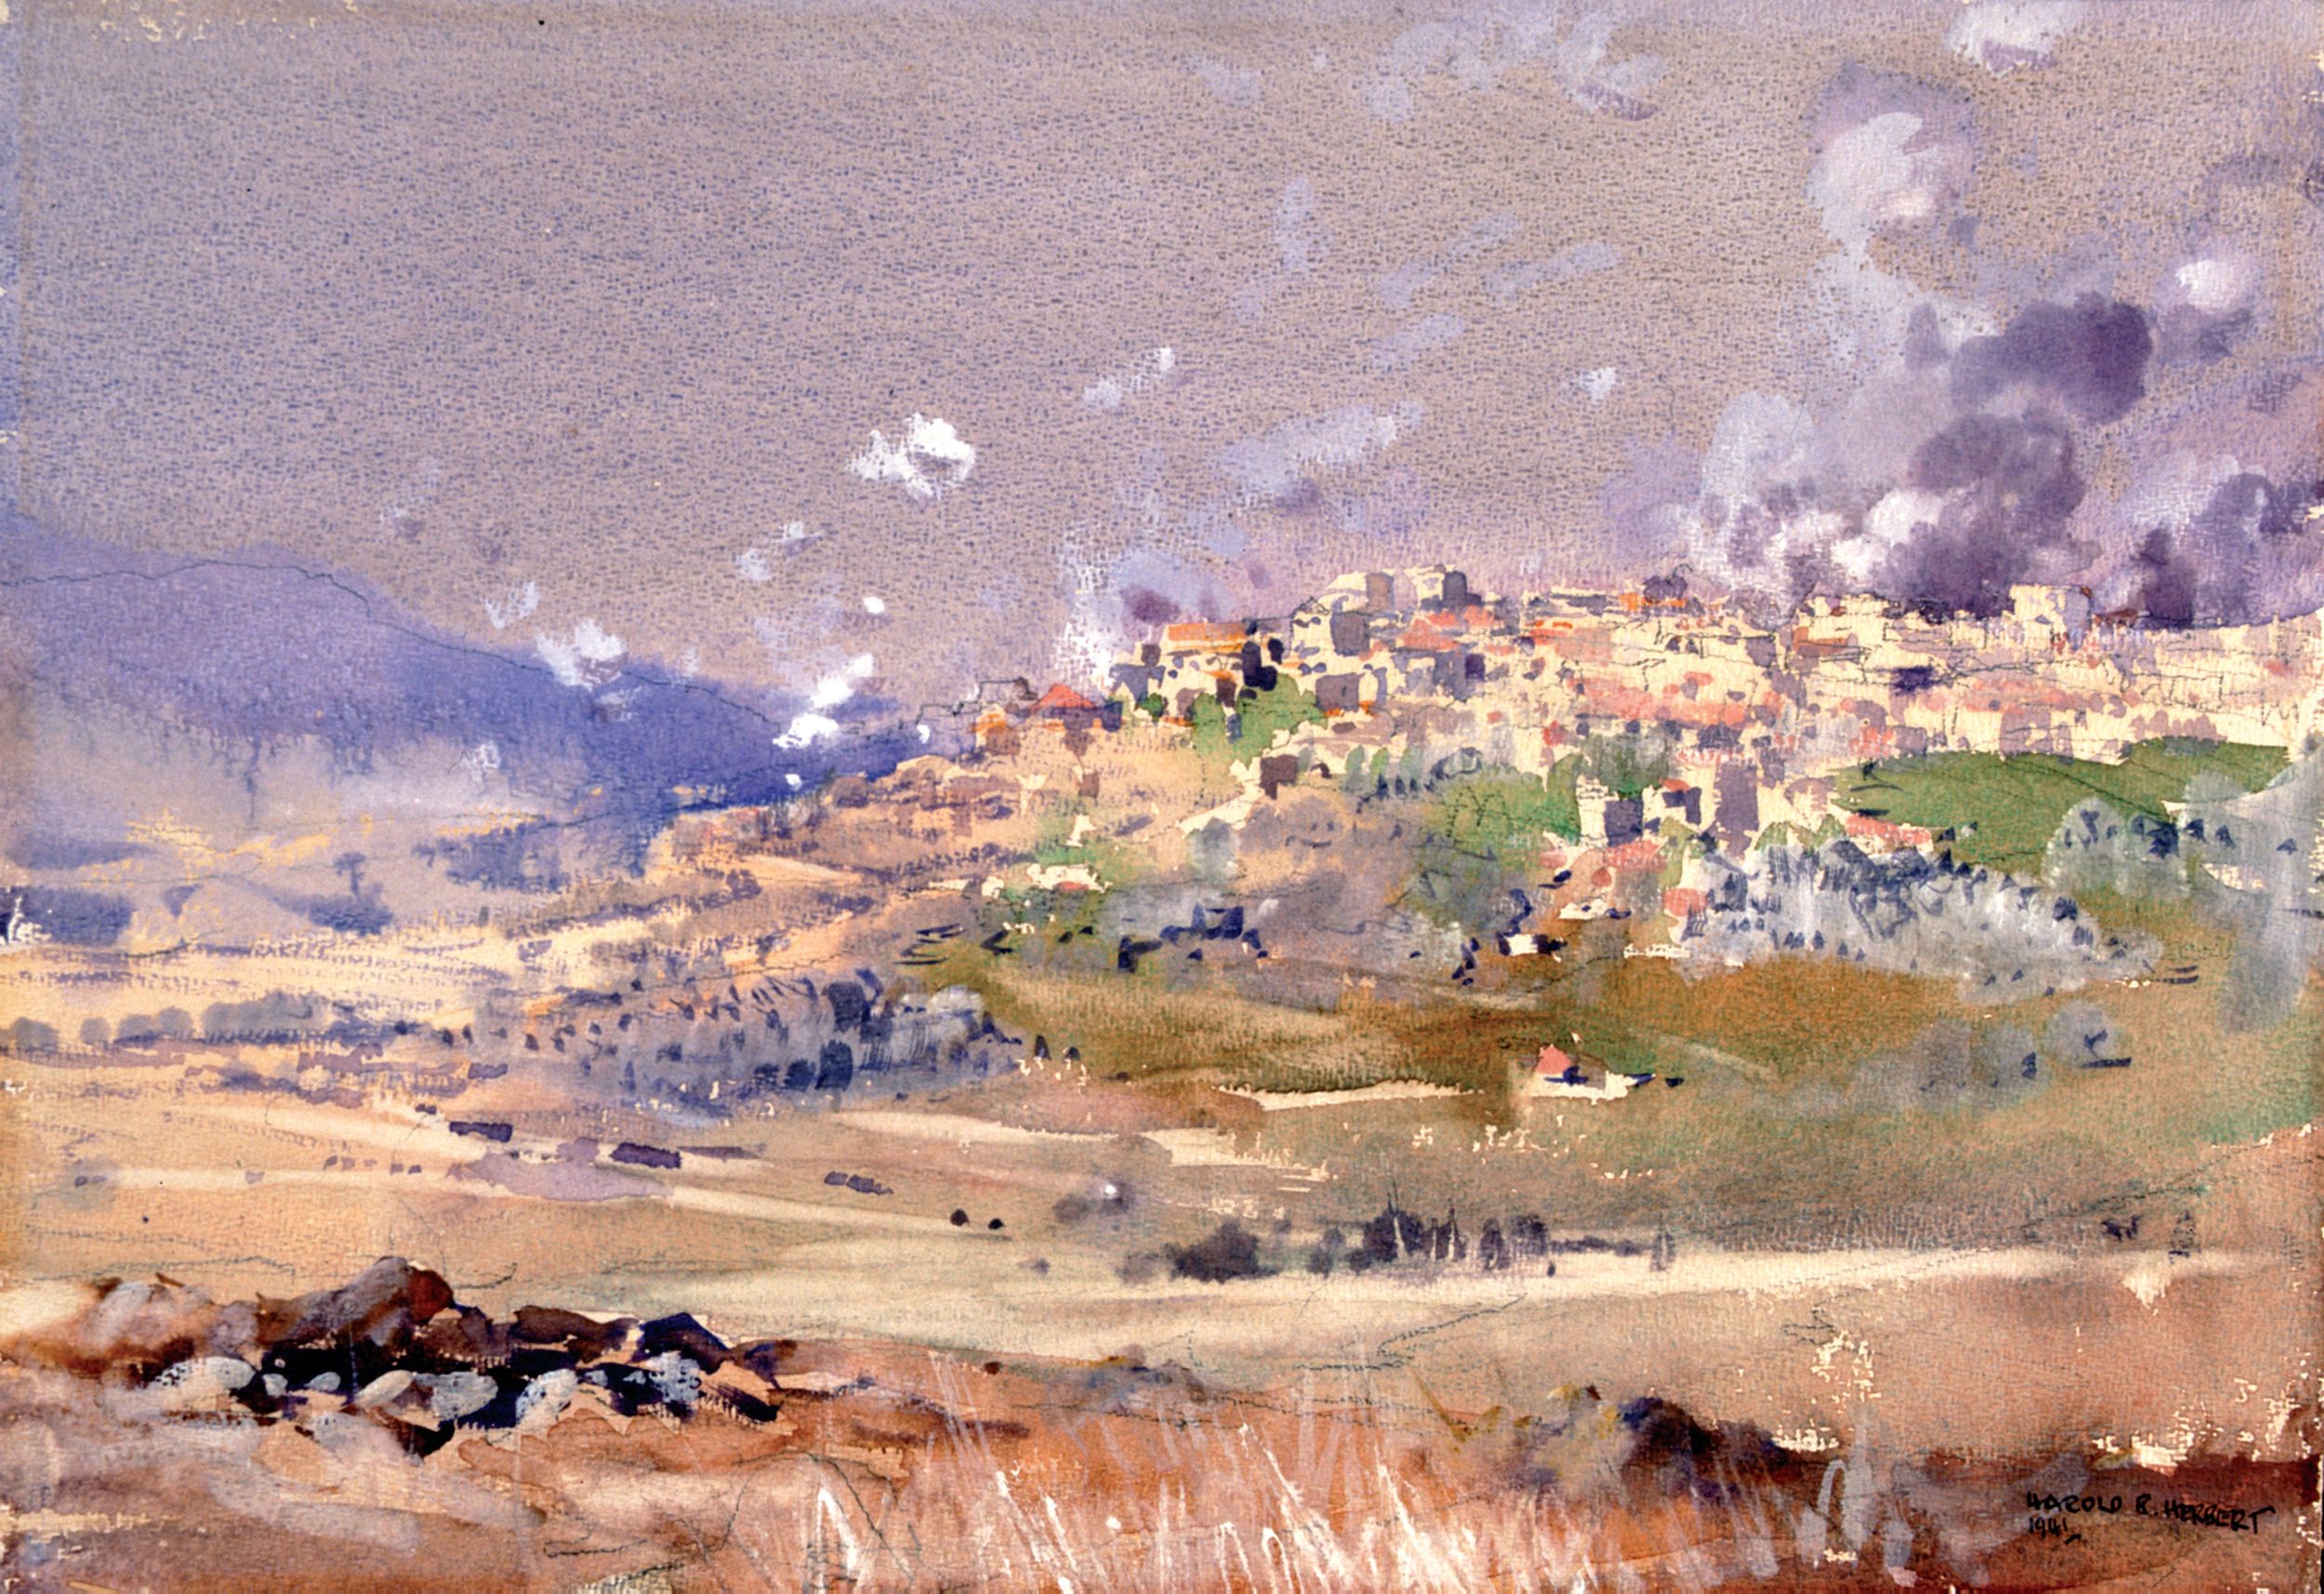
The battle would, for the most part, be fought in Lebanon and southwestern Syria, across territory that would see large armored and guerrilla clashes in the later 20th and early 21st centuries. There is a narrow plain and road up the coast, running through the towns of Tyre, Sidon, Damour, and Beirut. Inland is rocky, hilly terrain easily defended. Farther east lies the Bekaa Valley. Southern Lebanon is divided from the rest of the country by the Litani River. There was a Vichy fort and barracks near the mouth of the Litani, occupying a commanding position above the coast road. Beyond the Bekaa Valley is flat desert, and eventually, Damascus.
Vichy forces on the ground were under the command of General de Virdhilhac, recently arrived from France. He had at his disposal six regiments of 15,000 regular troops, one mixed-colonial, one Foreign Legion, and four African. These were supported by 9,000 cavalry, both horse and mechanized. There were 10,000 native levies as well. The Vichy air force there numbered 90 aircraft and would have uncontested air superiority in the east for several days.
The Attack on Palmyra
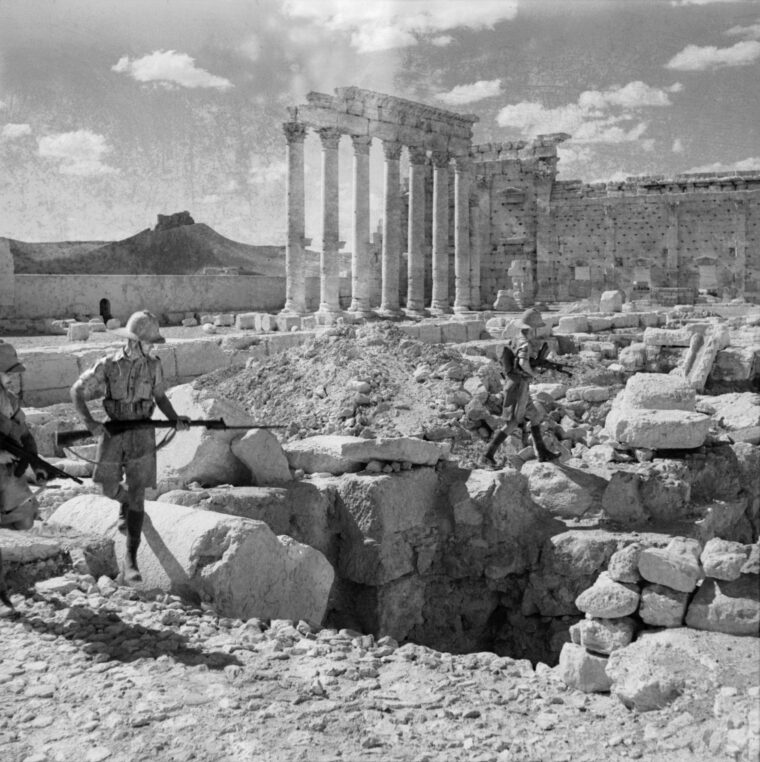
Palmyra was an important city and oil terminal in eastern Syria. Defending it were two companies of the Foreign Legion and a company of the French Light Desert Infantry. The job of taking Palmyra fell to Hab Force and the Arab Legion which gathered at the H3, an airfield in western Iraq. On June 20, Hab Force crossed into Syria. General Clark’s plan called for the force to split into three columns with the goal of hitting Palmyra simultaneously from the south, east, and west.
The advance did not go well. Arab raiders from the Druze Mountains to the north played havoc with the columns, as did Vichy aircraft. The Household Cavalry and Warwickshires met stiff resistance at the T-3 oil terminal, 20 miles east of Palmyra. General Clark elected to leave a blocking force there and push on east. The western column of Wiltshires took a position atop the ridge south and west of Palmyra but was unsupported by the other columns and therefore unable to advance.
The arrival of a squadron of Australian P-40s cleared the skies of Vichy aircraft while General John Bagot Glubb’s vaunted 20,000-man Arab Legion systematically cleared the desert of Vichy raiders. It now fell to the east and south columns, which doggedly pushed on and gradually surrounded Palmyra. By July 1, the Wiltshires, now supported by the Essex Battalion, cleared the ridge and fought their way into Palmyra. After two days of close-quarters fighting, the Vichy garrison finally surrendered. Those at T-3 followed suit. Elements of Hab Force continued west and linked up with the Australians advancing through central Lebanon.
The Drive on Damascus
On the night of June 8, the 5th Indian Infantry Brigade, commanded by General W.L. Lloyd, together with the two Free French brigades, met no Vichy resistance until they came to the town of Sheikh Meskine, which they took in a pitched battle that lasted through the afternoon. In the meantime, the 5th Indian Infantry Brigade drove Vichy forces out of Kuneitra (on the Golan Heights) and handed the advance off to the Free French, who pushed north and encountered heavy resistance based in the hills above the town of Kissoue.
The Free French took a pair of hills east of the town, where they repelled an armored counterattack. On June 15, the Indians then took over the attack, fought their way into the town, and then defended against a heavy counterattack. At the same time, the Free French renewed their push, attacking and taking a hill north of the town. This was followed by an attack by two Indian battalions on the last Vichy position in the vicinity of Sheikh Meskine, this one on a hill west of the town, which they took in a two-pronged night assault.
While the Vichy counterattack at Marjayoun (discussed shortly) had ground the Australian offensive there to a halt, in the east General Lloyd was readying for a push on Damascus. The operation began with an attack on the village of Kissoue about 10 miles south of the prize. Rather than gradually envelop the town, General Lloyd sent an Indian battalion against it in a surprise night attack that quickly overran Vichy defenses.
Fighting for the surrounding hills, both by the Indians and Free French, was more severe, and there was a Vichy counterattack on Kissoue proper by tanks and horse cavalry, which Allied troops turned back with heavy losses. Following up this success, Jebel Madani, a hill north of the town, was taken on June 16, again by a quick night assault. Damascus was a bare 10 miles away.
The first task was to take Mezze, a small village dominating the main road north to Damascus. Like other Vichy positions, it was heavily defended. Again, Lloyd unleashed a night attack. The plan was for two Indian battalions to advance on the village and cut the Vichy communications with the coast. At the same time, a Free French brigade would move on the city proper.
The attack got under way in the early-morning hours of June 19. This time, however, Vichy troops were waiting for such a move. When the two Indian battalions advanced, they were met by a torrent of machine-gun fire, both from positions in front of Mezze and from the woods to the left of the village. The Indians pushed on, though, and fought their way into the town. Follow-on companies took up positions at Kafr Sous, a small village to Mezze’s right.
Though the Indian part of the operation was a success, the Free French brigade failed to advance on Damascus, leaving the Indians’ right flank uncovered. The inevitable Vichy counterattack began at 9 am. A battalion of infantry supported by tanks advanced down the road from Damascus and quickly forced an Indian infantry company, which had dug in just up the road, back into Mezze. From there, the Vichy tanks blasted their way into the town and reduced Indian positions there one by one.
The fighting raged throughout the day, with the Indians being squeezed into a small pocket—a walled garden—within the village. From here, they lashed out at the Vichy tanks and managed to hold on through the rest of the day and into the night, when they were finally forced to surrender for lack of ammunition. An Australian infantry battalion had just arrived from Palestine; Lloyd sent them up the road to Mezze.
The Aussies cleared Vichy defenses just south of the village and fought their way inside, securing it once again by sundown on the 20th. In conjunction with this effort, two Punjabi companies, which had taken positions in the woods south of Mezze, attacked Vichy positions in the hills to the west, taking them after a day’s hard fighting.
That night, the Australians moved north and cut the road to Beirut and also took a pair of Vichy positions in the hills west of Damascus, though one had to be abandoned when Vichy forces counterattacked. There were heavy Vichy counterattacks the next day as well against the Australians in Mezze and on the Beirut road, though they were stopped. Knowing that Damascus could not be rescued, and hearing Allied appeals for withdrawal broadcast on the open radio, General Dentz decided to abandon the capital. Vichy forces there withdrew to the northwest without incident. A Free French brigade entered the city on June 22.
From there, the Free French drove north in pursuit of Vichy forces while the Australians, in conjunction with the British 16th Brigade, pushed west along the road to Beirut and encountered stiff Vichy resistance atop Jebel Mazar. Dug into the slopes of the hill and supported by tanks, Vichy forces stopped the Allied advance in its tracks. On June 26, a combined attack by one Australian company and two British clawed its way up the slope under grueling artillery fire and drove the enemy from the hill. The Australians clung to their positions through several Vichy counterattacks throughout June 27 before reluctantly withdrawing that night.
The Drive on Beirut
Just after midnight on the morning of June 8, the Australian 21st Brigade crossed the border and drove north along the coast road toward Tyre against light resistance. The brigade pushed onto the banks of the Litani against light resistance. On the right, the 25th Brigade advanced for the town of Marjayoun, where they were halted by unusually stiff Vichy resistance.
Over the next week, the Australian 21st Brigade saw heavy fighting as it advanced up the coast road. Its crossing of the Litani was helped by the landing of a commando battalion at the river’s mouth, though the commandos took heavy casualties in the subsequent fighting.
After crossing the Litani, the Aussies fought their way past several Vichy roadblocks, often featuring troops dug into caves on the side of the road. Once past a block, the Australian advance would be further slowed by a quick Vichy counterattack usually comprising several light tanks or armored cars.
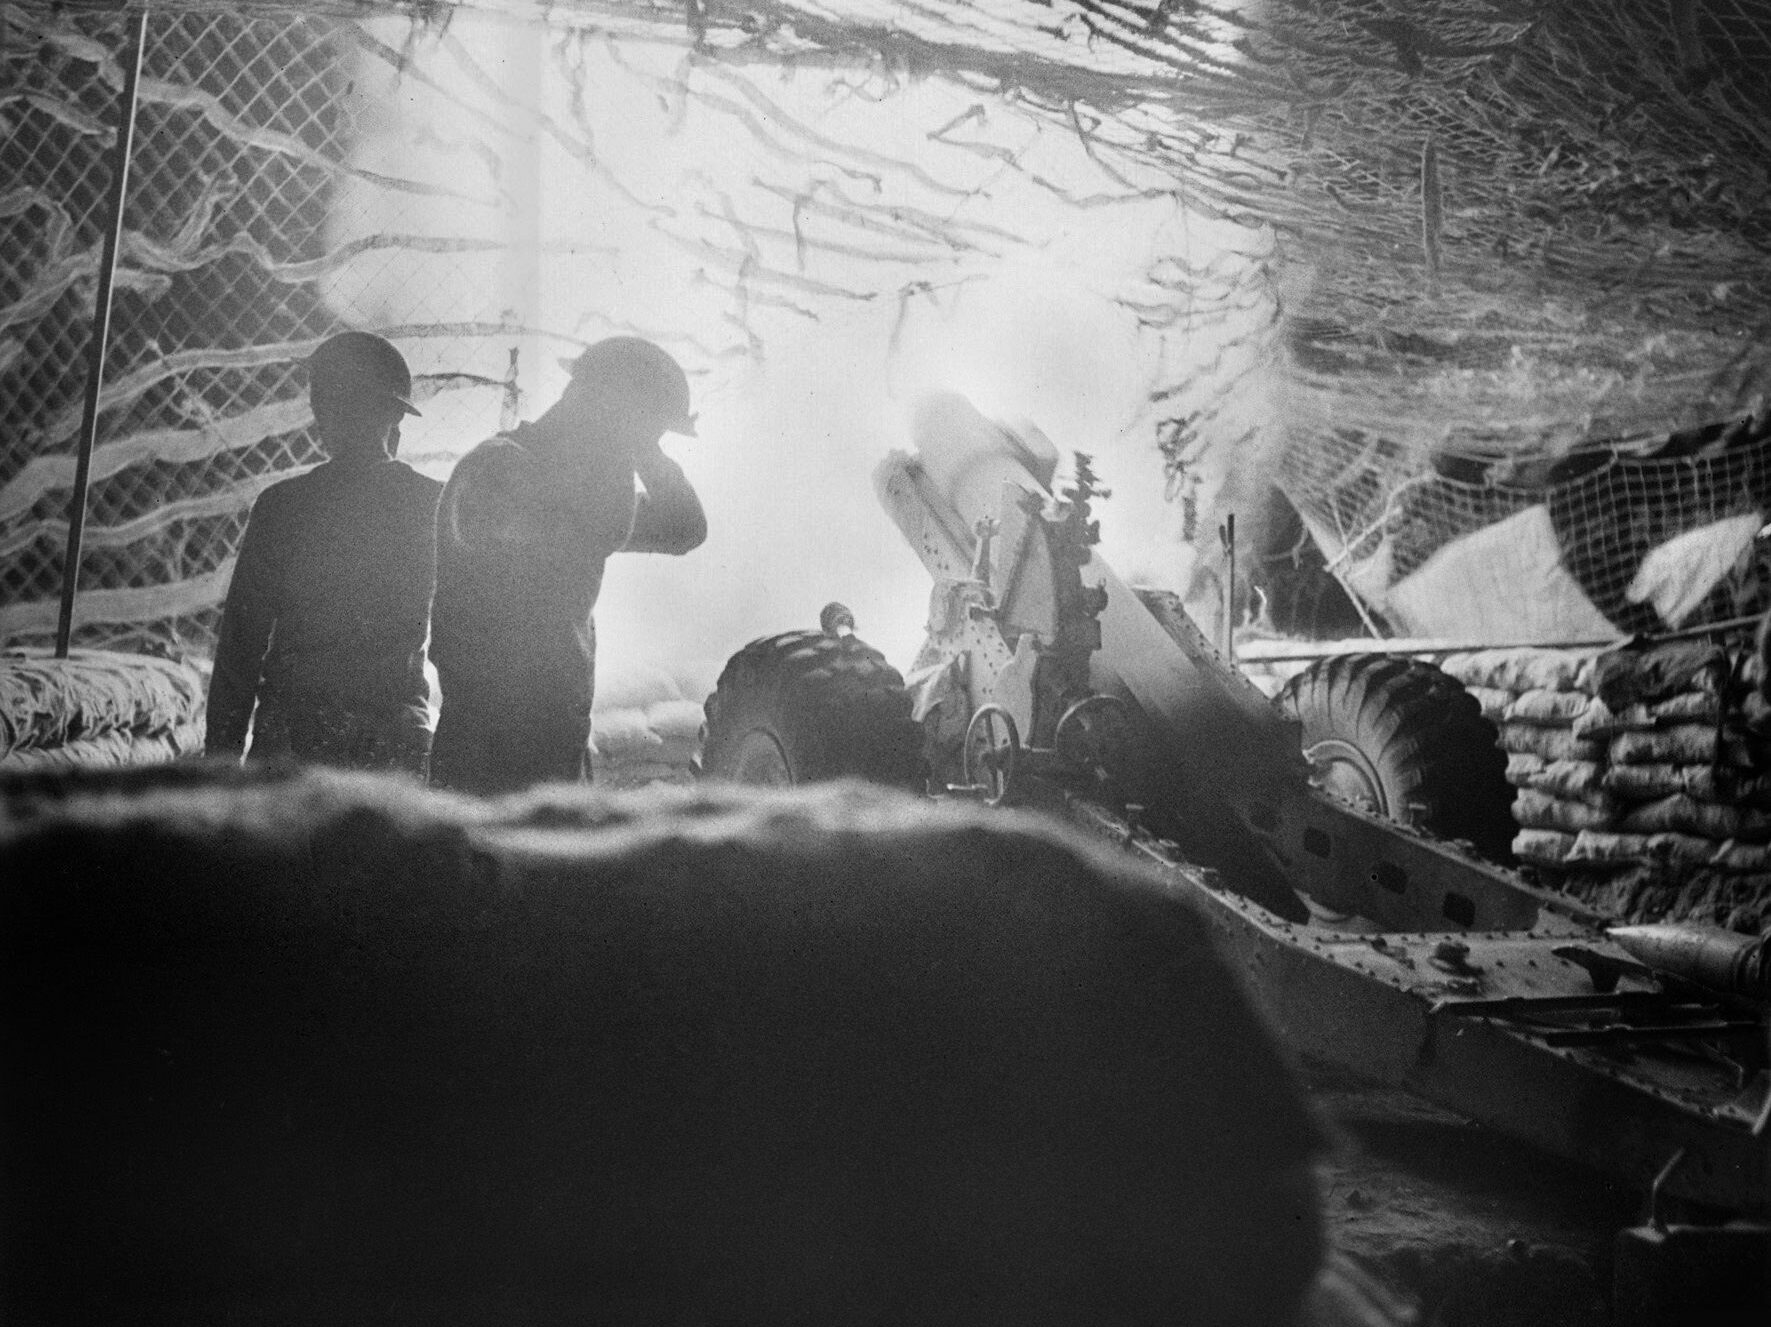
On June 13 there was again heavy fighting just south of Sidon, where a battalion-level attack was stopped by Vichy defenders. Not until more artillery was brought up in conjunction with supporting naval gunfire were the Australians able to work around the flank and get onto the heights above Sidon, compelling Vichy troops to pull out.
Farther inland, on the morning of June 10, the Australian 25th Brigade opened its assault on Marjayoun and, with heavy artillery support, pushed its way into the town and accepted the surrender of Vichy forces there later that day. From Marjayoun, they advanced farther north for Jezzine. On June 14, the brigade ran into more Vichy resistance on a hill south of Jezzine, which the Australians had to take at bayonet point. From there, they gradually worked around the town’s flanks, entering it that night once Vichy troops abandoned it.
At this point, General de Virdhilhac mounted a counterattack. The first blow fell on Australian forces at Marjayoun. As several companies were clearing the hills above town, the garrison remaining (a reinforced infantry company) was not strong enough to hold on and had to withdraw. The brigade’s commander scraped reinforcements together and struck back on June 17 but was unable to make any headway against the entrenched Vichy troops. A second effort on the 19th fought through Vichy defenses and into town but was pushed out again by a Vichy armored counterattack, though the Aussies did destroy several tanks.
The effort against Marjayoun was not renewed until June 23, when elements of the recently arrived British 16th Brigade attacked Vichy positions east of the town. After these fell, Vichy forces evacuated Marjayoun, this time for good.
In conjunction with the assault on Marjayoun, a Vichy battalion attacked Australian troops at Jezzine. From the 15th through the 18th, Vichy forces pressed in on Jezzine, with the Australian battalion there (2/31st) turning back every determined assault. A Vichy attack, led by several tanks and armored cars, also fell on the Fusiliers Battalion garrisoning Kuneitra, which, lacking anti-guns, had to surrender the town.
Reinforcements arrived in the form of the British 6th Division. In conjunction with the Australian 25th Brigade, they reduced Jezzine, with one brigade advancing north, completing the envelopment of the town. On the morning of June 28, an Australian patrol entered Jezzine without a fight. Vichy troops had vanished during the night.
The final obstacle to Beirut was the line of Vichy defenses along the Damour River about 10 miles south of Beirut. Vichy forces, amounting to four battalions, occupied a strong position atop a ridge on the north bank. Even so, these were not enough to hold the entire area, and their left flank was wide open. On the night of July 5, one battalion of the 17th Brigade launched a holding attack on the ridge while another crossed the river under cover of a heavy artillery barrage and pushed north past the ridge.
By the 7th, the battalion had taken up positions directly east of Damour. At this point they were subjected to a Vichy counterattack, which spoiled their continued advance. Reinforcements in the form of another battalion arrived, which helped renew the drive for Damour, the outskirts of which they entered. Other elements continued north in an effort to cut the town off from Beirut.
Fighting in Damour proper continued throughout the 7th and into the 8th before the Australians, with one battalion advancing from the east and another from the north, were able to push Vichy troops out of the town. Meanwhile, engineers, under heavy fire from the ridge, managed to throw a bridge across the river, allowing tanks and infantry to push across. However, they were unable to advance much past the riverbank because of heavy fire from the ridge. The Australians were unable to advance until the 9th, when a heavy naval bombardment finally cleared a path for them. The road to Beirut was now open.
With Palmyra and Damascus in enemy hands and the Australians slowly but steadily grinding their way toward Beirut, on the 10th General Dentz began a parlay. After day-long, face-to-face negotiations between Dentz and General Wilson, and with the American consul-general in Beirut helping to mediate, an agreement was reached. Vichy troops would surrender with full honors of war and be given the opportunity to join the Free French.

Disappointingly, less than half, about 6,500, did so; the rest returned to France. Syria would be occupied by British and Commonwealth forces. The Vichy administration would be replaced with a Free French government. The conniving Dentz flew dozens of captured British, Australian, and Indian officers to German-occupied Greece before flying to France, where he remained for the rest of the war. In 1945, he was convicted of treason and sentenced to death. (The sentence was commuted to life imprisonment but he died in prison in December 1945.)
The toughest battle of the Middle East campaign had cost the British/Commonwealth force and the Free French division more than 7,500 dead and wounded, in comparison to about 6,500 Vichy French.
Persia
There was one act left in the Middle East drama, this time in Persia. By the summer of 1941, German forces had pushed the Soviets across European Russia, threatening Moscow and the Caucasus, and by extension, Persia.
Both the British and the Soviets were worried about Persia for two reasons. First, hundreds of Axis agents were known to reside in the kingdom. Second, the Allies hoped to open a second supply route through Persia as an alternative to the dangerous Arctic run. In mid-August, the British and Soviets sent a joint diplomatic communiqué demanding the expulsion of Axis agents (as well as known sympathizers within the Persian military) and permission to use Persia’s ports and railroads. When the shah refused their demand, British and Soviet commanders readied to invade.
The British plan called for a two-pronged thrust. The southern prong, led by the 8th Indian Infantry Division, was to cross the Shat al-Arab in two places and take Abadan and Ahwaz while one company was airlifted to the Haft Kel oilfield to the east. Two other companies would land at the port of Bandar Shapur.
In the north, Slim’s 10th Indian Infantry Division was to cross the border and take Qasir-i-Shirin and, from there, drive on the Zagros Mountains and Pai Tak Pass, which, once taken, would allow the British to drive on to Kermanshah (about 100 miles east) and the nearby oil facilities and, if necessary, Tehran. The British effort would be made in conjunction with a Russian thrust down from the Caucasus.
Advancing on a two-brigade front, Slim’s 10th Indian Infantry Division entered Persia without incident, as most Persian border guards and nearby detachment were still asleep when the invasion began. Upon seeing a British mechanized column advancing toward them, the defenders of Qasir-i-Shirin fled. By the end of the first day, the city was in British hands and the road to Pai Tak Pass was now open. The next day there was a short battle for the village of Gilan. After halting the British advance, Persian troops there withdrew east. On August 26, Slim deployed his 21st Indian Infantry Brigade before the pass, which scouts indicated was well defended. However, after a flight of Blenheims struck the pass, the Persians there fled as well. Slim advanced down the Zagros Mountains and, after another short skirmish east of Kermanshah, Slim received a Persian delegation with which he negotiated the surrender of the city and oil fields. Both were in British hands by August 30, and the 10th Indian Infantry Division linked up with advancing Soviet troops to the north, at Sinneh, the next day.
The southern prong, led by the 8th Indian Infantry Division, was directed against the city of Abadan and the vast oilfields there. On the morning of August 24, the 8th Indian Infantry Division jumped off from Basra and crossed the Shat al-Arab into Persia. Advancing on a two-brigade front, the division encountered only light Persian resistance. Elements of the 18th Brigade assaulted the Persian naval barracks up stream at Khorrasmshahr, taking it after a quick firefight.
At the same time, the rest of the brigade pushed into Abadan proper, also against light resistance, though there was a short, sharp battle for the radio station. To the north, the 25th Brigade crossed the Shat al-Arab near Qasr Shaikh where it encountered heavy Persian resistance. The brigade was able to take the village only after a morning’s fighting that cost 22 casualties in exchange for 60 Persian dead and 300 prisoners.
A separate effort was made against the oilfield at Haft Kel, in which a company of Baluch Rifles was flown into the interior and landed on the plain of Ahwaz. The Baluch Rifles then advanced on and took the oil field without incident. In the meantime, the other two companies of the Baluch Rifles were landed at the port of Bandar Shapur. First, a fleet of eight Axis-owned merchantmen were dealt with by knife-armed parties who boarded the ships like pirates and seized them before the crews could resist or scuttle. Only one of the merchantmen was lost, and two Persian gunboats were seized as well.
As the small fleet was being captured, the rest of the Baluch Rifles landed at the port and secured it against minor resistance. More than 300 German “tourists” were also captured in the effort. With the first phase of the operation complete, the division made preparations to seize Ahwaz. This was accomplished on August 28 when each brigade advanced north and attempted to encircle the city. Before the envelopment of the city was completed, the Persians in Ahwaz surrendered.
After three days of negotiations in which he agreed to all of the British and Soviet demands, the shah finally capitulated on August 28; the nation was then occupied by British and Soviet forces for the rest of the war. The ports were thrown open to Allied ships and the railway placed at their disposal. The Axis consulates were expelled, as were all German and Italian nationals. On September 17, a joint force marched into Tehran without incident. In December 1943, Roosevelt, Churchill, and Stalin held their first joint meeting—the Tehran Conference—at the Soviet embassy there.
The spring and summer campaign in the Middle East greatly enhanced the British position there and in the Mediterranean. Remarkably, the campaign was fought by a force patched together from various parts of the empire: a pair of Indian divisions, an Australian division, and various sundry British regiments stationed in Palestine. This ad hoc force removed Axis influence from the region, secured Iraq and Iran, and liberated Syria from Vichy control. They also secured communications between India and the Middle East and opened up a vital supply line to Russia.
Perhaps most important of all, British efforts in the Middle East broke a string of defeats, from the setback against Rommel in the desert to the expulsion from Greece and Crete, an exceptional light before the darkness rising out of the Far East.
Join The Conversation
Comments
View All Comments