By Kevin Morrow
On May 28th, 1915, Ion Idriess, a trooper of the 5th Australian Light Horse Regiment, sat writing in his diary in a dugout at Gallipoli. “Snipers shot 15 Aussies this morning, and shrapnel got four of our regimental A.M.C. men,” he wrote. “They are bombarding us with shrapnel … Their aim is getting startlingly close… Last report is that the Turks’ most vicious 18-pounder is silenced. We sincerely hope so.”
Ten months later, Idriess was singing a different tune.
“Sand, sand, sand, flying sand, blooming sand everywhere,” he griped to his diary in March 1916. “Sometimes, we have to sit in camp with our greatcoats over our heads. Some days it is impossible to see the length of the horse lines for flying sand… The Turks have not come yet, worse luck. Anything to relieve this cursed monotony and sand.”
Idriess was now stuck in a maddeningly boring routine of drills and sentry duty at a British Army camp on the Suez Canal while other Aussies were leaving for France. “How we wish we were going to France, too,” he wrote longingly. “Numbers of our men have volunteered for the infantry. Odd ones have cleared out to stow away with them. Anything to escape this flying sand.”
He would soon get his wish.
Even as he was writing those words, a Turco-German expeditionary force was gathering 125 miles away at Beersheba, in southern Palestine, that would soon collide in battle with Idriess and his Australian and New Zealand comrades. It would mark the beginning of the end of the Ottoman war effort and of the Ottoman Empire itself.
The Turks had entered World War I hoping to claw back former Ottoman provinces from its European rivals. In February 1915, the British halted an invasion attempt against one such country, Egypt, in a battle at the Suez Canal. Preparations for a second big attack on Egypt began immediately.
As Britain’s failed Gallipoli campaign was winding down in the fall, its military leaders also began considering next moves on the Sinai front in anticipation of a second attack. Debate over Middle East strategy centered around the Suez Canal’s function as Egypt’s main line of defense, particularly the wisdom of a static defense in light of the manpower required.
A new strategy began to emerge in January 1916 with the arrival of a new commander, Gen. Archibald Murray, who vigorously advocated for pushing British defenses out into Sinai towards the Ottoman frontier. Soon, the British began building an east-west railway parallel to Sinai’s ancient northern coastal caravan route that became, in British correspondent W.T. Massey’s words, “the keystone of our strategic structure in Eastern Egypt… the backbone, the arteries, the very life blood of the army.”

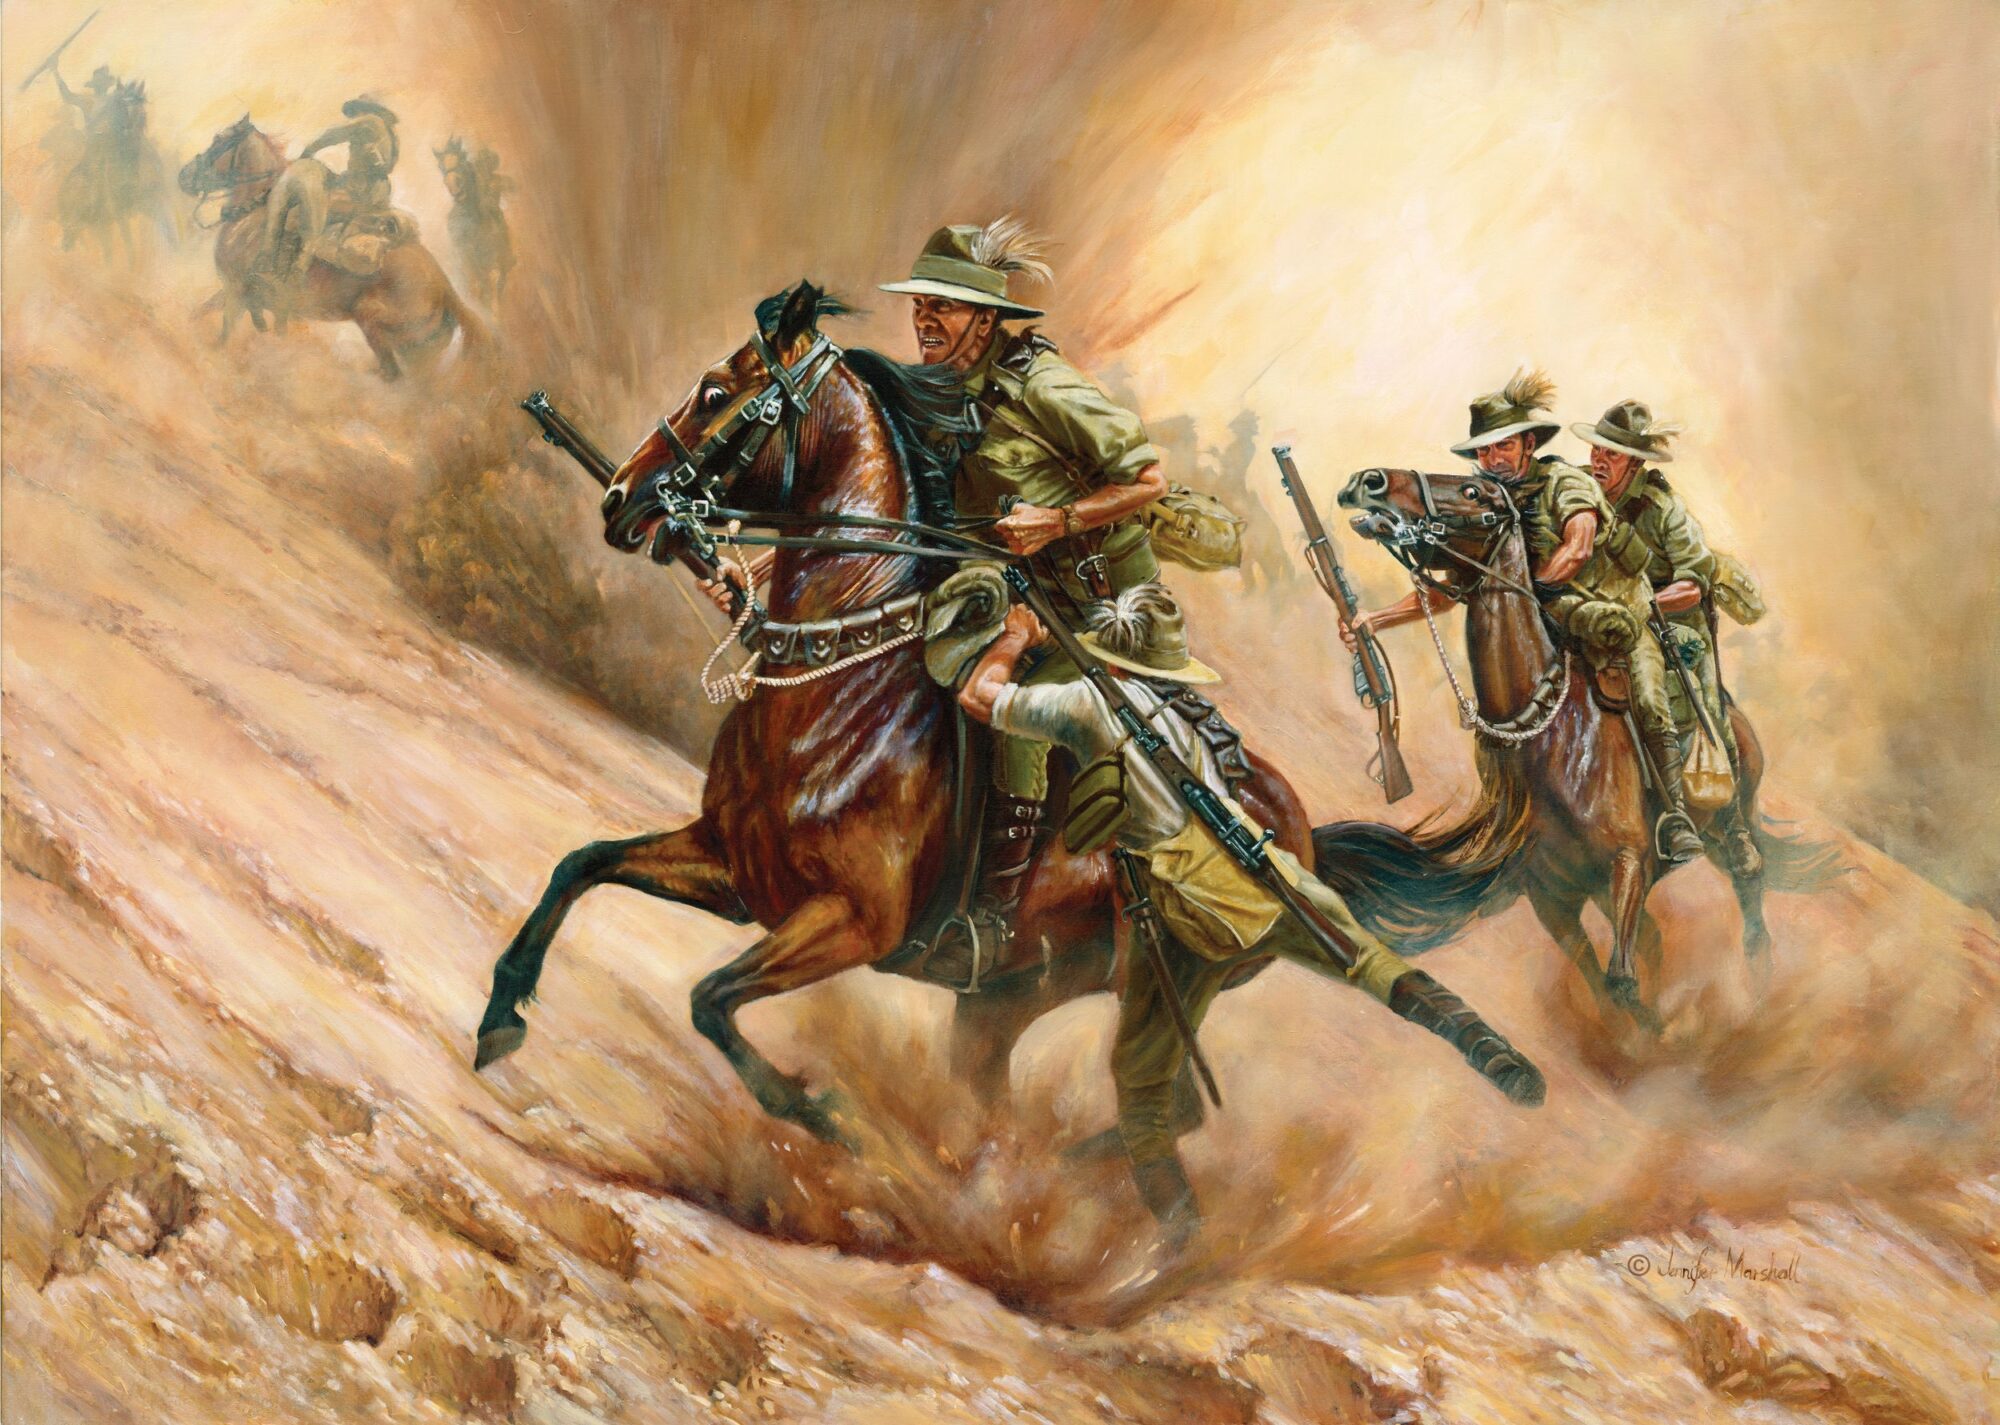
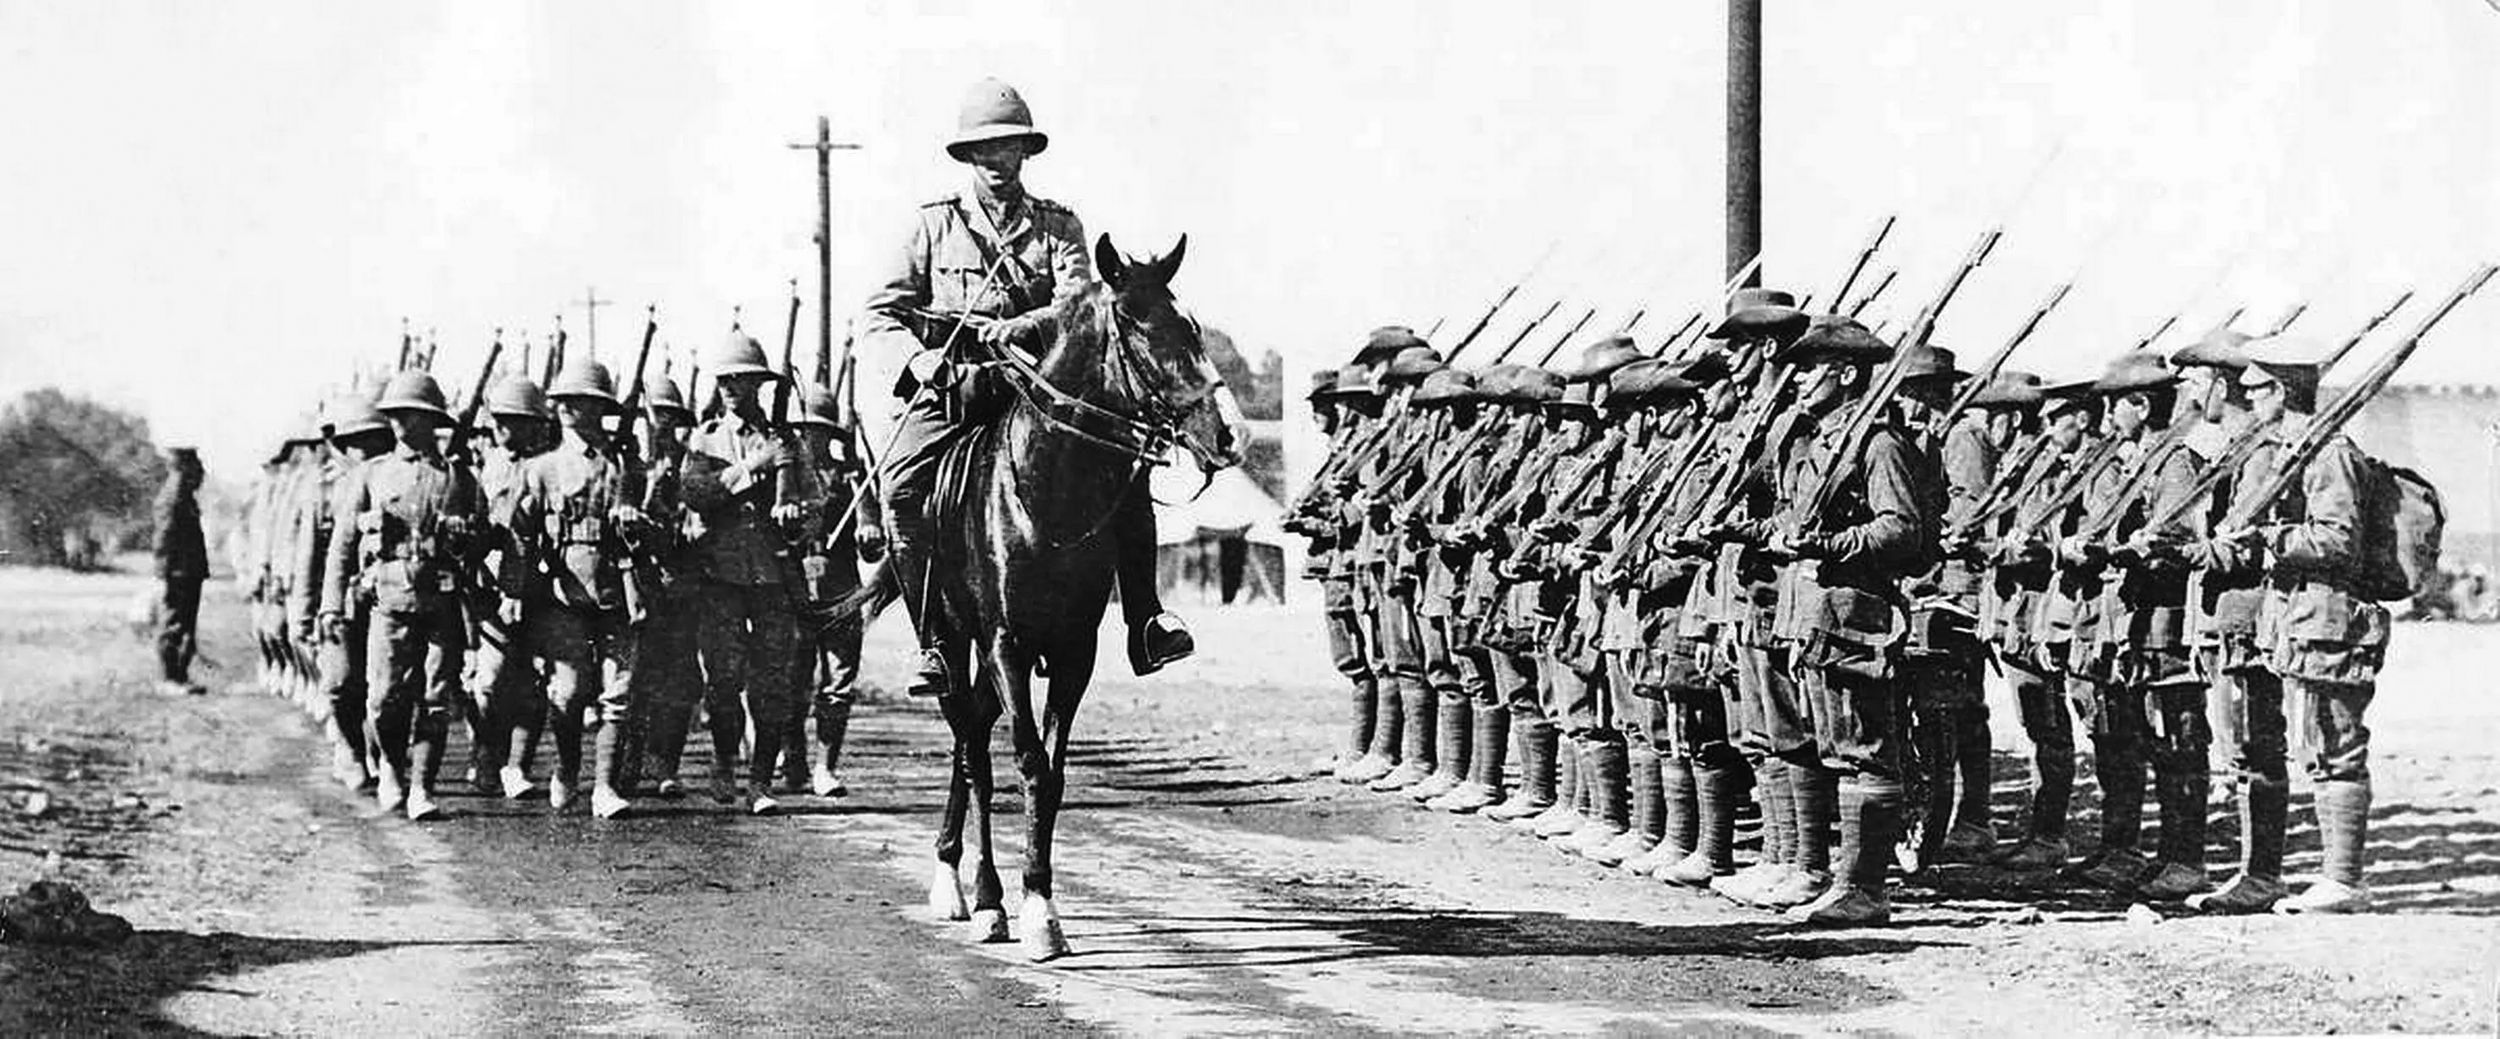
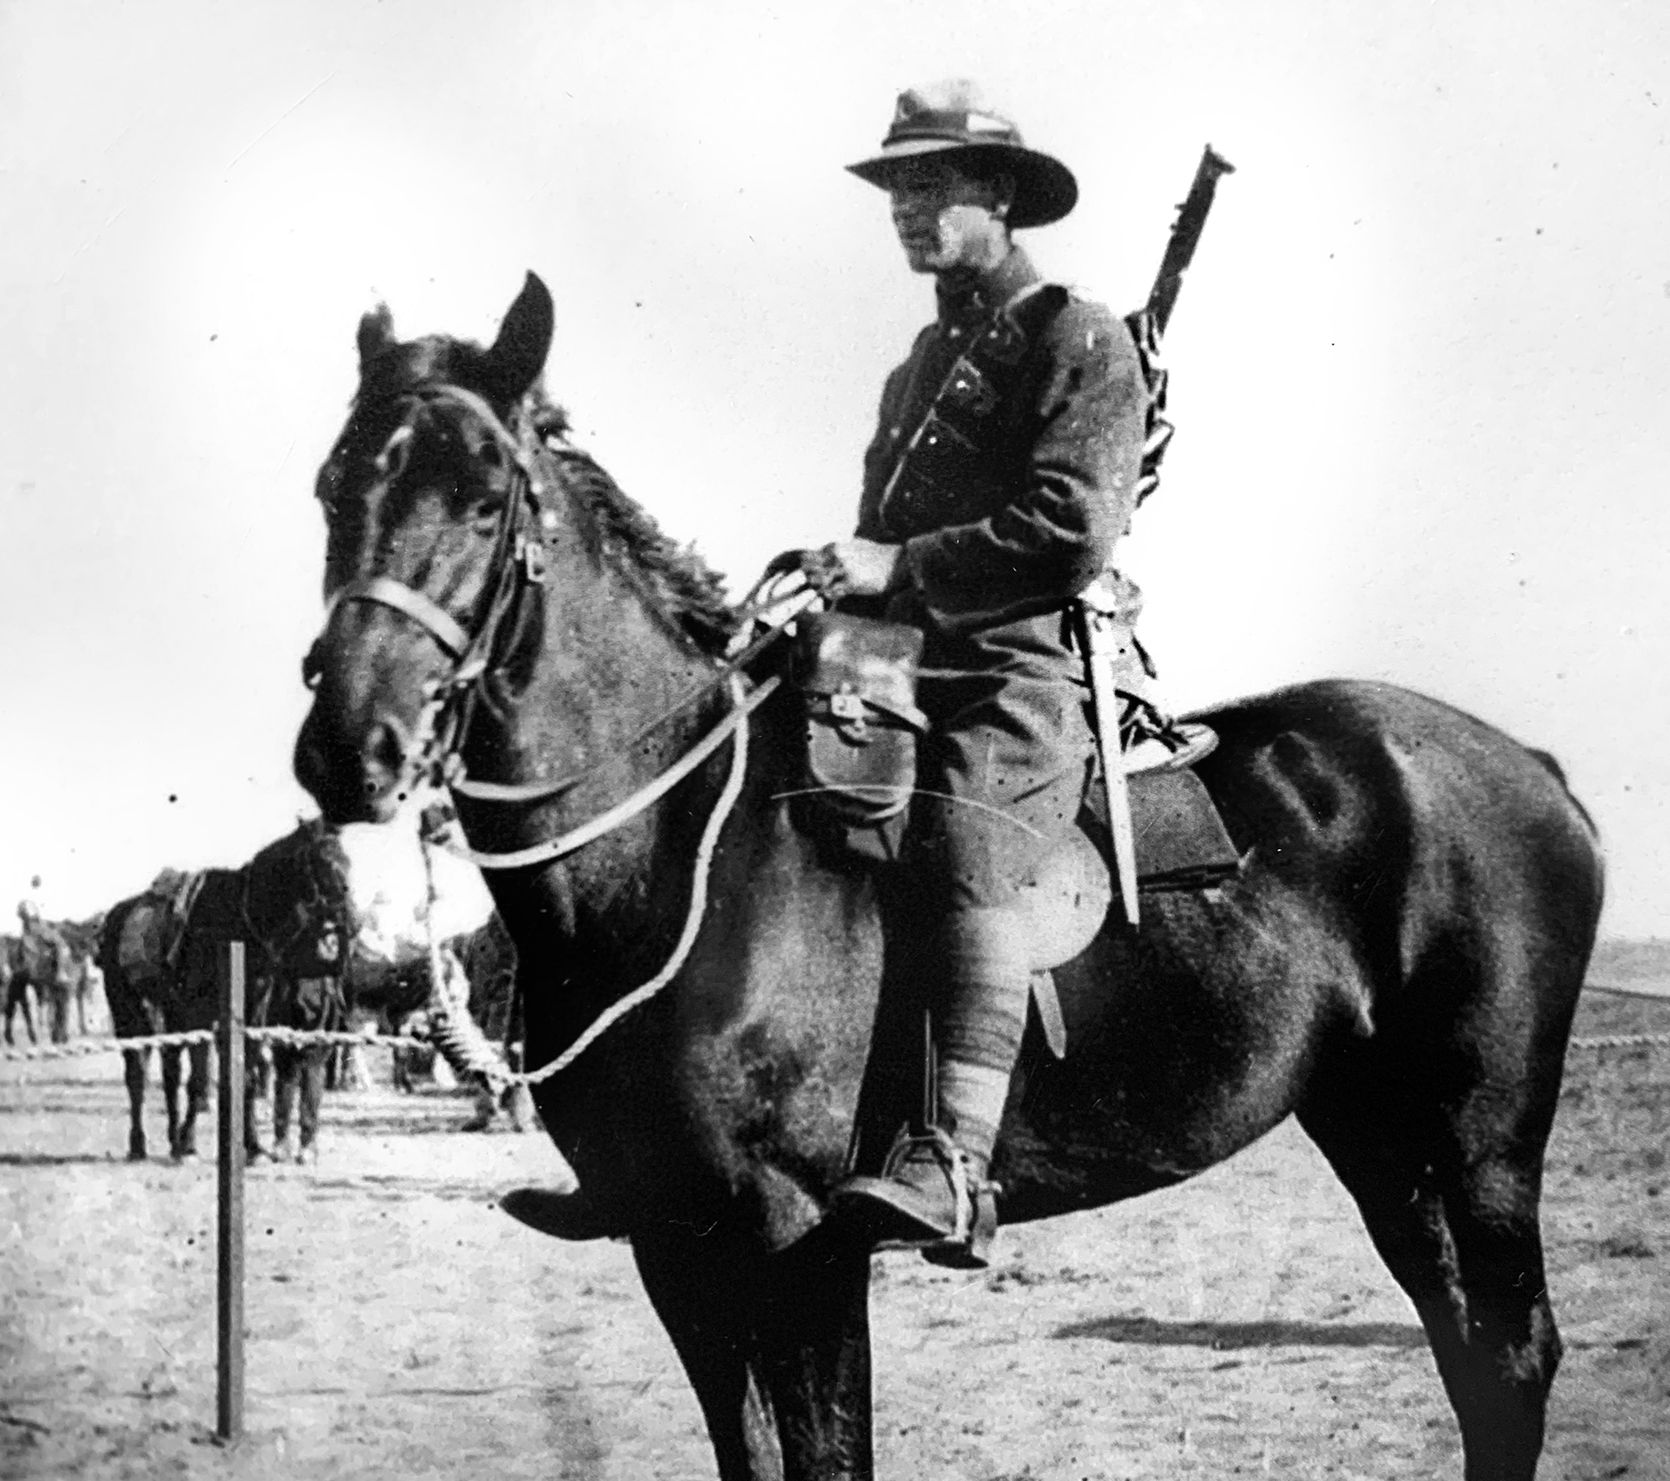
Murray reorganized that army as the Egyptian Expeditionary Force (EEF), the most important element of which was the Mounted Division of the Australian and New Zealand Army Corps (ANZAC), commanded by Harry Chauvel. The ANZAC mounted troopers—the 1st, 2nd, and 3rd Australian Light Horse Brigades—were country boys accustomed to life on horseback in hot, dry environments. Fiercely egalitarian, rowdy, and disdainful of army discipline, the ANZACs in Egypt gave their spit-and-polish British superiors endless heartburn, but they had proved themselves fierce in a scrap at Gallipoli and were “bursting with enthusiasm for a mounted campaign unconfined by trenches and barbed wire,” as the official Australian account of the Sinai campaign put it.
Battle was still a long way off, though and the Sinai Peninsula was empty in early 1916. When Turkish and Bedouin raiding parties began showing up in early March, the 5th Mounted Brigade (Yeomanry) moved out to the new forward base at Romani, 23 miles east of the canal, to step up patrolling.
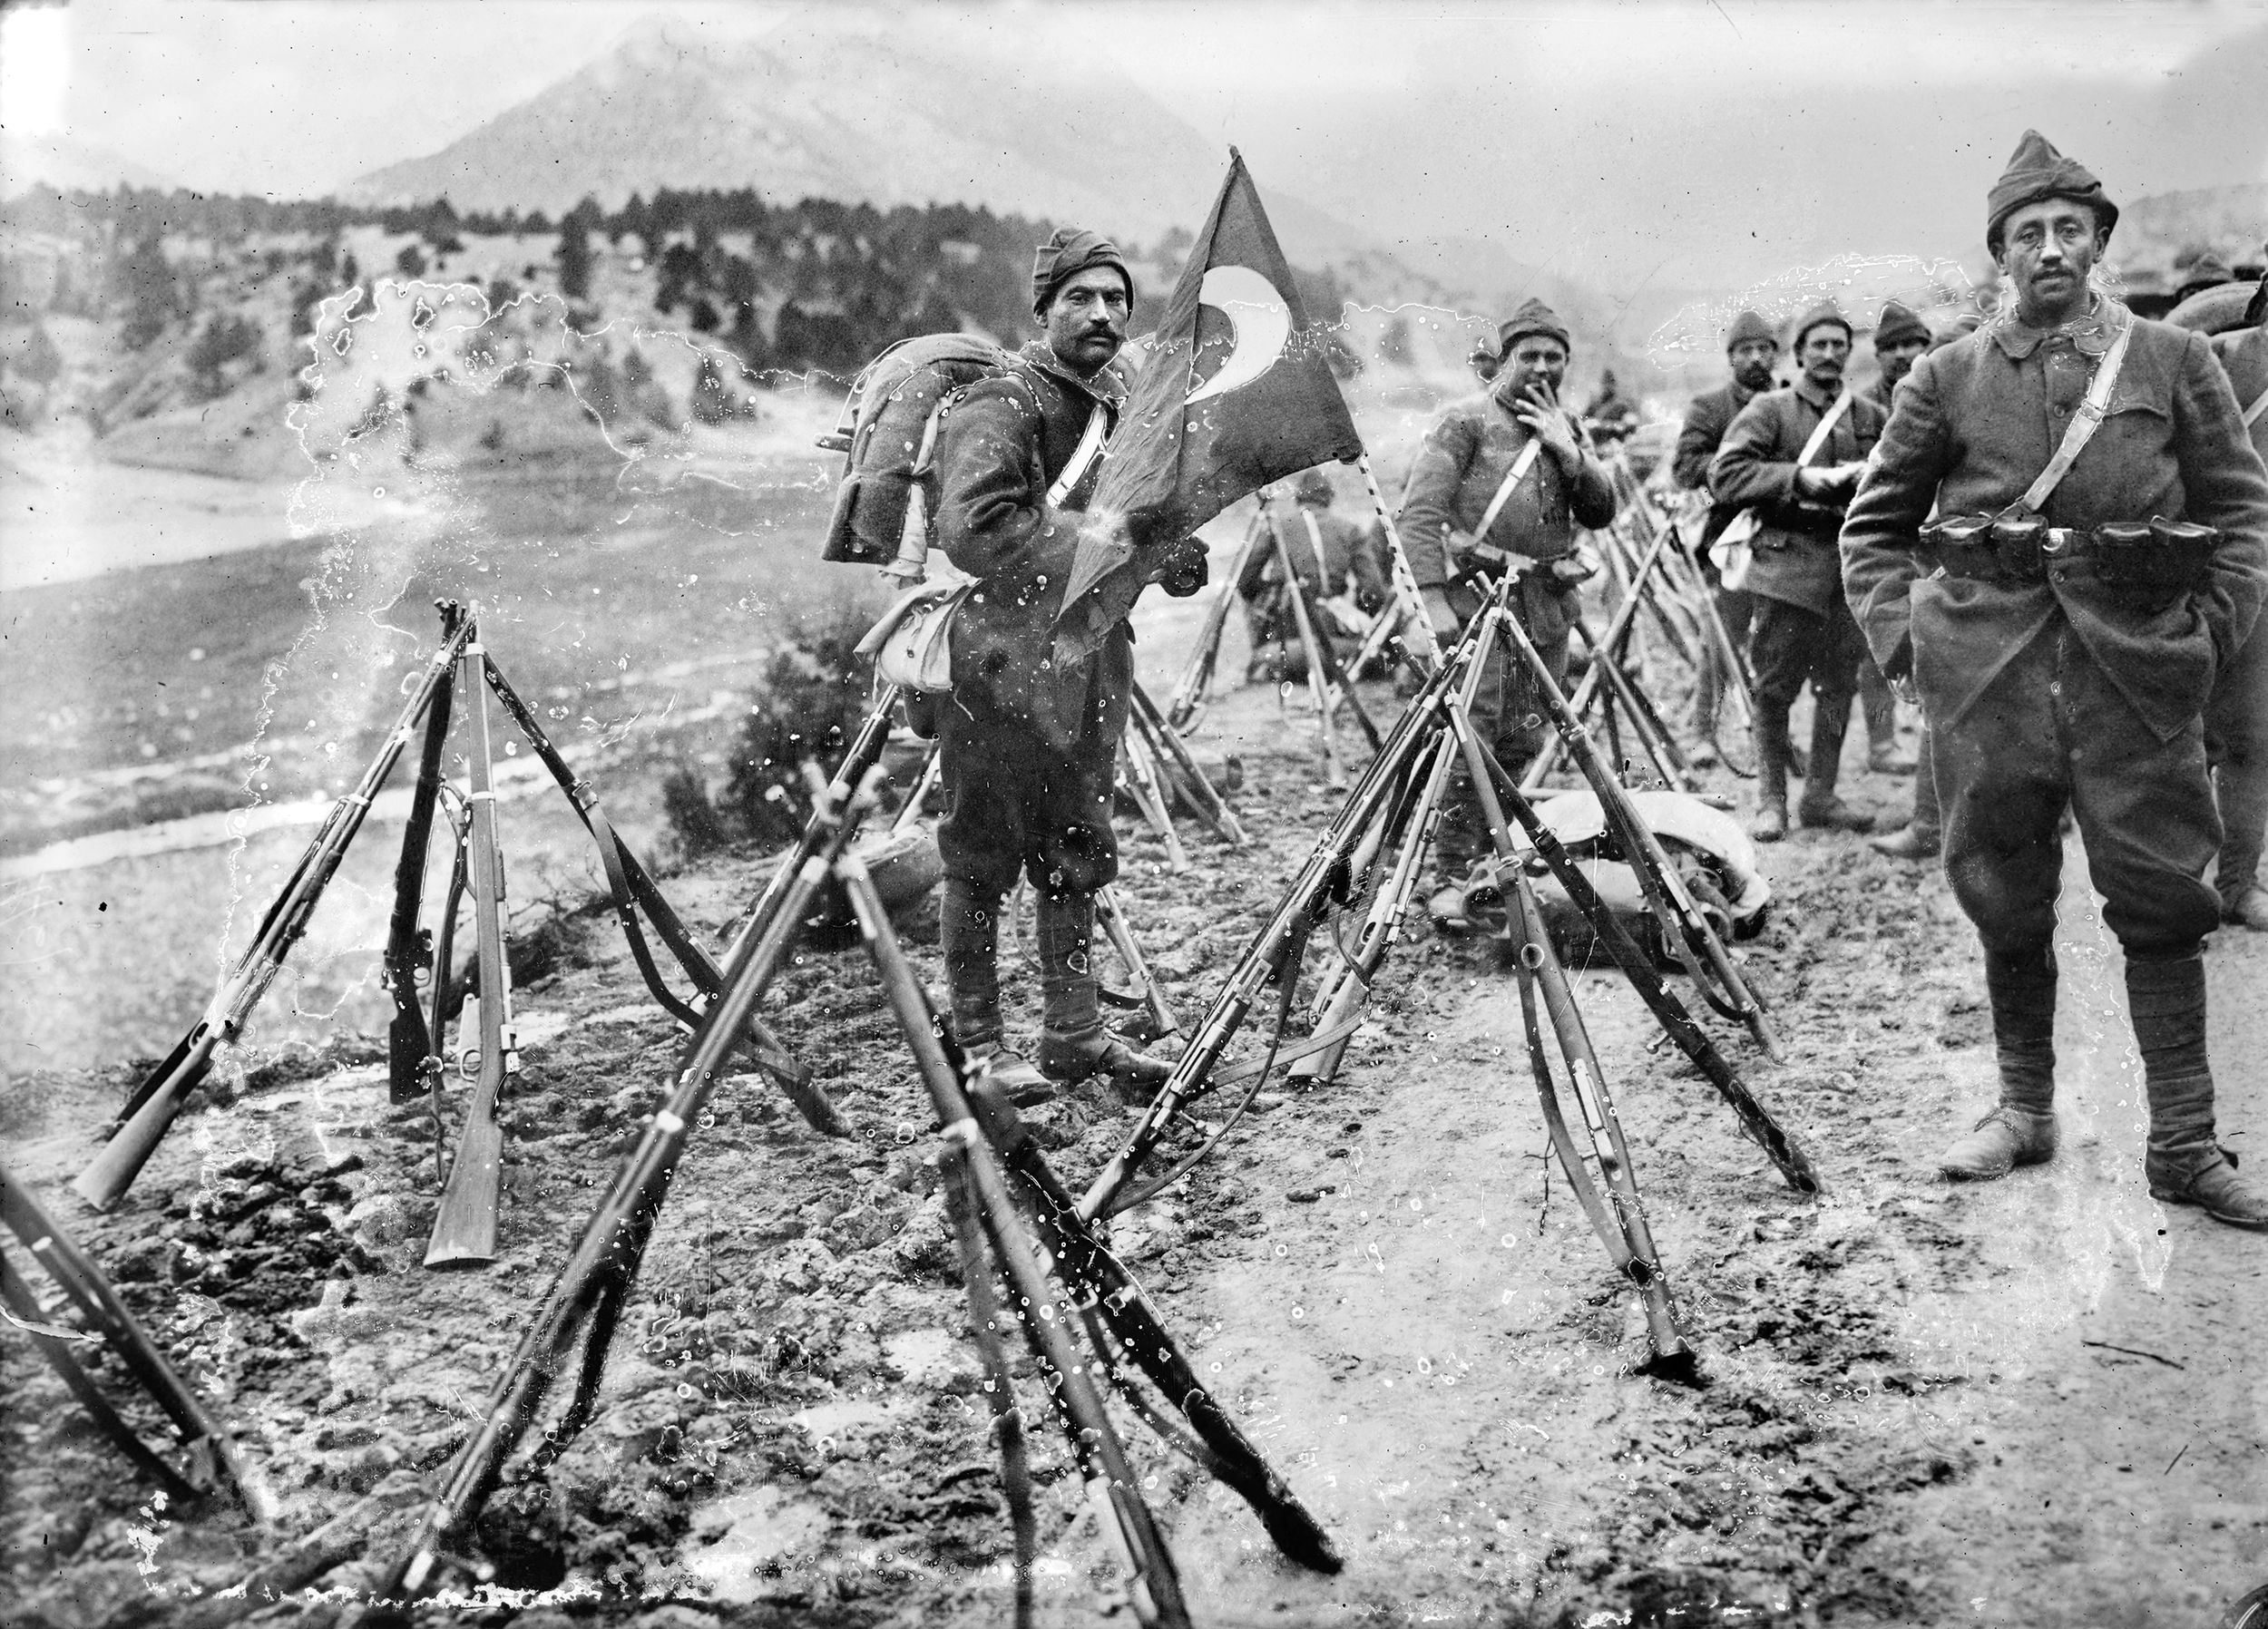
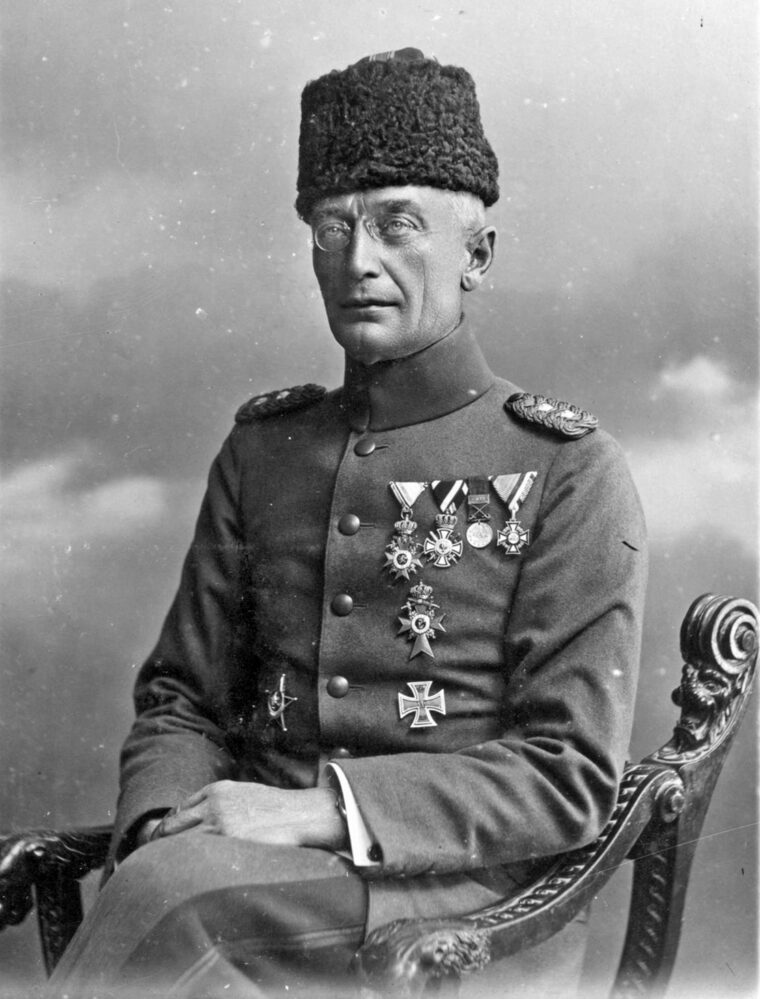
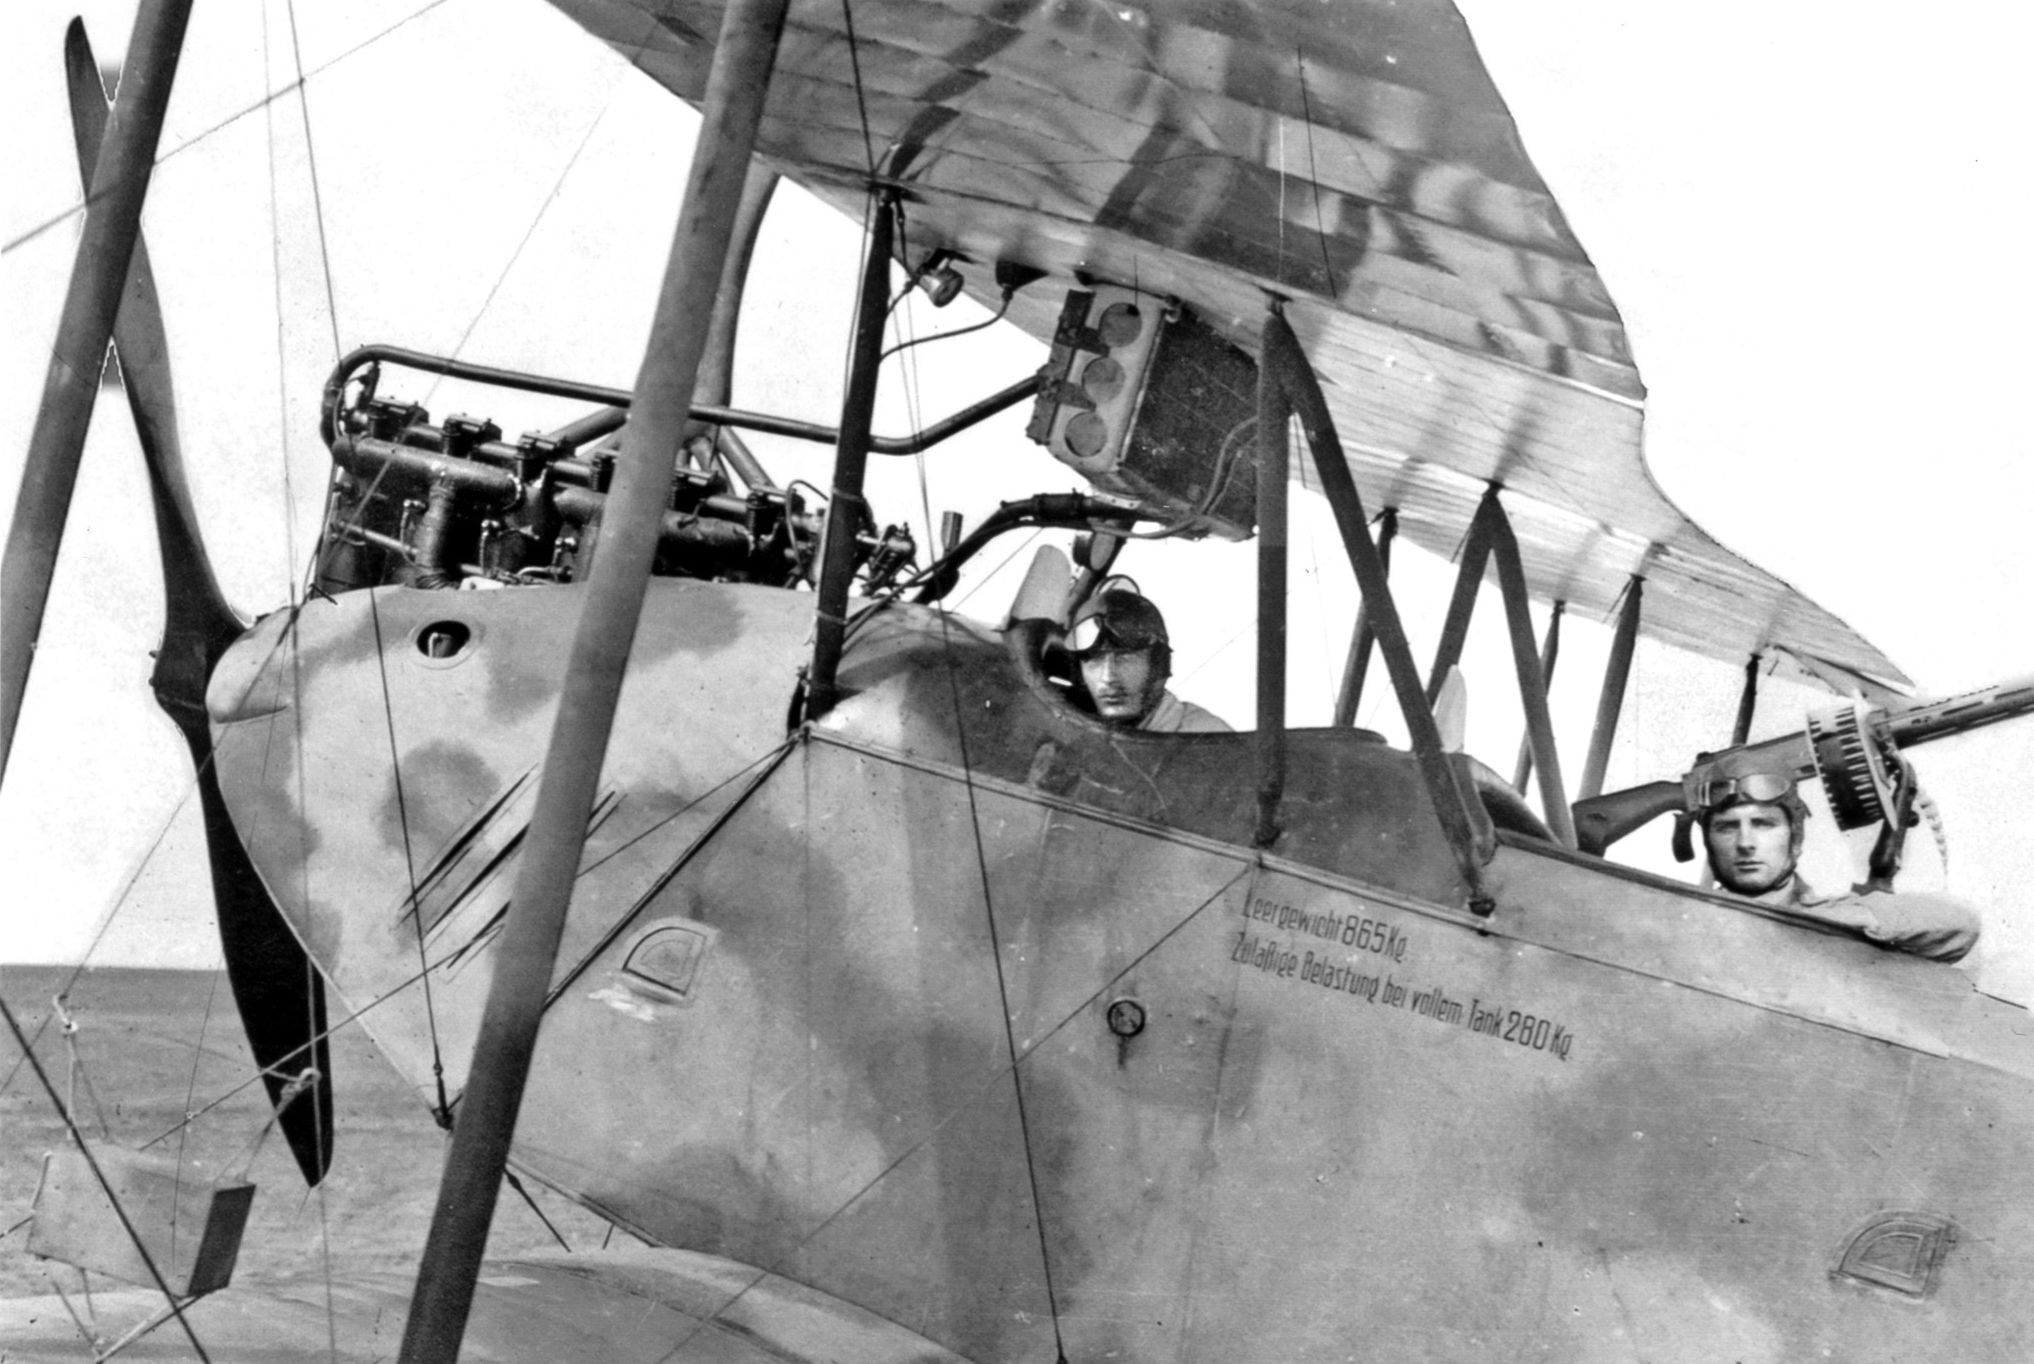
Meanwhile, the enemy attack force was taking shape, the bulk of which consisted of the Ottoman 3rd Infantry Division plus a cadre of German-Austrian technical troops (designated Pasha I) consisting of machine gun companies, antiaircraft platoons, field hospitals, communication trains, and heavy artillery batteries. One particularly important element of Pasha I was the German air unit, Flight Detachment 300. “The arrival of the German airmen made the greatest impression not only on the troops but also on the population,” expedition commander Col. Friedrich Freiherr Kress von Kressenstein remembered. “The whole expeditionary corps breathed a sigh of relief that we were finally no longer defenseless against the attacks of the enemy planes. Above all, however, we could hope to be better served with news about the enemy in the future than had been the case hitherto.”
At about this time, Bedouin agents informed Kress about the British desert railway. He consequently decided to carry out an armed reconnaissance foray to test British defenses with a 3,000-man force of infantry, camel troops, and artillery.
The first target was the Worcester Yeomanry Regiment encampment at the oasis of Oghratina east of Romani. As the Turks approached before dawn on April 22 (Easter Sunday), the fog was, Kress later remembered, “so thick and impenetrable at times, you could see not even five steps in any direction.” Already alert at 4 a.m., British sentries heard the sound of water pumps 500 yards from camp. An officer ran downhill to investigate, almost running into 60 Turkish soldiers, upon which he rushed back and gathered his men together, who now began firing.
By 5:15 a.m., the whole camp was under attack on three sides. Shouting their signature battle cry—“Allah! Allah!”—the Turks drove forward relentlessly, inflicting 150 casualties in the next few hours. Realizing that the men under his command faced destruction, the detachment commander surrendered.
Nearby at Qatiyeh, the Gloucester Hussars had already been alerted by the sound of the gunfire. At 8:45 a.m., a nearby infantry patrol spotted more than 600 enemy infantry and cavalry troops approaching. An hour later, mountain gun fire began falling on Qatiyeh, killing and maiming most of the horses in camp there, covering the Turkish infantry as they crawled forward to attack.
A dismounted relief force of Worcester Yeomanry from Hamiseh now joined the Gloucesters in pushing the enemy back, but they ran into heavy enemy rifle and machine gun fire. At 10:15 a.m., several squadrons of Gloucesters and machine gunners from Romani moved to intercept 500 Turks retreating from another attack at Dueidar, 12 miles away. Stumbling upon the Turkish artillery position north of er Rabah as it shelled Qatiyeh, the Gloucesters drove the artillery crew off. Half an hour later, the Gloucesters ran into heavy rifle fire near Hod Umm Ughba, forcing them to slowly retreat back towards Romani.
These relief attempts failed to cut the noose tightening around Qatiyeh, and by 1 p.m., the garrison was clearly doomed. The Turks resumed shelling followed by a bayonet charge, forcing the British to surrender at 3 p.m. The only silver lining to this disaster was the escape of 60 troopers led by a British squadron commander who had fainted from wounds during the battle and awoke just in time to lead the men away.
The Turkish assault on the 5th Royal Scots Fusiliers at Dueidar turned out quite differently. At 5:15 a.m., a barking camp dog alerted the Fusiliers to a large body of Turks carefully picking their way through Dueidar’s barbed-wire defenses. The Fusiliers quickly repelled them with heavy machine gun and rifle fire, killing and wounding 100.
The Turks responded with a torrent of artillery and rifle fire and a southward flanking movement at 7 a.m., but incoming fire from fortified positions along the camp’s eastern side wreaked havoc on the Turks. When a British airplane dropped a message that the enemy’s main body was retreating leaving only 150 rifles on the firing line, the Fusiliers attacked at noon, driving the Turks off.
For the British, the raids were an utter debacle, and they immediately pulled the 5th Mounted Brigade off the line, replacing them with the ANZAC Mounted Division. When the ANZACs arrived at Romani, they found abundant evidence of the luxurious life the British had maintained there: bottles of whisky and gin, carpets, dressing tables, and the like. Gen. Granville Ryrie, commander of the Australian 2nd Light Horse Brigade, later remarked derisively, “They were not the right people to put at this sort of job.”
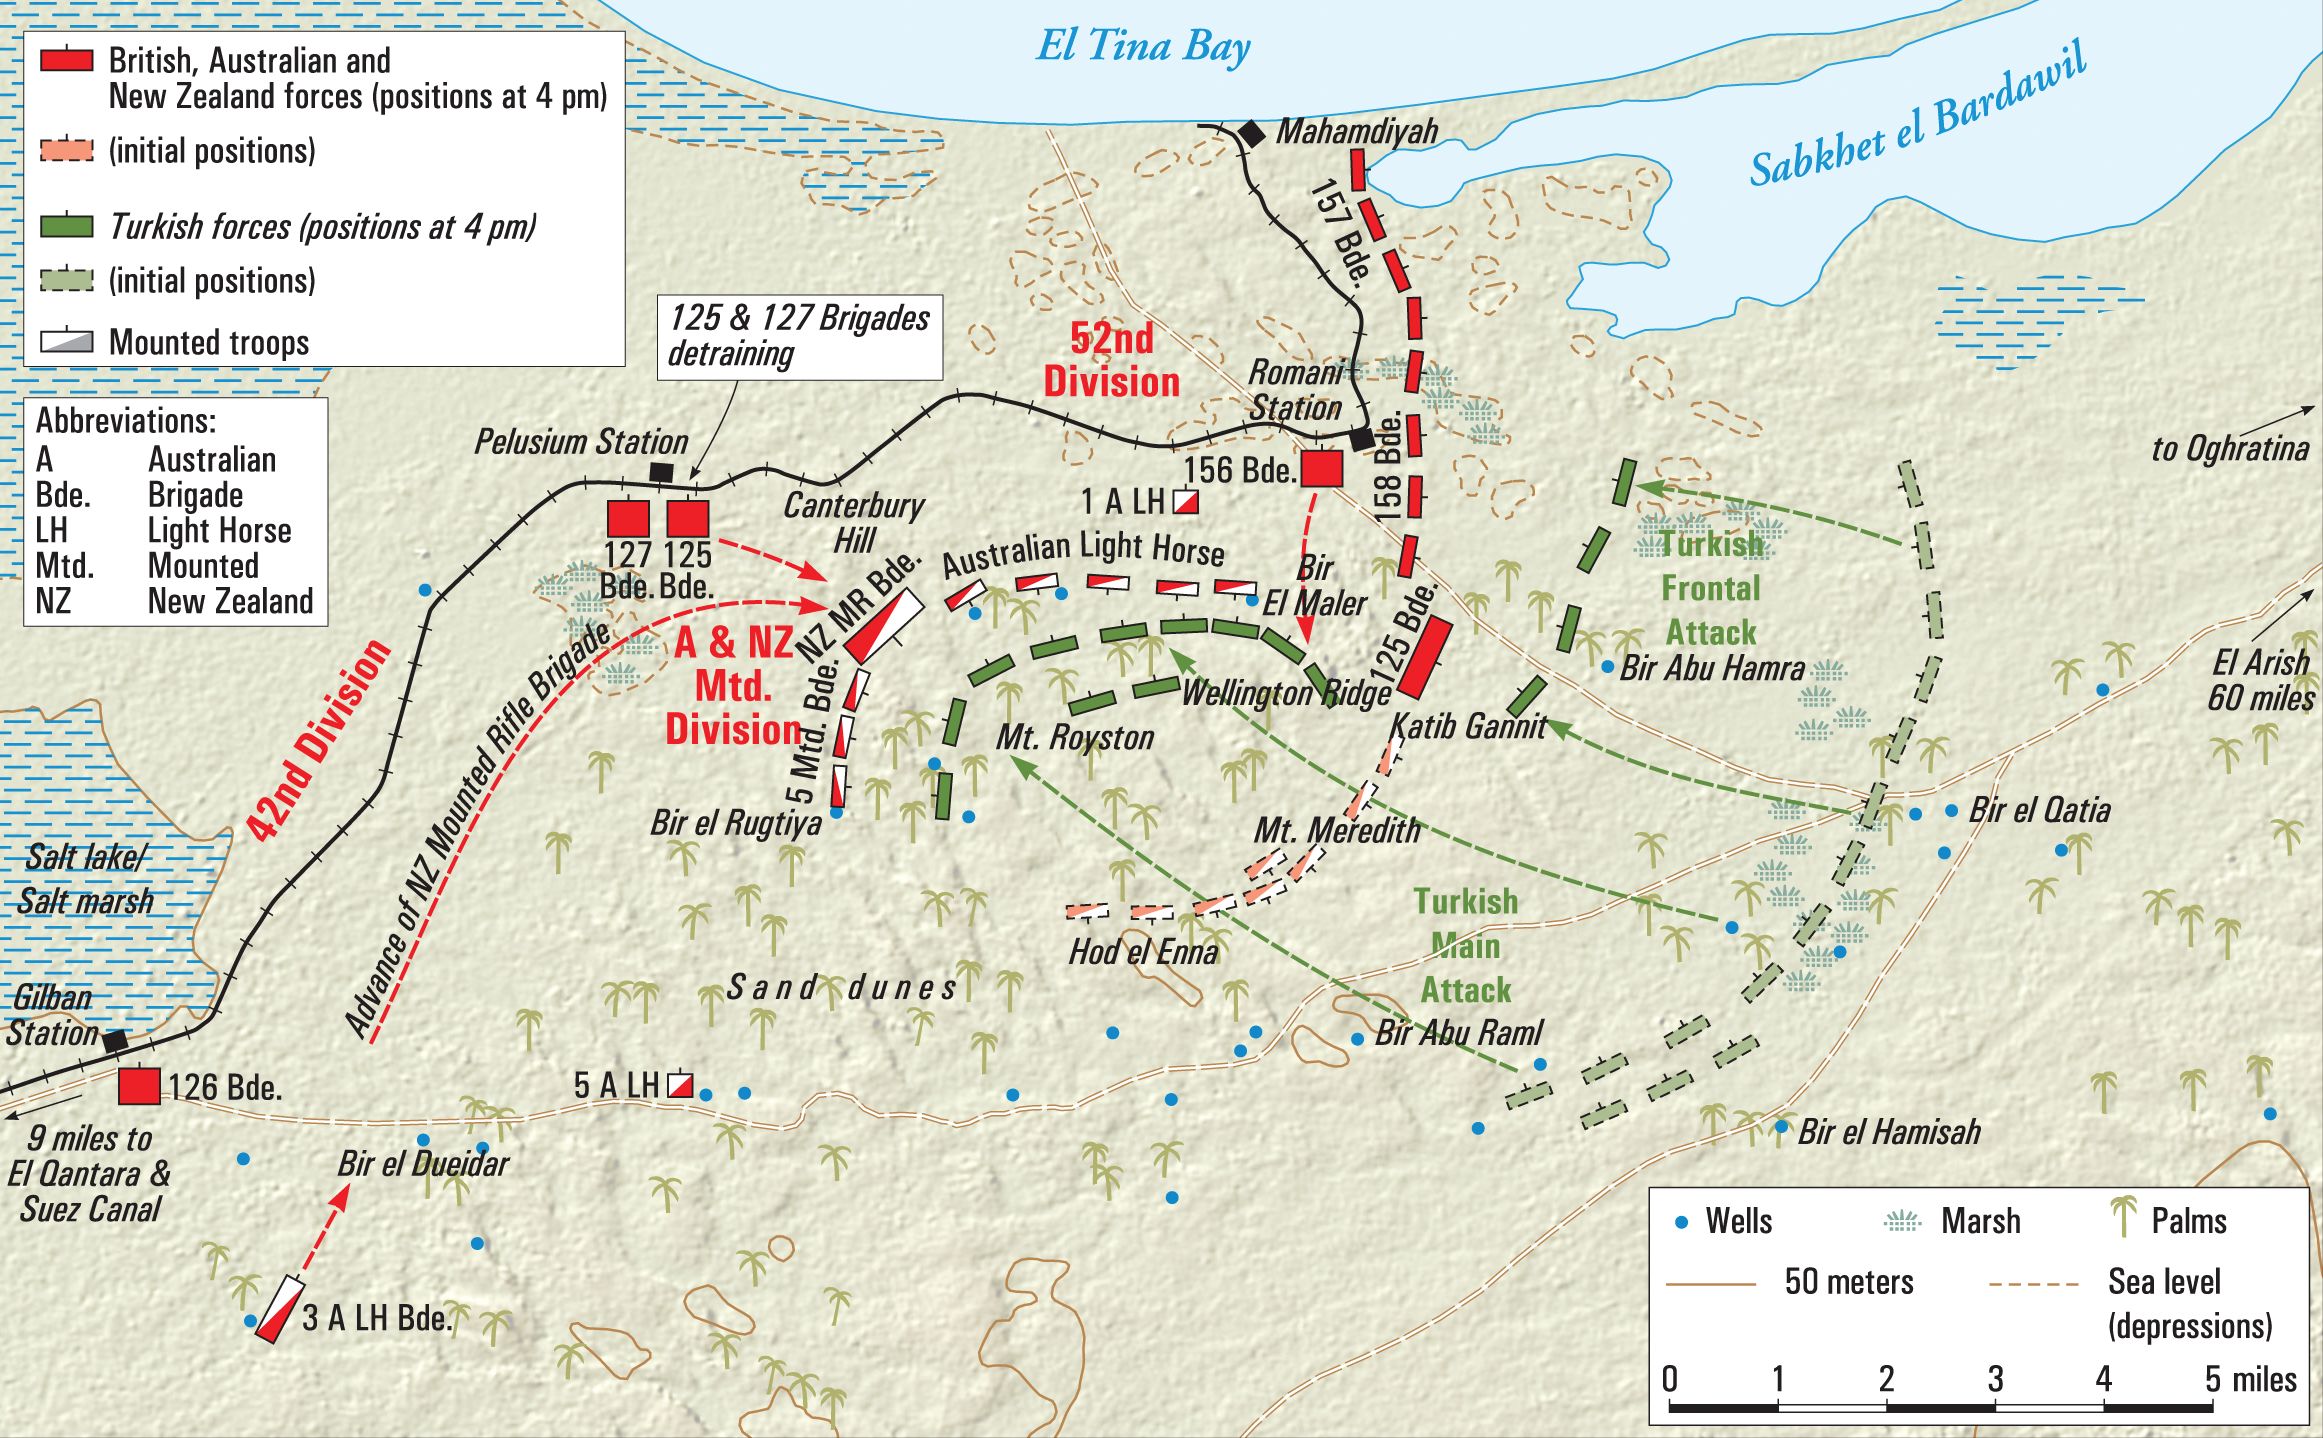
Recognizing the folly of trying to maintain scattered, indefensible outposts, the British now concentrated their troops together at Romani. This strategic line near the edge of a vast sea of sand hills ran southward from Mahamdiyeh on the coast, dropping off toward the east. A curved line of natural defenses running southwest from Romani ran through the two largest dunes—Katib Gannit and Mount Meredith—to Hod el Enna, then pivoted northwest toward another giant dune, Mount Royston. Towering over all these hills in the center was Wellington Ridge, which sloped northward downhill toward the large ANZAC camp at Bir Etmaler west of Romani.
Along a line of lower sand hills on the eastern front of the Romani heights were twelve defensive works 750 yards apart with another line of six works laid out in a hooklike configuration from the southern end of the line. Each position held about 100 rifles and several machine guns apiece.
From this home base, mounted troops now began regular, aggressive patrolling out into the desert to entice the Turks into battle. The British believed, rightly as it turned out, that given the Turks recent victories, they would not be content to passively occupy abandoned outposts close to British positions.
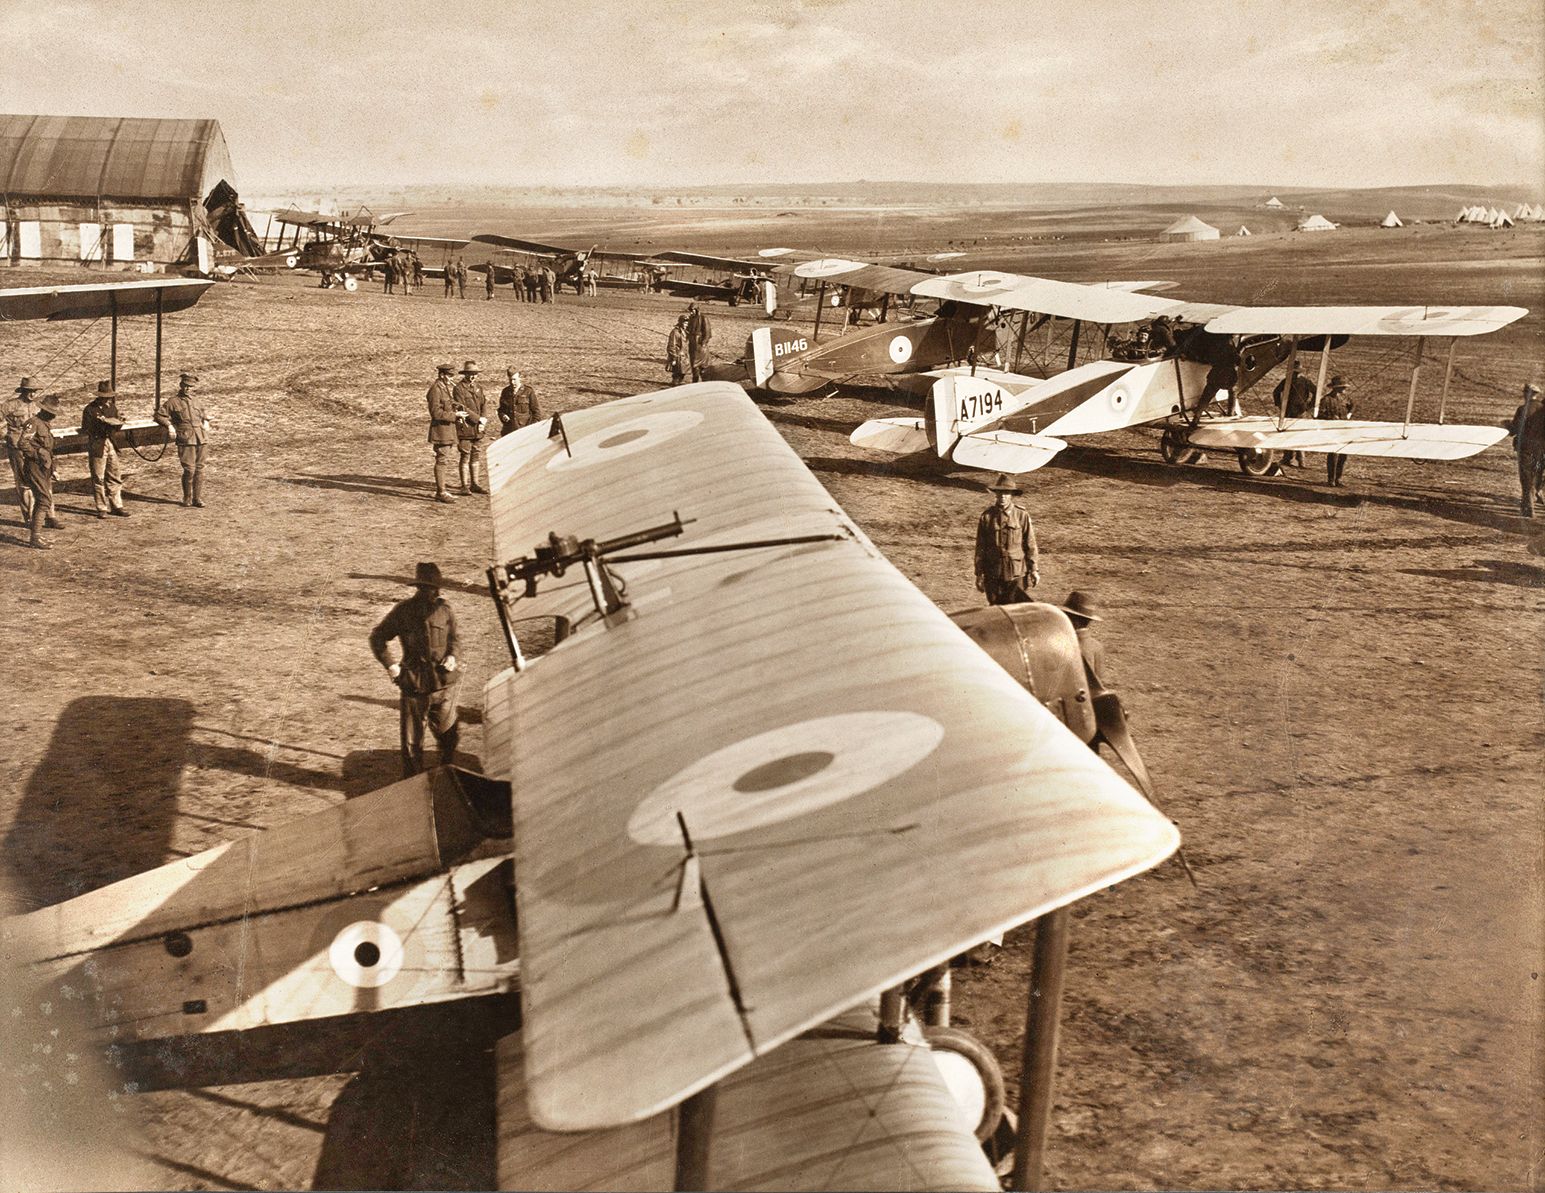
From May through July, though, few operations of note occurred other than dueling air strikes and the destruction of usable water sources along the enemy’s potential routes of advance. When the Turco-German expeditionary force finally left Beersheba on July 16, they headed right for the trap set for them—advancing along the northern caravan route as expected.
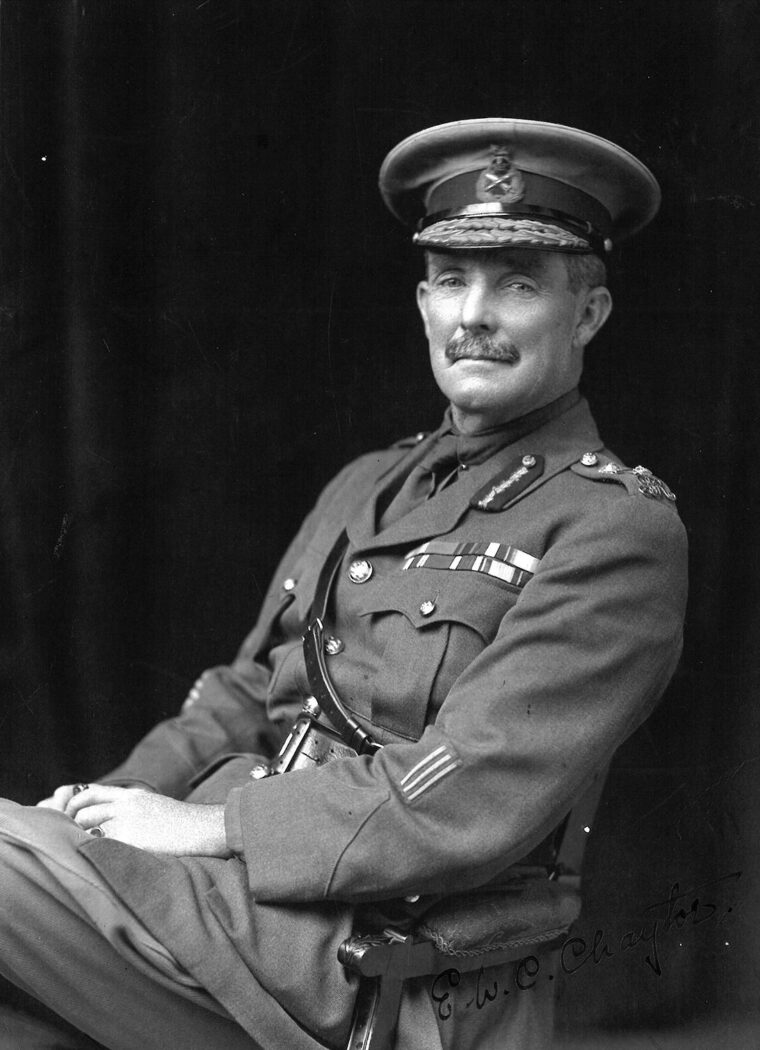
General Edward Chaytor, commander of the New Zealand Mounted Brigade, spotted the enemy vanguard on July 19 while aloft on a reconnaissance flight. The next day enemy forces, numbering about 18,000 men, were spotted widely dispersed between camps east of Romani.
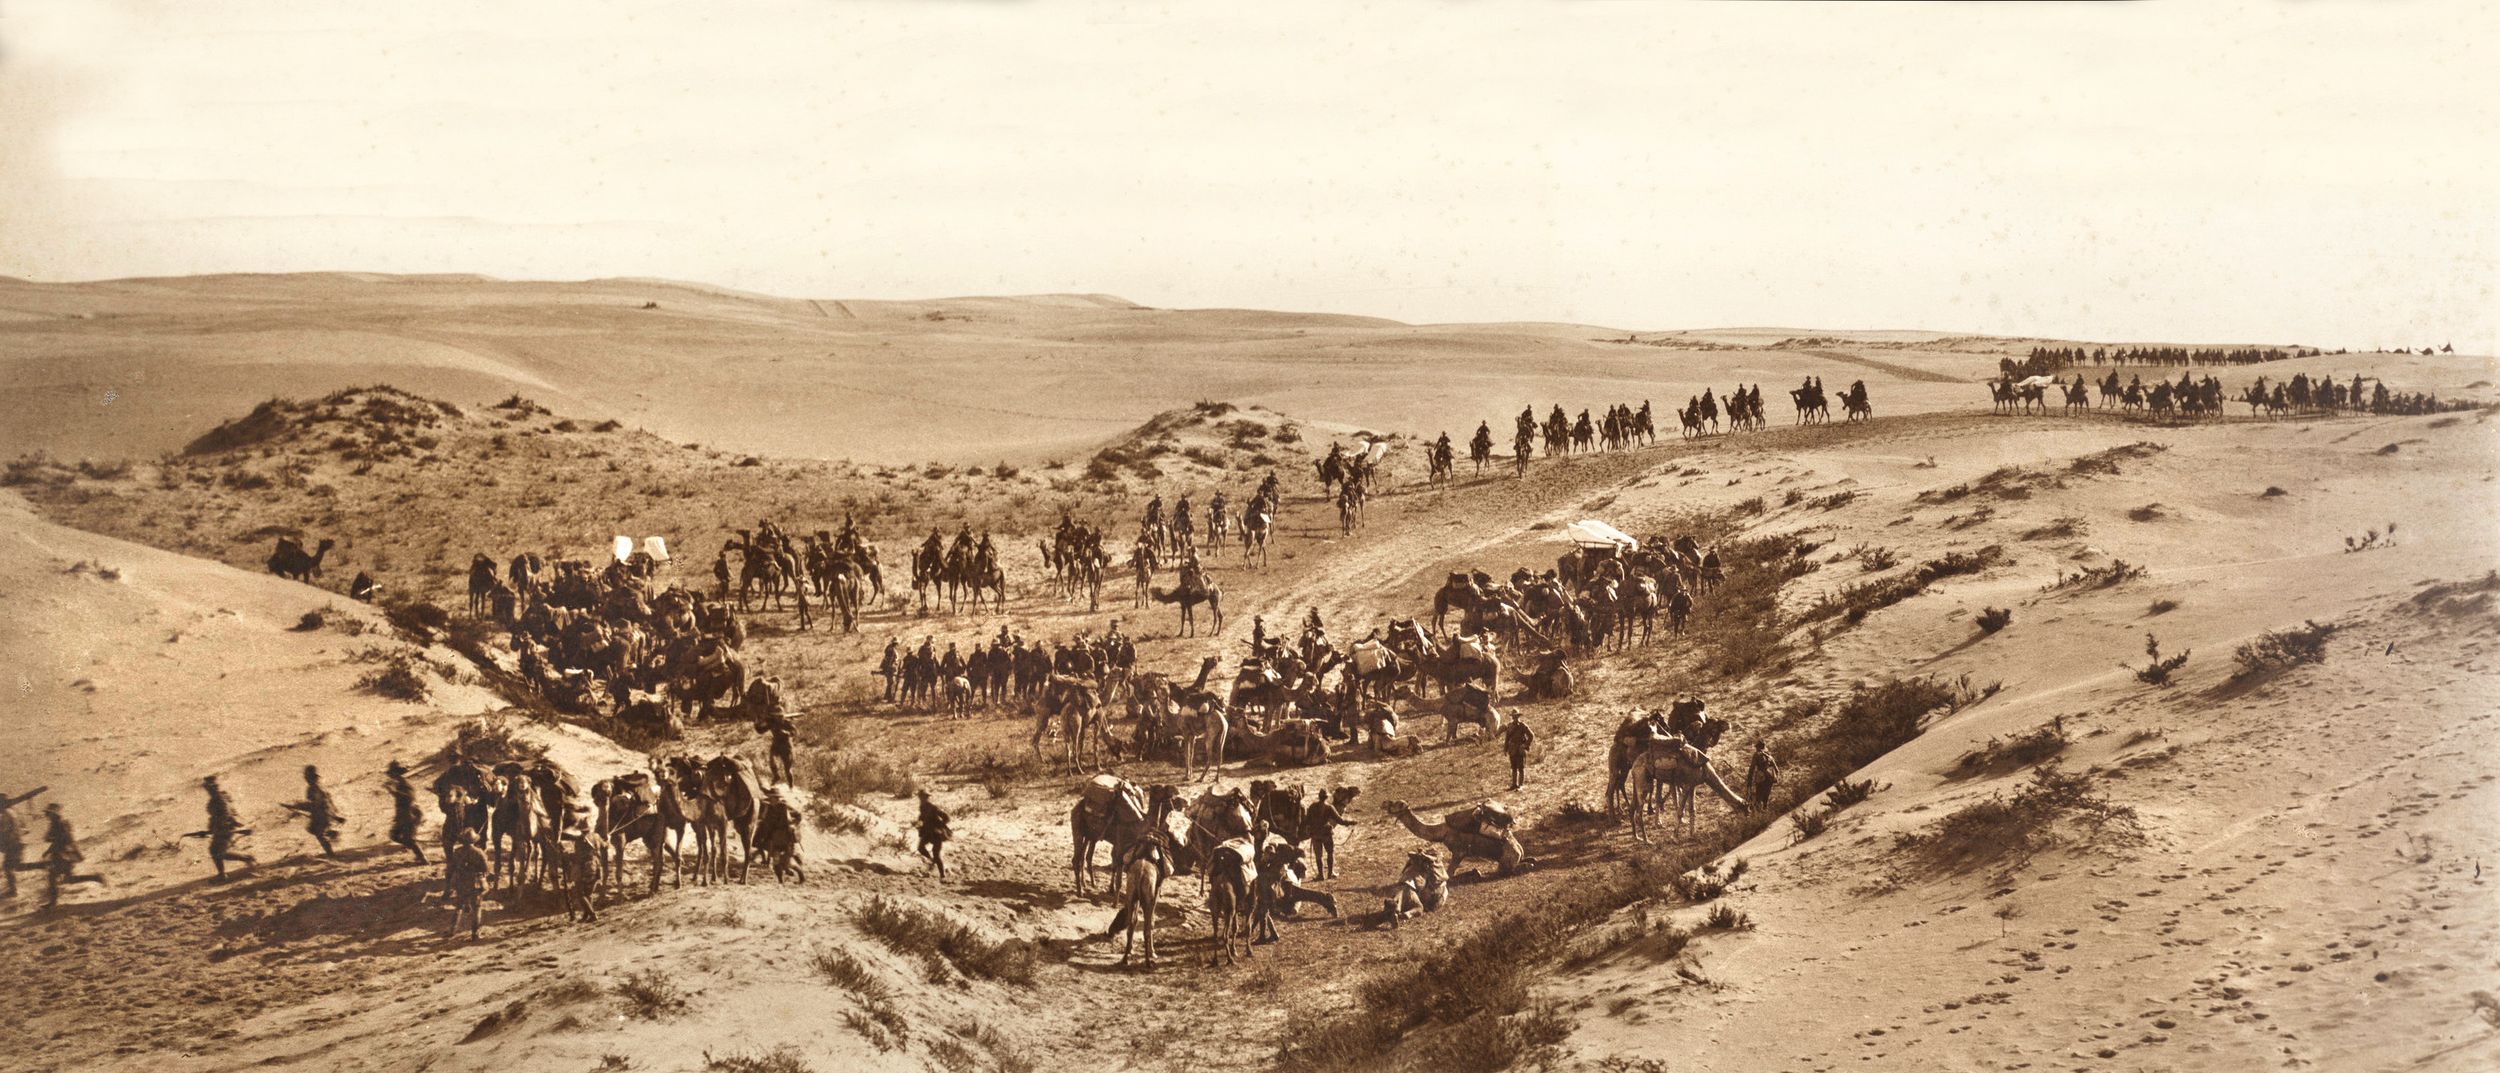
Getting thousands of men, camels, and horses across the desert in August had been difficult. Dragging the heavy guns up and over the big dunes, for instance, sometimes took hours of exertion by man and beast, until German artillery officers hatched the idea of using a double plow to cut two parallel furrows for the gun wheels and filling them with camel weed brush. The army was also plagued by terrible thirst and delays in food provisions.
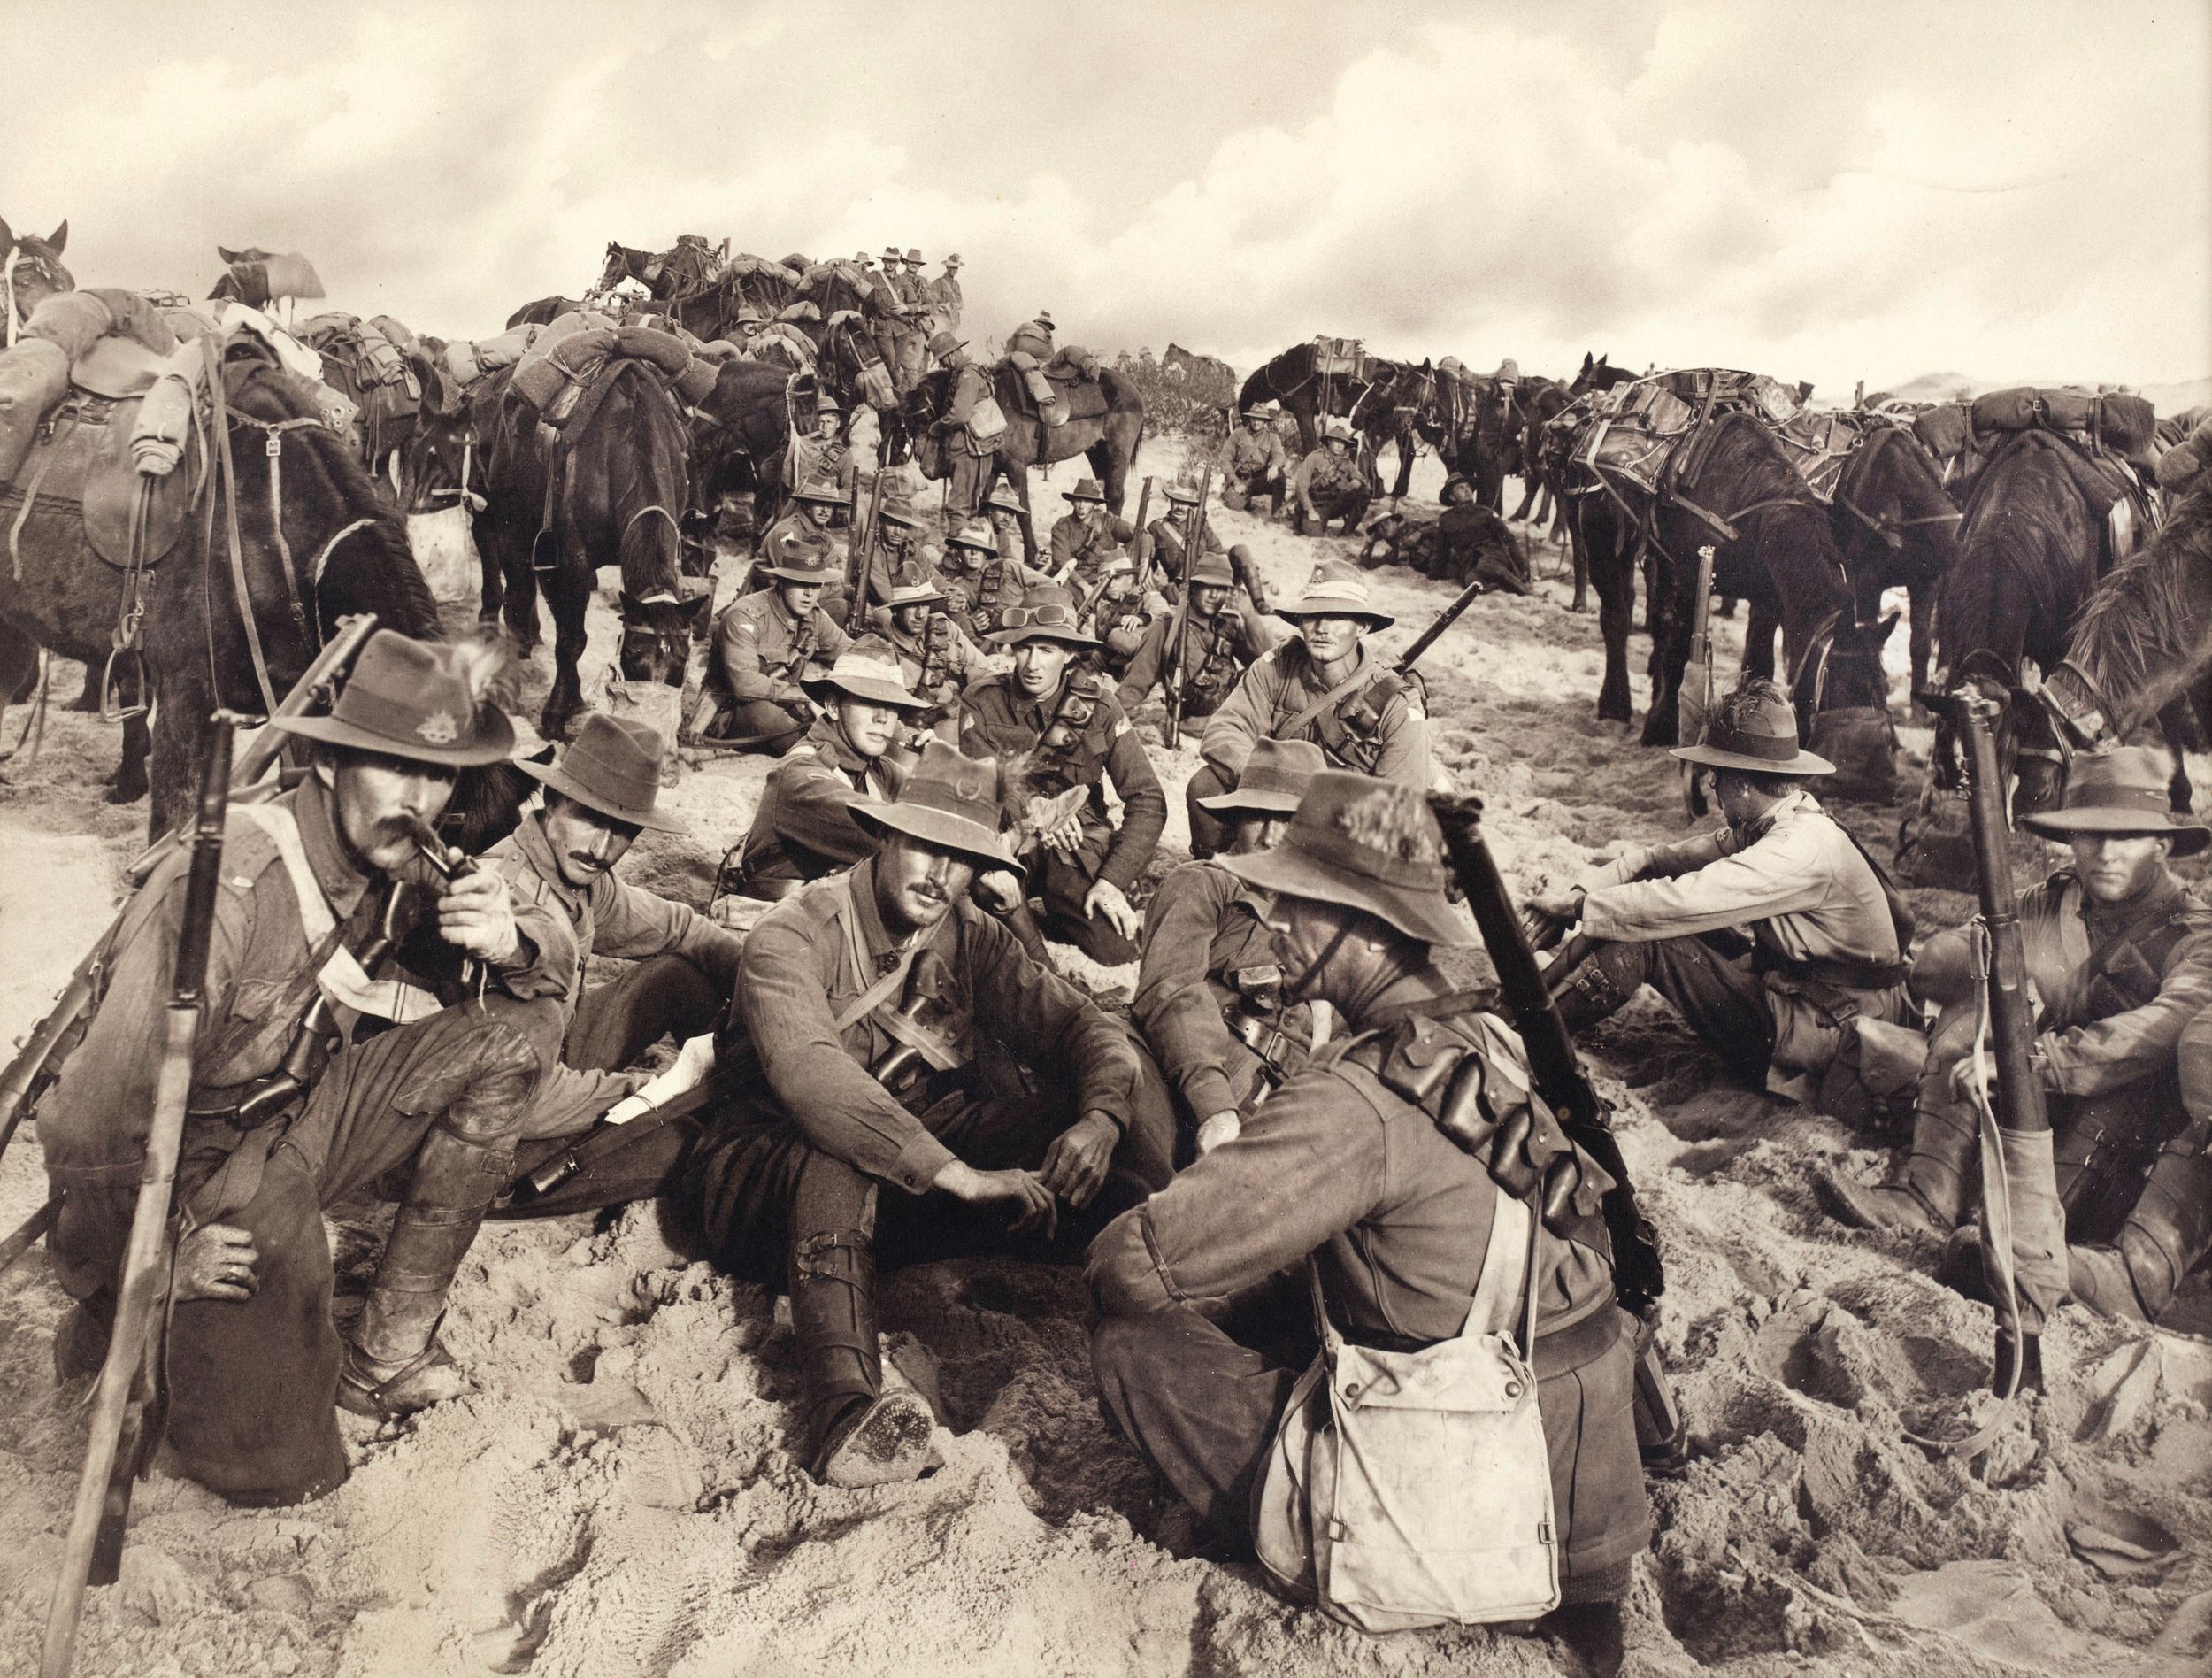
With the Turks on their front doorstep, the ANZACs redoubled forward patrolling now, with the 1st and 2nd Australian Light Horse Brigades taking turns heading out at 2 a.m. each morning toward Qatiyeh. Predawn patrols would camp in front of Qatiyeh until sunrise, advance to draw enemy fire, then return Romani at dusk, the other brigade repeating this maneuver the following day.
Meanwhile, the Turks were digging in at their main position, awaiting the arrival of their heavy artillery, as their forward sentries and snipers clashed with Australian patrols. Turkish positions crept ever closer toward Romani until on the morning of August 3, their lines ran through Qatiyeh, its right wing only five miles away from enemy lines.
The British were themselves firming up their final defenses. The 52nd Infantry Division’s 155th and 157th Brigades plus the 158th Brigade of the 53rd Infantry Division formed an eastern-facing battle line from Mahamdiyeh south to Katib Gannet, while the 1st Light Horse Brigade covered a thin line from Katib Gannet southeast to Hod el Enna. All told, the British had 14,000 men and 36 big guns at hand.
At this point, Kress hesitated. The British superiority in mounted troops and the impossibility of protecting his left flank from encirclement worried him. Also, while aerial reconnaissance had revealed much about British defenses, he knew nothing about overall enemy numbers. “If our ammunition and supply replenishment had been secured, I would have probably decided, despite some concerns, to occupy and reinforce a position and to wait until the English attacked me,” he later wrote. Unfortunately, delays in food provisions forced the men to go on half bread rations on July 29. The expeditionary force was far out ahead of their supply lines, and the clock was ticking. In the end, Kress decided that the only way to accomplish his mission was to attack.
The battle plan called for a series of infantry attacks around and behind the British right wing covered by artillery fire. In the north on the Turkish right, the Ottoman 31st Infantry Regiment would advance against the 52nd Infantry front. In the middle, the Ottoman 32th Infantry was to take Wellington Ridge via Hod el Enna, then charge down and overwhelm the light horse camps at Etmaler and Romani before infantry reinforcements could arrive. The 39th Infantry Regiment were to attack the British right wing to the northwest and seize the terminus of the desert railway.
The British plan was to hold their thin forward lines as long as possible, then slowly retire northwards towards Etmaler, behind Romani, using the 52nd Division’s southern post on Katib Gannet as a pivoting point. This would lure the Turks into an area of deep, soft sand. Once the Turks had fully invested in the attack and worn themselves out, the British could then call up their reserves and destroy them.
By late in the night on August 3, all was ready.

At 10 p.m., gunfire on their southeast front put Australian sentries on the alert. All was quiet again until enemy troops appeared in front of the defensive line around midnight. This force had followed the 2nd Light Horse Brigade back from its nighttime patrol, slipping in behind it to get around the British southern flank, but the gullies they hoped to take up to Wellington Ridge were blocked by the Australians. The Turks now stopped to wait for orders and the arrival of the main force.
The Turks began pouring gunfire along the entire length of the British line at 1 a.m., pushing hard against the British right in the south with a bayonet attack toward Mount Meredith. When the attack came, the blockage of the gullies forced the Turks to swing south and then west into the deep sand zone.
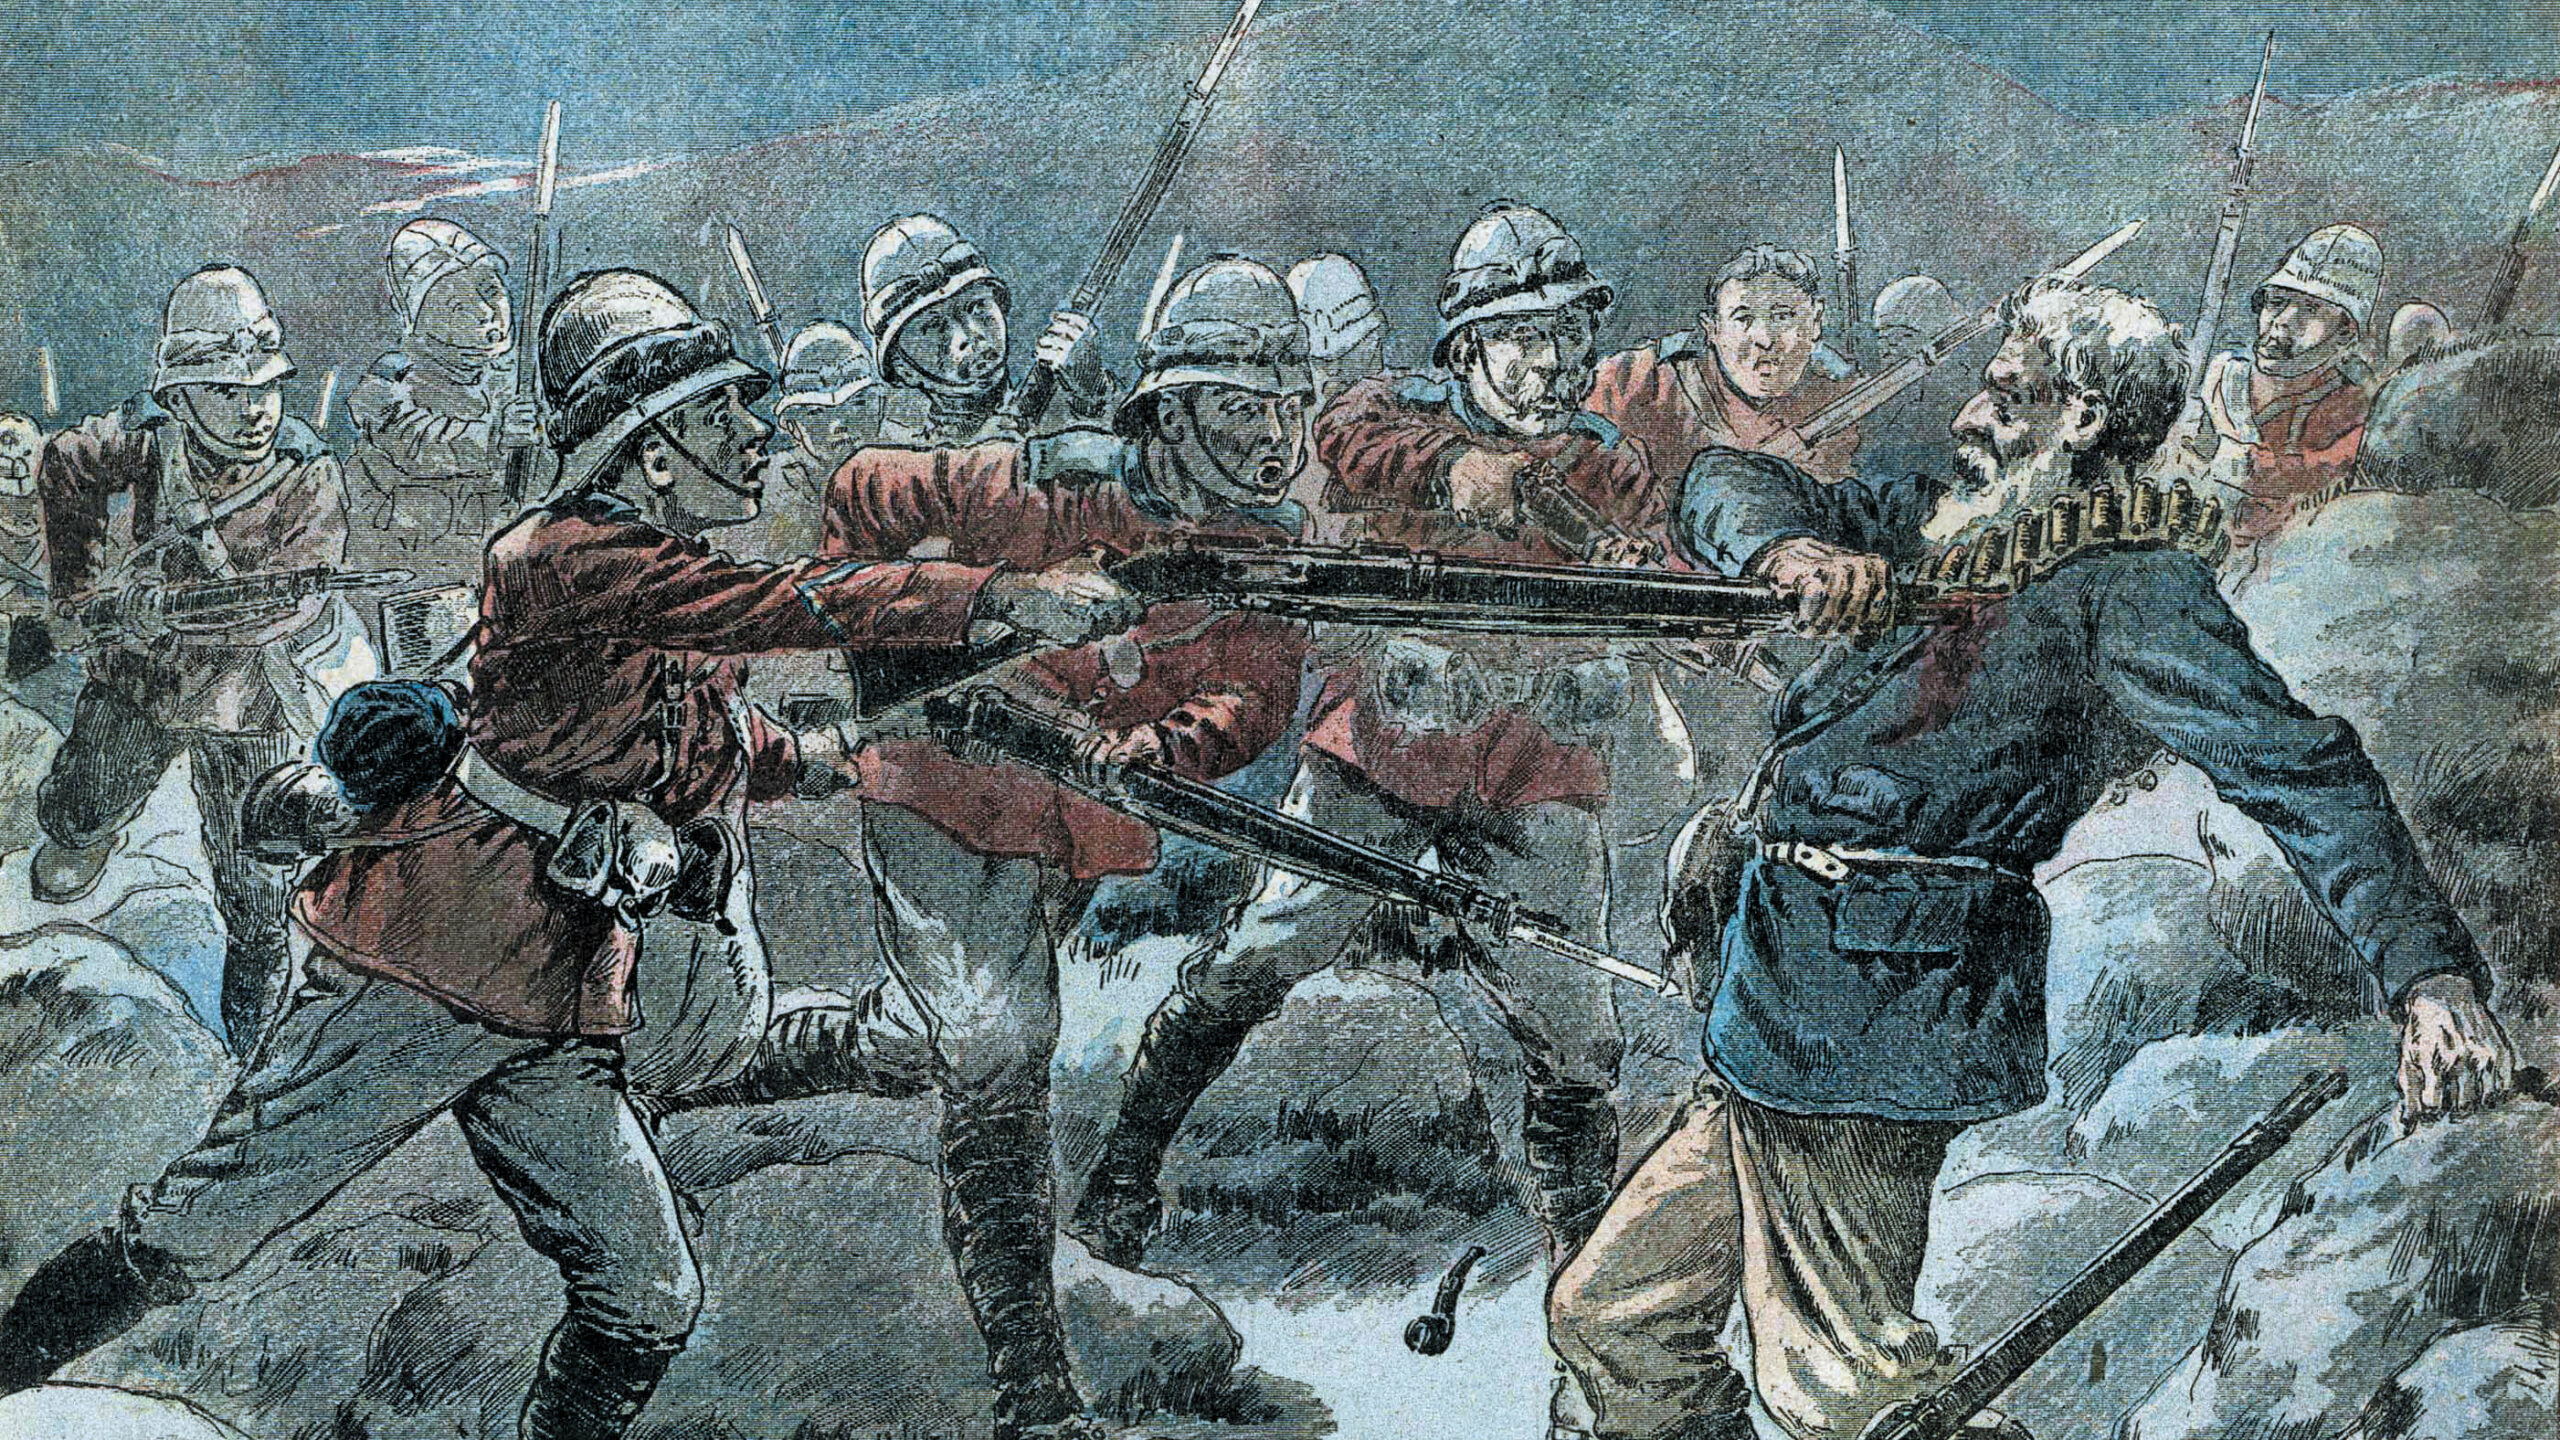
At Hod el Enna, the far southern endpoint of British defenses, W.T. Massey the war correspondent later wrote, “The Turks fixed bayonets and prepared to charge, yelling out the cry made for them in Germany: ‘Allah, finish Australia.’ To this the Light Horsemen rejoined, ‘Allah, you bastards, we will give you Allah,’ and with that they met with a clash. The Australians drive home the bayonet with the thrust of big-shouldered men, cheering the while and taunting the enemy to ‘try it again.’” Despite this spirited resistance, the Turks pushed to within about 40 yards of British defenses by 2 a.m. Still too dark to see their targets, both Australians and Turks had to aim and fire at each others’ muzzle flashes.
Mount Meredith between Hod el Enna and Katib Gannit now bore the full brunt of the attack. Charging barefoot without boots to run faster over the sand, the Turks lunged forward at 2:30 a.m., but were beaten back with heavy losses from machine gun fire. The Turks kept pushing against the flanks, though, and by 3, Mount Meredith’s defenders were in retreat. At 3:30, the Australians south of the hill fell back northward toward their preselected secondary position, Wellington Ridge, covering their retreat with steady and accurate fire. As they retreated, Turkish infantry rushed toward them as machine gunners on the hilltop above raked them with fire.
At 4:30, Chauvel sent in the reserves, the 2nd Light Horse Brigade, but the enemy kept coming up the valley between Wellington Ridge and Mount Royston north of Mount Meredith, pushing the reinforced right flank back steadily. As the Turks tried to get around the Australian right, the light horsemen tacked further rightward to block them, the 52nd Infantry moving south to plug the growing gap on the Australian left. The mounted forces retreated gradually northward from Wellington Ridge with their backs now to the camp at Etmaler at 7 a.m. An hour later, the Turks began firing into the horse lines 700 yards away from the crest of Wellington Ridge.
The Turks had now gained one of their important objectives, the rear area defenses of the southern flank, but stiff Australian resistance had delayed the capture of this ridge by six hours. The exhausted Turkish infantry now halted, allowing British artillery to drive them off an hour later.
The 1st and 2nd Light Horse Brigade skirmish line now stretched thinly east to west for 5,000 yards north of Wellington Ridge. They had suffered heavy casualties and had been fighting since midnight, but there was no rest for the weary yet. The Turks’ outflanking movement now surged northwestward up the slopes of Mount Royston and against the right flank of the 2nd Light Horse.
While all this was happening, a British counterthrust to protect their right flank was in progress. Between 5:30 and 7:30 a.m., the 5th Mounted Brigade was ordered to march on Mount Royston, elements of which were to advance through Dueidar to unite with the Auckland Regiment. Behind them, the 3rd Light Horse Brigade was moving to Hill 70, which the 5th had just vacated.
At 10 a.m., the newly reinforced line—comprising the 2nd, 3rd, 6th, and 7th Light Horse Regiments, and two regiments of the 5th Mounted Brigade, the Composite Regiment and the Gloucester Hussars—faced south towards the dunes north of Mount Royston from a position 700 yards north of Wellington Ridge.
While the Turks were pounding the southern flank, they were also assaulting the 52nd Division front in the north. Around 5 a.m., a squadron of German planes flew over Katib Gannit and dropped bombs on infantry defenses and the light horse camps behind them. Immediately afterward, a day-long heavy enemy artillery barrage on this position began, seeking to cut a breach for the infantry, small parties of which now began creeping forward through hollows and behind small dunes. Thanks to heavy, accurate, and rapid British counter-fire, that Turkish attack and subsequent ones faltered, though some came within just 150 yards of British lines.
The EEF was standing firm under the pressure, but as morning wore on, its defense of Romani was increasingly threatened. The Turks had corralled the EEF into a triangular shaped front with their backs to the sea. Luckily, fortune was about to come to their rescue.
Chauvel’s superiors, who had been informed of the situation, dispatched the New Zealand Mounted Rifles and 5th Yeomanry Brigade into the battle. While approaching the battlefield from the west, one squadron of the Gloucester Hussars descried the Turks’ advance on Mount Royston through a gap in the Australian line. Marching toward the enemy, the Gloucesters helped plug the gap in the line for the next two hours.
Later in the morning, Chauvel devised a plan to envelop the Turkish left. The plan required the 156th Brigade to relieve the 1st and 2nd Light Horse to give them time to rest and rewater their mounts. The 1st and 2nd could then join the New Zealand Mounted Rifles Brigade and the 5th Mounted Brigade in encircling the Turkish left.
By the time the New Zealanders pushed off towards Dueidar to attack the enemy flank, the Turks had not only gotten onto Mount Royston but had swung around to face north toward Canterbury Hill, a dune northwest of Mount Royston. Just a mile before reaching Dueidar, the New Zealanders were diverted to Canterbury Hill, which they reached at 11:30 a.m.
At this point, Major J.H. Whyte, commander of the 2nd Light Horse Brigade, hailed their attention by heliograph. “Who are you?” he asked. “Chaytor,” came the answer. After giving British and Turkish positions, he signaled, “Will you attack Mount Royston?” to which the reply was, “Attacking Mount Royston.” Now, the New Zealanders moved to the attack, positioning themselves between the Australians and the Yeomanry on the line and advancing slowly on foot through heavy sand against enemy fire at 2 p.m.
At around the same time, the Turks came to a halt along the entire front. The enormous physical exertion involved in attacking through deep desert sand in the scorching midday heat was beginning to take its toll on the men. Going on the attack, the Gloucesters and Worcester Yeomanry took the southern spur of Mount Royston at a gallop, after which the Gloucesters gained the crest and killed the Turkish artillerymen manning an artillery battery down below.
Hearing of the threat to his left wing at 4 p.m., Kress sent infantry and machine gun troops from reserve forces to reinforce them, but by 6 p.m., the New Zealanders, the Yeomanry, and the 127th Brigade had cut the attacking enemy column on Mount Royston in half, sending the other half into retreat. Five hundred Turks ran up the ridge to surrender, hands up, and crying “Finish war!” and “Australia good!” Before the surrender, though, Turkish machine gun companies kept up their fire, escaping after destroying their weapons. The Anglo-ANZAC relief force now possessed all of Mount Royston, an utter rout of the Turks’ flanking attempt in the south.
The retaking of Wellington Ridge followed next, beginning with a heavy artillery bombardment starting at 6:45 p.m. Shortly after this, the 7th and 8th Scottish Rifles left Etmaler, heading south to take the ridge, but the oncoming darkness and the rough terrain made it hard to find their way. The 8th Rifles got to within 100 yards of the ridge crest before getting pinned down by heavy rifle fire. Rather than retreating, the men hunkered down and maintained their fire throughout the night, the expectation being that they would take more prisoners that way than by allowing the Turks to scatter.
As the day came to a close, Flight Detachment 300 reported to Kress that British reinforcements were on the march toward the battlefield from Dueidar and the railway terminus. Realizing that the battle was lost, Kress halted offensive operations and ordered a retreat eastward to the ar Rabah-Qatiyeh-Bir el Hamisah line after dark. Unfortunately, the retreat order did not reach some units in the field, so parts of the 32nd Infantry Regiment and the 606th Machine Gun Company remained at their positions throughout the night. Eight hundred fifty of these men were taken prisoner at daybreak.
So ended the first day of action. Despite a bold and skillful attack, the Turks had failed. Though fighting well and still holding critical areas of the battlefield, they had been severely mauled, partly thanks to going without water for much of the day, with little or no food. On the other side, many of the exhausted light horse units had gone without sleep for almost an entire day and had suffered heavy casualties, but they had held the line against heavy Turkish assaults.
At daybreak on August 5, the 8th Scottish Rifles, accompanied by the 7th Light Horse, the Wellington Mounted Rifles, and the 7th Scottish Rifles—who had brought up 16 machine guns during the night for sweeping the slopes—advanced toward the crest of Wellington Ridge. At this point, 1,500 exhausted and thirst-stricken Turks, realizing they had been abandoned, surrendered, hands up and holding white flags. Other Turks pinned down by heavy fire at positions further north surrendered later that morning.
The British now realized that the Turks were retreating. Having been ordered to pursue, Chauvel, who now commanded all the mounted troops, gathered and remounted the troopers over the next several hours. The mounted advance against the Turks’ main body, now at Qatiyeh, began at 10:30 a.m. The infantrymen, though, were suffering from tremendous hunger and thirst, and it took time to distribute badly needed food and water and get going. Communication problems also seriously hampered the remobilization effort.
While the infantry was getting itself together, the 9th Light Horse Regiment had already attacked the Turks at Hamisah just south of Qatiyeh. The mounted assault drove the Turks from their positions and netted 425 hungry and exhausted prisoners plus seven machine guns.
Nearby, the 1st and 2nd Light Horse and the 5th Mounted Brigades, having passed many bedraggled Turkish stragglers on the advance toward Qatiyeh, realized an opportunity to take large numbers of prisoners and guns with a fast, aggressive attack. Around 3 p.m., they attacked at full gallop toward Turkish positions with bayonets fixed and cheering loudly. Unfortunately, the swampy ground near the oasis checked their forward gallop, so the men dismounted and continued on foot. The resisting Turks showed none of the expected demoralization. Instead, the fire was intense and well directed, and the Turkish artillery outgunned the British’s own artillery. At sunset, the mounted troops withdrew.
Both sides were truly at their last gasp from exhaustion and thirst. Some of the light horse troopers’ mounts had not been watered in 60 hours, while some men had slept in their saddles as they rode forward. The Turks for their part struggled to make it back to Oghratina in the dark. It had been a tough two days, but the end had still not come.
The next morning, August 6, the troopers pressed forward to attack the Turkish rearguard at Qatiyeh and cut off the retreat. The New Zealand Mounted Rifles and 5th Mounted Brigade going out toward Oghratina, as well as the 3rd Light Horse advancing toward Badieh, found the Turkish rearguard solid, so little progress was made in either direction.
Meanwhile, infantrymen of the 42nd and 52nd Divisions marching toward Qatiyeh began fainting from heat exhaustion and delirium in the brutal heat, forcing the British to send out mounted troops and airplanes to search for them in the desert. At any rate, there would be no more marching that day by the infantry.
On August 7, the New Zealand Rifles, the 3rd Light Horse Brigade and the 5th Mounted Brigade unsuccessfully probed the impenetrable enemy position at Oghratina. Overnight, the Turks abandoned the position and fell back eastward to their staging camp at Bir el Abd.
On August 9, Chauvel sent the entire ANZAC Mounted Division eastward before sunrise, hoping that he could destroy the entire Turkish attack force with one bold attack.
Driving the Turkish outposts along the caravan road in retreat, the New Zealanders went first at 5 a.m., arriving on the high ground overlooking the Turkish camp at Bir el Abd. An hour later, the Turks surged forth from their trenches to counterattack. Despite withering supporting fire from artillery and machine-gun crews, the Turks pressed the ANZAC flanks hard. Another Turkish attack at 7:30 a.m. tried to exploit a gap in the line between the New Zealanders and the 2nd Light Horse Brigade, but the 5th Light Horse charged in to plug the gap, stopping the Turks in their tracks.
Shortly after this, observers spotted Turkish transport columns heading eastward from Bir el Abd and columns of smoke rising from burning stores, a sign that the Turks were beginning their escape. Despite renewed attacks by the New Zealanders, though, the Turkish frontal defenses stood firm.
Elated at this success in repelling their opponents, the Turks launched another attack on the New Zealanders and Yeomanry, but it was also repulsed. Nonetheless, by 2 p.m., the Turks widened their attack front to the British far left flank. They began shelling one British artillery battery heavily and immobilized it after killing many of its horses. The battery withdrew its guns just moments before the 3rd Light Horse Brigade began a series of retiring movements on the right flank that jeopardized the New Zealanders.
At 5:30 p.m., Chauvel ordered a general retreat, but getting away proved to be no easy matter. They pulled it off nonetheless, thanks to the New Zealanders’ tenacity and incoming nightfall, as well as covering fire from the 5th Mounted Brigade.
Concerned about the strength of the Turkish position and his troops’ exhaustion, Chauvel encamped his force just outside Oghratina, while the 3rd Light Horse Brigade kept watch on Bir el Abd.
That was the end of the battle and subsequent pursuit. The enemy abandoned Bir el Abd on August 12, and by August 14, the Turks had retreated all the way back to el ‘Arish.
After the end of the big battle, one brash Australian trooper approached a captured German officer who was talking with ANZAC officers. Butting into the conversation, the trooper exclaimed, “Say, old Hun, what do you think of the Australians now?” The German officer replied, “They are splendid fighters. Still, I do not think they are any better than they think they are.”
The ANZAC’s magnificent performance in combat against a tough opponent spoke loudly enough for itself—they had inflicted between 6,000 and 9,000 casualties and captured 4,000 men, as well as massive numbers of weapons, horses, mules, and camels.
This battle ended both the threat to Egypt and the defensive phase of the Sinai campaign. For the first time in the war in the Middle East, the British were on offense. Tough fighting still awaited the British in Sinai, Palestine, and Syria, but the victory at Romani was essentially a harbinger of ultimate doom for Turkish ambitions. The steady loss of the Ottoman Arab provinces over the next two years and the defeat of Bulgaria in September 1918, eventually made it clear to the Turks that the war was lost. On October 30, 1918, they signed an armistice with Britain at Mudros on the Aegean island of Lemnos.
The true significance of the battle of Romani, though, only became apparent at the Paris peace conference the following year. In the previous half century, other former Ottoman provinces in the Balkans had successfully broken away from the empire and established themselves as independent states. This, plus numerous wartime promises by the British of independence as a reward for defection, naturally inspired Arab hopes for nationhood.
But it was not to be.
Instead, the former Ottoman Arab provinces became part of the British and French empires. Subsequent postwar revolts against the Middle East’s new imperial masters followed by decades of homegrown dictatorships after the next world war plunged the region into a century of seemingly endless violence and turmoil that remains unresolved to this day.
Join The Conversation
Comments
View All Comments